Free Shipping on Domestic Orders $75+

Black and Decker PS1800 Switch Replacement

What you need

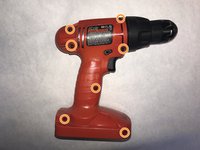
  1. Black and Decker PS1800  Switch Replacement, Open the Outer Drill Case: step 1, image 1 of 2 Black and Decker PS1800  Switch Replacement, Open the Outer Drill Case: step 1, image 2 of 2
    • Lay the drill on its side, assuring that the screw holes are facing upwards.

    • Remove seven 12 mm screws using a Phillips #00 screwdriver.

    Ask FixBot
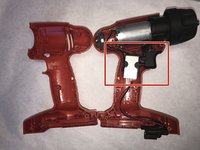
  2. Black and Decker PS1800  Switch Replacement: step 2, image 1 of 1
    • Separate the outer drill case to expose the components and switch.

    Ask FixBot
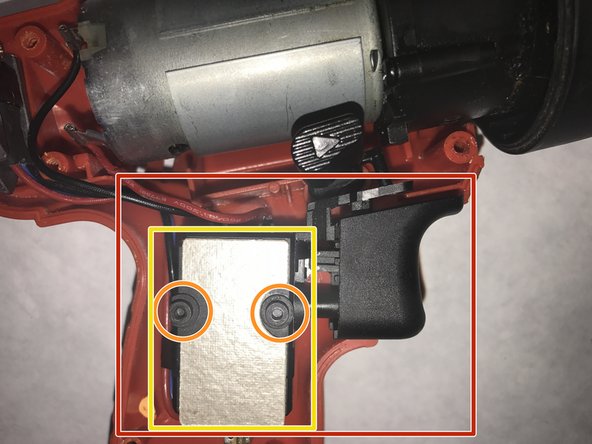
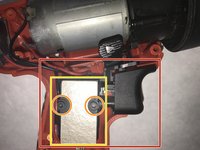
  3. Black and Decker PS1800  Switch Replacement, Switch: step 3, image 1 of 2 Black and Decker PS1800  Switch Replacement, Switch: step 3, image 2 of 2
    • Identify the switch in center of the drill.

    • Remove the screws from the switch.

    • Remove the switch cover.

    Ask FixBot
  4. Black and Decker PS1800  Switch Replacement: step 4, image 1 of 1
    • Locate the switch inside the drill.

    • Remove the switch from the drill.

    Ask FixBot
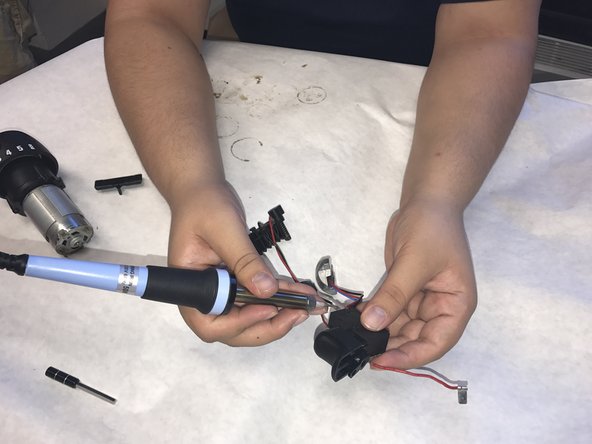
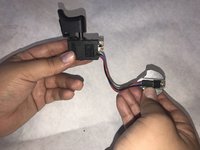
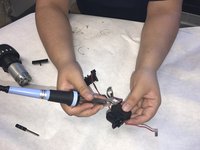
  5. Black and Decker PS1800  Switch Replacement: step 5, image 1 of 2 Black and Decker PS1800  Switch Replacement: step 5, image 2 of 2
    • Solder off all the joints.

    • Remove the switch assembly.

    Ask FixBot
Conclusion

To reassemble your device, follow these instructions in reverse order.

One other person completed this guide.

Hamza Nawaz

Member since: 11/20/16

247 Reputation

2 Guides authored

Team

IUPUI, Team 2-3, Baechle Fall 2016 Member of IUPUI, Team 2-3, Baechle Fall 2016

IUPUI-BAECHLE-F16S2G3

5 Members

6 Guides authored

0 Guide Comments

Add Comment

View Statistics:

Past 24 Hours: 3

Past 7 Days: 7

Past 30 Days: 54

All Time: 1,210