Free Shipping on Domestic Orders $75+

Black and Decker DCM100R Heating Element Replacement

What you need

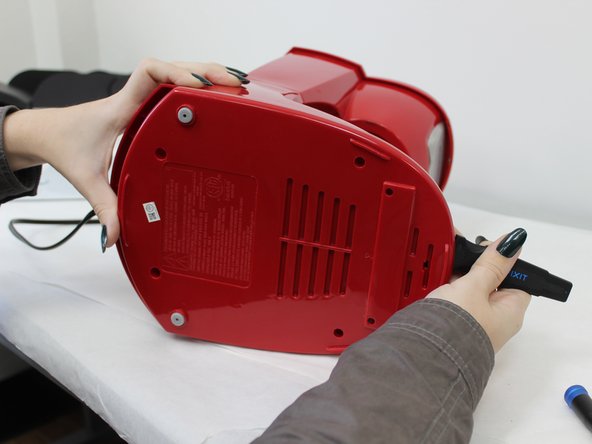
  1. Black and Decker DCM100R Heating Element Replacement, Heating Element: step 1, image 1 of 2 Black and Decker DCM100R Heating Element Replacement, Heating Element: step 1, image 2 of 2
    • Turn the coffee maker on its side.

    • Remove the four 6 mm Phillips #2 that secure the baseplate.

    Ask FixBot
  2. Black and Decker DCM100R Heating Element Replacement: step 2, image 1 of 3 Black and Decker DCM100R Heating Element Replacement: step 2, image 2 of 3 Black and Decker DCM100R Heating Element Replacement: step 2, image 3 of 3
    • Insert the jimmy at the back of the panel and slide it around to the front.

    Ask FixBot
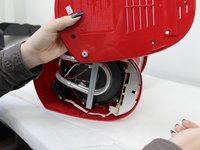
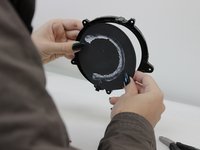
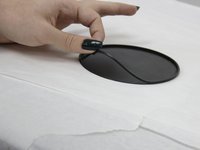
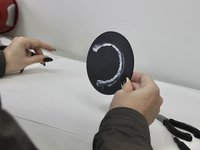
  3. Black and Decker DCM100R Heating Element Replacement: step 3, image 1 of 3 Black and Decker DCM100R Heating Element Replacement: step 3, image 2 of 3 Black and Decker DCM100R Heating Element Replacement: step 3, image 3 of 3
    • Apply pressure to the backside of the panel until it releases.

    • Remove the plate.

    Ask FixBot
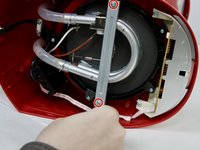
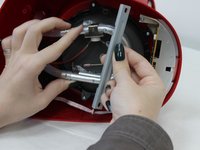
  4. Black and Decker DCM100R Heating Element Replacement: step 4, image 1 of 2 Black and Decker DCM100R Heating Element Replacement: step 4, image 2 of 2
    • Remove the two 10 mm Phillips #2 screws securing the metal support brace.

    • Remove the brace and set aside.

    Ask FixBot
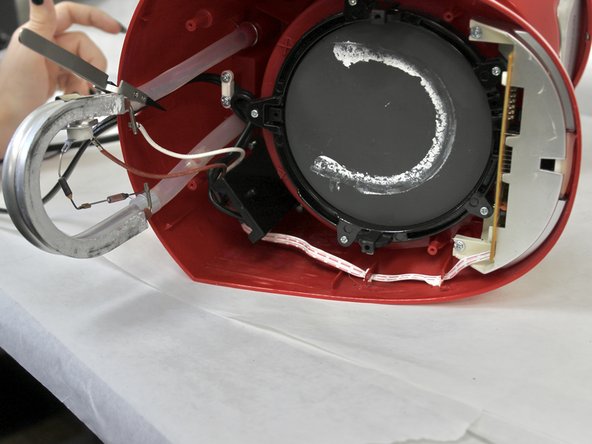
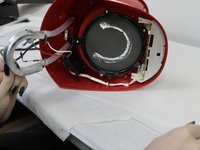
  5. Black and Decker DCM100R Heating Element Replacement: step 5, image 1 of 2 Black and Decker DCM100R Heating Element Replacement: step 5, image 2 of 2
    Tool used on this step:
    Tweezers
    $4.99
    Buy
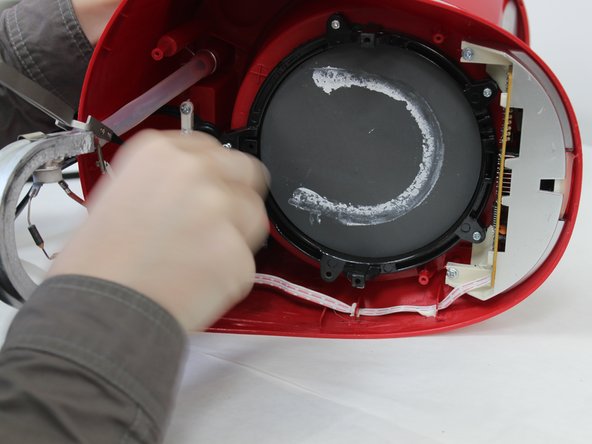
    • Pull back the tubing and wiring to reveal the hot plate.

    • To hold these out of your way, you can use the Nylon Tipped Tweezers to pin them back to the back panel.

    Ask FixBot
  6. Black and Decker DCM100R Heating Element Replacement: step 6, image 1 of 2 Black and Decker DCM100R Heating Element Replacement: step 6, image 2 of 2
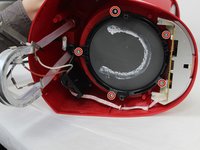
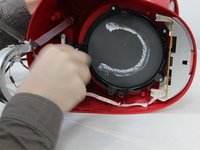
    • Use a Phillips #2 screwdriver to remove the five 8 mm screws that secure the mounting bracket and hot plate.

    Ask FixBot
  7. Black and Decker DCM100R Heating Element Replacement: step 7, image 1 of 2 Black and Decker DCM100R Heating Element Replacement: step 7, image 2 of 2
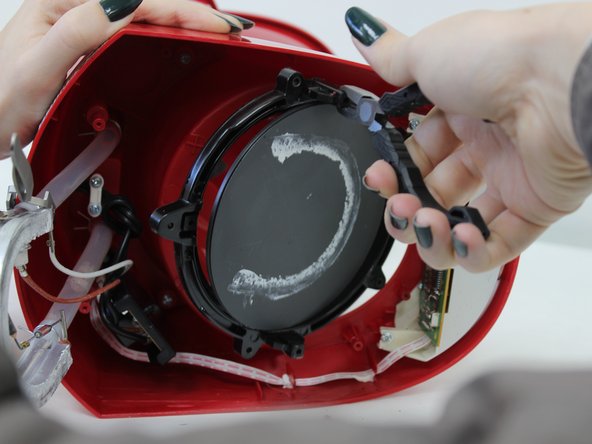
    • Use a pair of pliers to gently pull the mounting bracket out of place.

    Ask FixBot
  8. Black and Decker DCM100R Heating Element Replacement: step 8, image 1 of 3 Black and Decker DCM100R Heating Element Replacement: step 8, image 2 of 3 Black and Decker DCM100R Heating Element Replacement: step 8, image 3 of 3
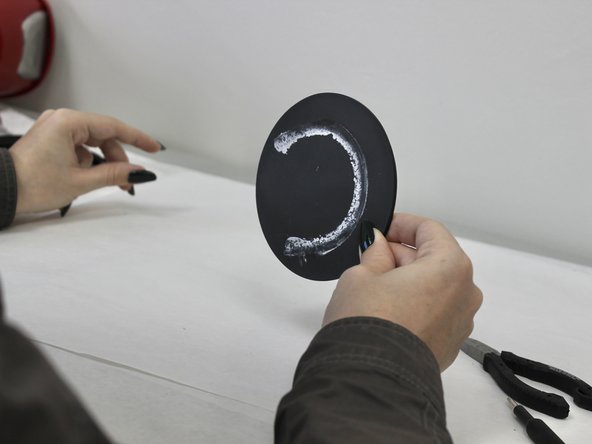
    • Remove the hot plate from the mounting bracket.

    • Remove the O-ring from the hot plate.

    Ask FixBot
Conclusion

To reassemble your device, follow these instructions in reverse order.

1 Guide Comment

Thanks very interesting, I'm writing from Italy. I also ask if it is possible to know what those electronic components in series are, do they look like resistors? Or are they fuses? Thanks valerio.pellegrini64@gmail.com

valerio pellegrini - Reply Share
Add Comment

View Statistics:

Past 24 Hours: 2

Past 7 Days: 14

Past 30 Days: 62

All Time: 922