Free Shipping on Domestic Orders $75+

Black and Decker BL3000S button panel replacement

What you need

  1. Black and Decker BL3000S button panel replacement, Blender Base: step 1, image 1 of 2 Black and Decker BL3000S button panel replacement, Blender Base: step 1, image 2 of 2
    • Before disassembling the blender base, make sure the blender disconnected from any power outlet.

    • Lift the jar straight up from the base without tilting the jar.

    Ask FixBot
  2. Black and Decker BL3000S button panel replacement: step 2, image 1 of 1
    • Remove the top three 1/4 inch base screws using a Philip's head screwdriver.

    Ask FixBot
  3. Black and Decker BL3000S button panel replacement: step 3, image 1 of 2 Black and Decker BL3000S button panel replacement: step 3, image 2 of 2
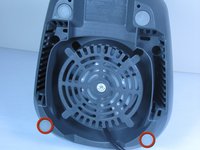
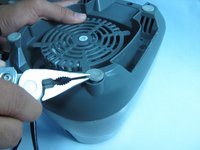
    • Remove the two base leg covers next to the power cord using pliers or a flat-head screwdriver.

    • This provides access to the base screws beneath.

    Ask FixBot
  4. Black and Decker BL3000S button panel replacement: step 4, image 1 of 1
    • Remove the following screws that secure the top and bottom halves of the base.

    • One 1/4 Phillips screw

    • One TA-20 screw

    • Both screwdrivers must have a minimum of a three inch shank (length).

    • Screwdrivers with extenders will not fit down the access holes.

    Ask FixBot
  5. Black and Decker BL3000S button panel replacement: step 5, image 1 of 1
    • Lift the top half of the base from the bottom half of the base to reveal the internal mechanism.

    Ask FixBot
  6. Black and Decker BL3000S button panel replacement, Circuit Board: step 6, image 1 of 1
    • Once you have the base removed, the circuit board should be clearly visible inside.

    Ask FixBot
  7. Black and Decker BL3000S button panel replacement: step 7, image 1 of 2 Black and Decker BL3000S button panel replacement: step 7, image 2 of 2
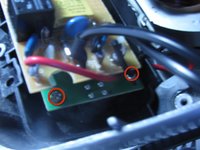
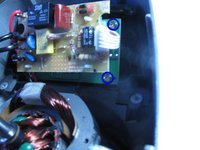
    • Remove the four screws located on the circuit board.

    • Two are on the left side.

    • Two are on the right side.

    Ask FixBot
  8. Black and Decker BL3000S button panel replacement: step 8, image 1 of 1
    • Remove the following soldered connections with a soldering iron:

    • Motor wires

    • Power cord wires

    Ask FixBot
  9. Black and Decker BL3000S button panel replacement: step 9, image 1 of 1
    • Lift the circuit board straight up to remove it from the base.

    Ask FixBot
  10. Black and Decker BL3000S button panel replacement, Buttons: step 10, image 1 of 1
    • Once the circuit board has been freed from its screws it can be moved out of the way to gain access to the buttons.

    • A single screw must be removed from the top as shown.

    Ask FixBot
  11. Black and Decker BL3000S button panel replacement: step 11, image 1 of 1
    • Push firmly from the outside of the blender on the face of the buttons to pop it out of its locked position.

    Ask FixBot
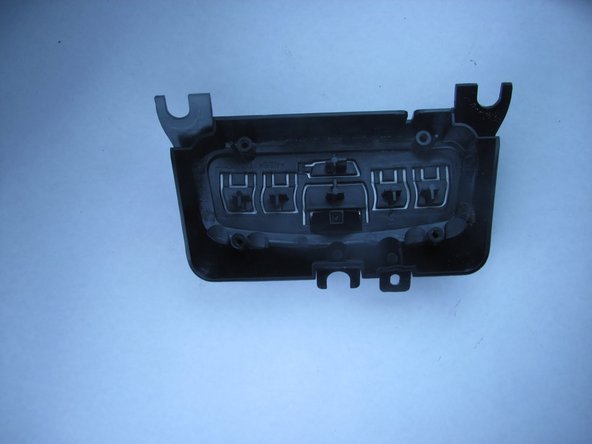
  12. Black and Decker BL3000S button panel replacement: step 12, image 1 of 2 Black and Decker BL3000S button panel replacement: step 12, image 2 of 2
    • Provided is a front and a back view of a functioning button frame from the BL3000S.

    • Check for cracks, bends, debris, or missing extentions and fastens.

    Ask FixBot
Conclusion

To reassemble your device, follow these instructions in reverse order.

Austin Abernathy

Member since: 10/05/12

18 Reputation

1 Guide authored

Team

Cal Poly, Team 6-34, Regan Fall 2012 Member of Cal Poly, Team 6-34, Regan Fall 2012

CPSU-REGAN-F12S6G34

4 Members

8 Guides authored

0 Guide Comments

Add Comment

View Statistics:

Past 24 Hours: 2

Past 7 Days: 11

Past 30 Days: 100

All Time: 3,224