Introduction
If any issues are arising inside your Bissell Zing 2156A, or you simply want to replace the casing, this guide will assist in taking it apart.
The casing is a extruded plastic shell, with other smaller plastic bits coming out of it. The casing is held in place by screws and small "snap-fit" fasteners. This guide starts with the removal of the rear wheel.
Overall, this assembly is safe to disassemble and reassemble.
What you need
-
-
Remove the dust tank, so the vacuum can lie upside down easily.
-
Press the grey button while pulling up.
 Ask FixBot
-
-
-
-
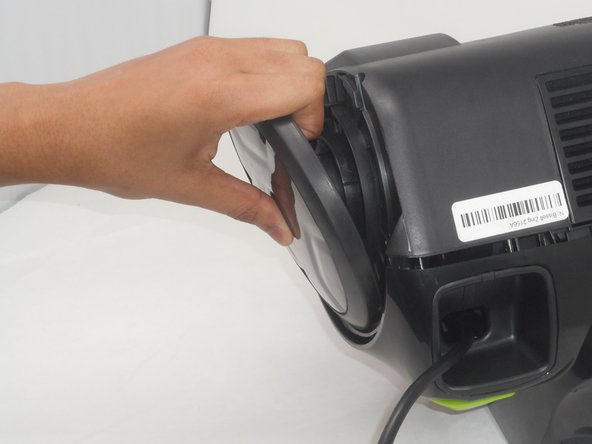
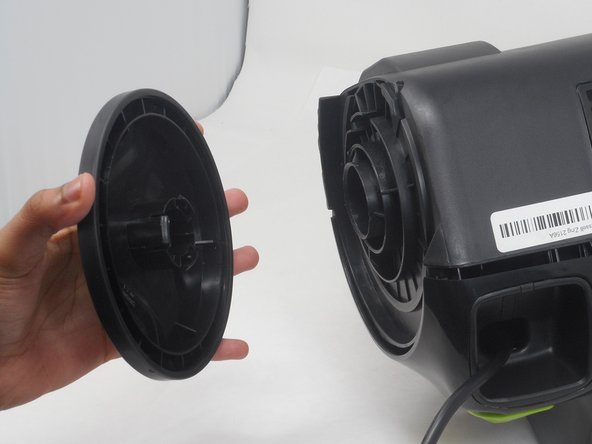
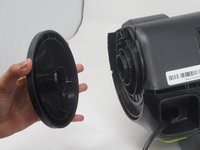
Place your hand inside between the wheel and vacuum and pry the wheel off.
-
Repeat with the other side.
-
-
-
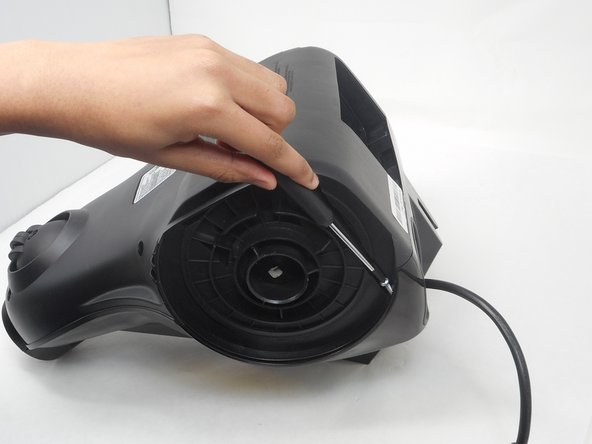
Remove the two 18.1 mm screws using a Phillips #0 screwdriver.
-
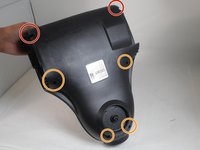
Remove the four 18.1 mm screws under the wheels using a Phillips #0 screwdriver.
-
-
-
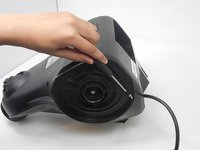
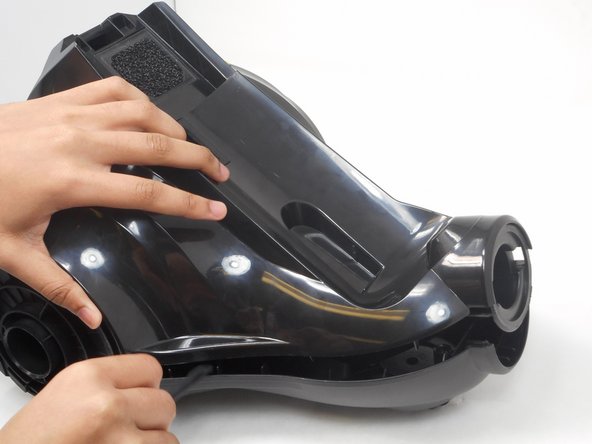
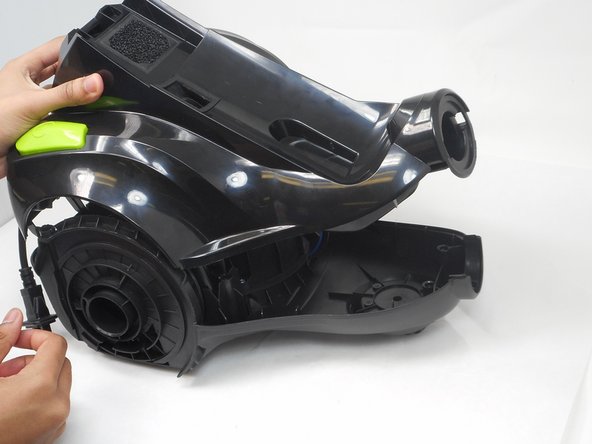
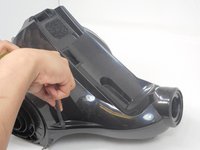
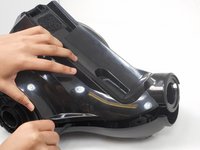
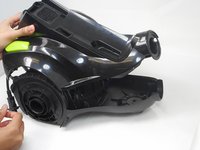
Use the spudger to loosen the top case from the bottom. Make sure to loosen it all around the bottom and lift up.
-




To reassemble your device, follow these instructions in reverse order.
Cancel: I did not complete this guide.
One other person completed this guide.

Team

University of Memphis, Team 3-4, Sneed Spring 2024 Member of University of Memphis, Team 3-4, Sneed Spring 2024
UM-SNEED-S24S3G4
4 Members
14 Guides authored
