Free Shipping on Domestic Orders $75+

Bissell SpotBot Pet Control Panel Replacement

Views: 1.1K

View statistics:

Past 24 Hours:
2
Past 7 Days:
17
Past 30 Days:
91
All Time:
1,092
Comments: 2

1 comment on steps, 1 guide comment.

Go to guide comments
Completed: 4

4 people have marked this guide "completed." Will you be next?

Favorites: 1

1 person has favorited (and subscribed to) this guide. Will you be next?

Time Required: 15 minutes
Difficulty: Moderate
Bissell SpotBot Pet Control Panel Replacement

Introduction

Go to step 1 ↓

This is a guide on how to replace the spiral brushing system on a bissell spotbot pet. Use this if your spiral brushing system is not working properly.

What you need

Tools

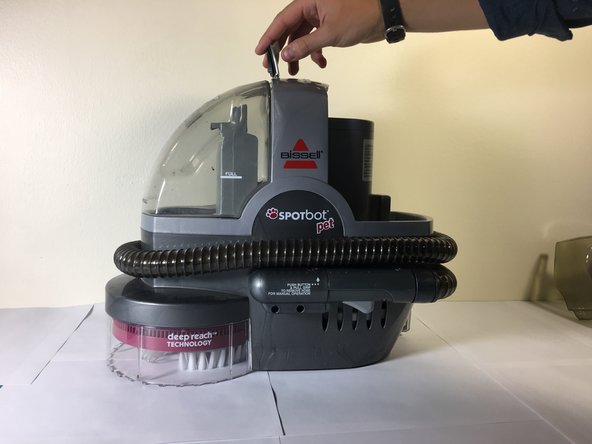
    1. Bissell SpotBot Pet Control Panel Replacement, Control Panel: step 1, image 1 of 1
      • Start here.

      Ask FixBot

      Add Comment

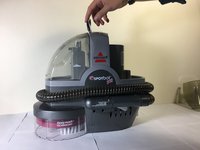
    2. Bissell SpotBot Pet Control Panel Replacement: step 2, image 1 of 1
      • Remove the container on the right side of the vacuum.

      Ask FixBot

      Add Comment

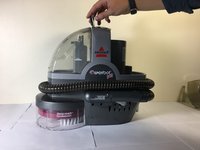
    3. Bissell SpotBot Pet Control Panel Replacement: step 3, image 1 of 2 Bissell SpotBot Pet Control Panel Replacement: step 3, image 2 of 2
      • Lift the tap on top of the vacuum, and then remove the container on the left side of the vacuum.

      Ask FixBot

      Add Comment

    4. Bissell SpotBot Pet Control Panel Replacement: step 4, image 1 of 1
      • Remove the left container of the vacuum.

      Ask FixBot

      Add Comment

    5. Bissell SpotBot Pet Control Panel Replacement: step 5, image 1 of 1
      • Remove the four screws on the top of the device.

      Ask FixBot

      Add Comment

    6. Bissell SpotBot Pet Control Panel Replacement: step 6, image 1 of 1
      • Lift the top of the device off once the screws are removed.

      Ask FixBot

      Add Comment

    7. Bissell SpotBot Pet Control Panel Replacement: step 7, image 1 of 1
      • Unplug the ribbon cable from the motherboard.

      Ask FixBot

      Add Comment

    8. Bissell SpotBot Pet Control Panel Replacement: step 8, image 1 of 1
      • Separate the top piece and flip it upside down.

      Ask FixBot

      Add Comment

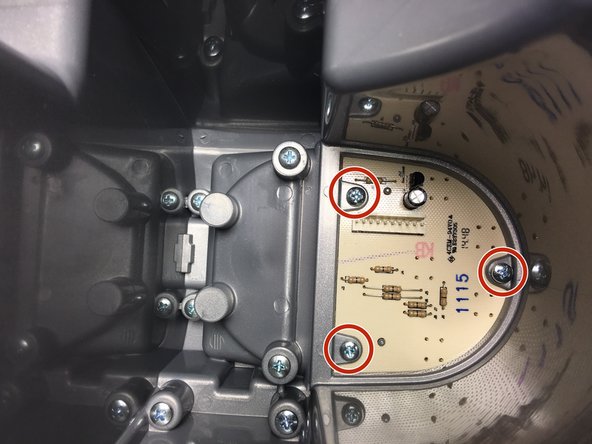
    9. Bissell SpotBot Pet Control Panel Replacement: step 9, image 1 of 2 Bissell SpotBot Pet Control Panel Replacement: step 9, image 2 of 2
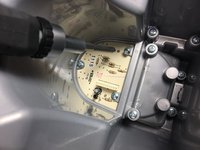
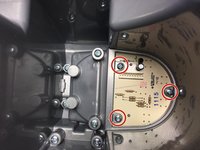
      • Remove the screws holding the motherboard in place.

      Ask FixBot

      Add Comment

    10. Bissell SpotBot Pet Control Panel Replacement: step 10, image 1 of 2 Bissell SpotBot Pet Control Panel Replacement: step 10, image 2 of 2
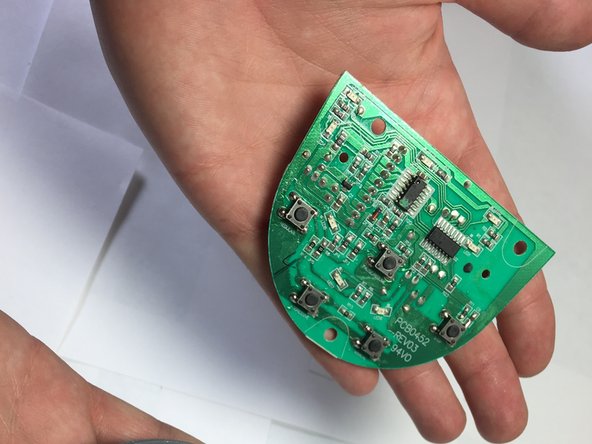
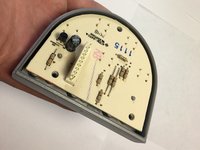
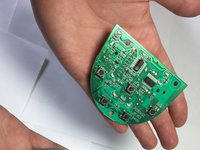
      • Remove the motherboard from the top piece. Repair or replace the motherboard if it is faulty.

      Ask FixBot

      Add Comment

Conclusion

To reassemble your device, follow these instructions in reverse order.

Cancel: I did not complete this guide.

4 other people completed this guide.

Anthony Bonvino

Member since: 09/26/17

437 Reputation

2 Guides authored

Team

Cal Poly, Team S7-G3, Banghart Fall 2017 Member of Cal Poly, Team S7-G3, Banghart Fall 2017

CPSU-BANGHART-F17S7G3

4 Members

24 Guides authored

1 Guide Comment

Where can I buy the part?

Sue Loberger - Reply Share

Add Comment

View Statistics:

Past 24 Hours: 2

Past 7 Days: 17

Past 30 Days: 91

All Time: 1,092