Introduction
The Bissell Pet Hair Eraser power button commands the vacuum on and off. Before disassembling the case to check the power button for proper operation, visit our troubleshooting guide for vacuum won’t turn on.
What you need
-
-
-
Firmly grasp the handle and press the release button.
-
Gently pull the dirt cup down and away from the vacuum body.
 Ask FixBot
-
-
-
-
-
Remove the six 1.2 mm Philips #2 screws from the handle and base.
-
-
-
-
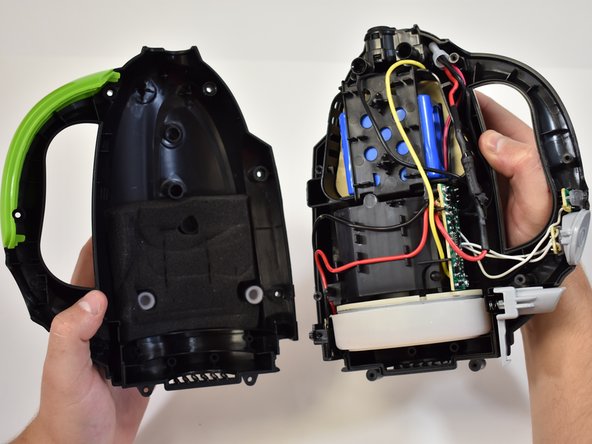
Grasp each half of the body and gently pull apart.
-
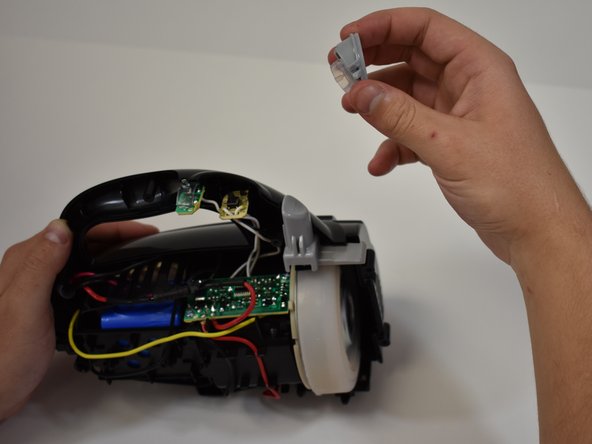
Once the case is split apart these items may come dislodged.
-
-



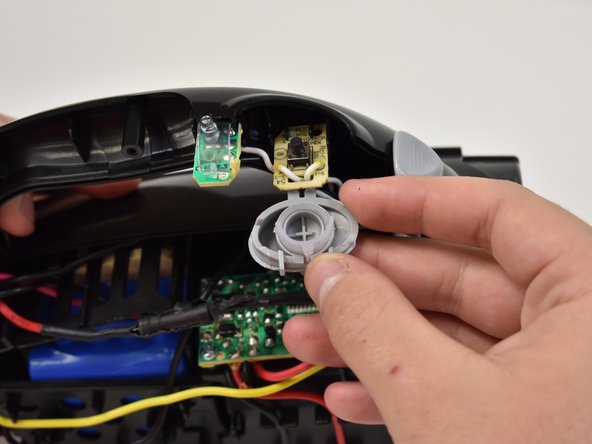
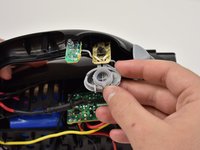
To reassemble your device, follow these instructions in reverse order.
Cancel: I did not complete this guide.
One other person completed this guide.

Team

Central Washington University, Team S1-G1, Pengilly Fall 2018 Member of Central Washington University, Team S1-G1, Pengilly Fall 2018
CWU-PENGILLY-F18S1G1
4 Members
10 Guides authored
