Free Shipping on Domestic Orders $75+

Bissell CleanView Compact 3508 Motor/Power Supply Replacement

What you need

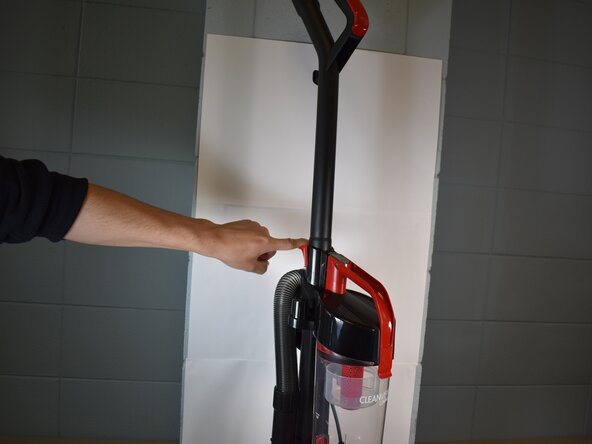
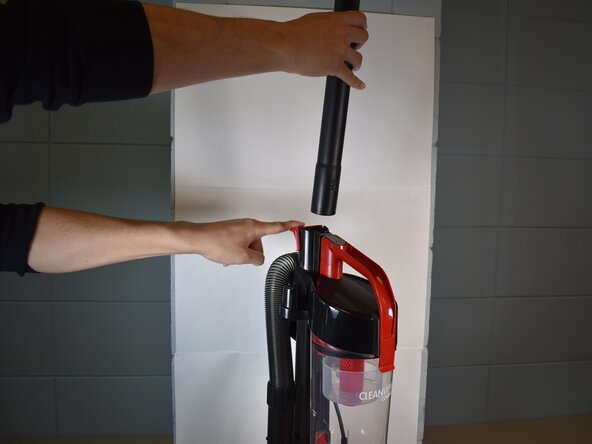
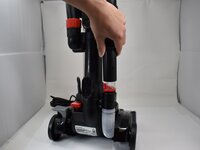
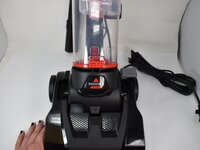
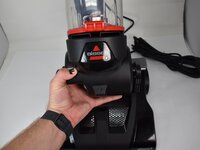
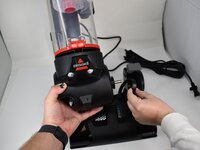
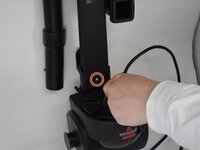
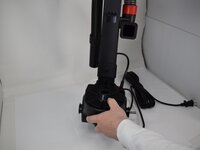
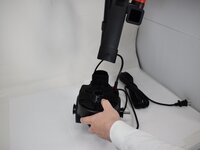
  1. Bissell CleanView Compact 3508 Motor/Power Supply Replacement, Brush Roll Cover: step 1, image 1 of 3 Bissell CleanView Compact 3508 Motor/Power Supply Replacement, Brush Roll Cover: step 1, image 2 of 3 Bissell CleanView Compact 3508 Motor/Power Supply Replacement, Brush Roll Cover: step 1, image 3 of 3
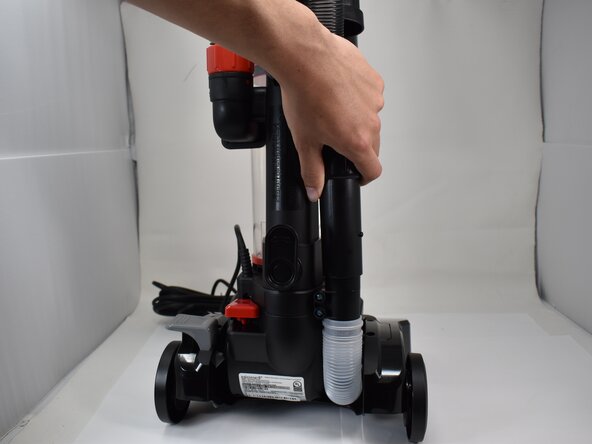
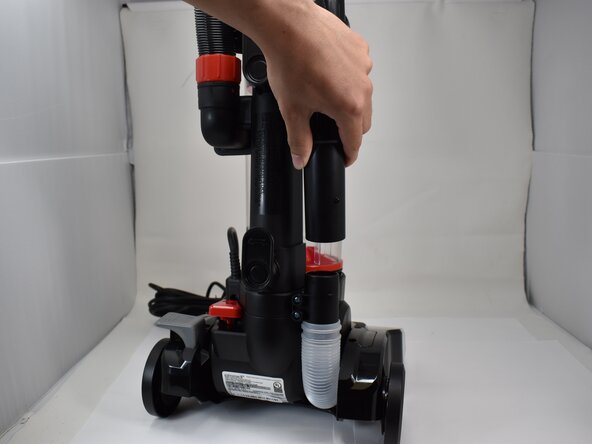
    • With the vacuum in an upright position, press the latch on the rear of the spine to remove the handle from the vacuum.

    Ask FixBot

    Add Comment

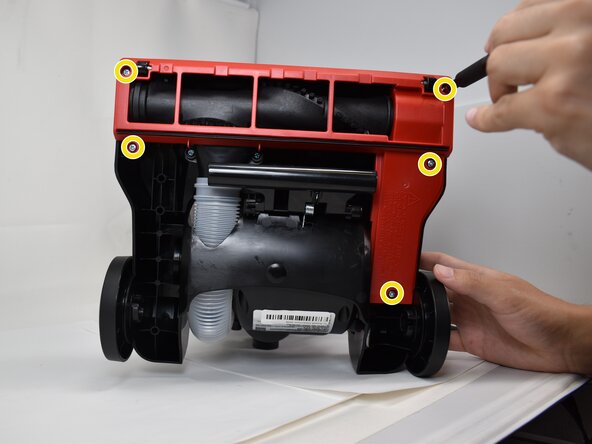
  2. Bissell CleanView Compact 3508 Motor/Power Supply Replacement: step 2, image 1 of 2 Bissell CleanView Compact 3508 Motor/Power Supply Replacement: step 2, image 2 of 2
    • Use a Phillips #2 screwdriver to remove the five 20.7 mm screws on the underside of the brush roll cover.

    Ask FixBot

    Add Comment

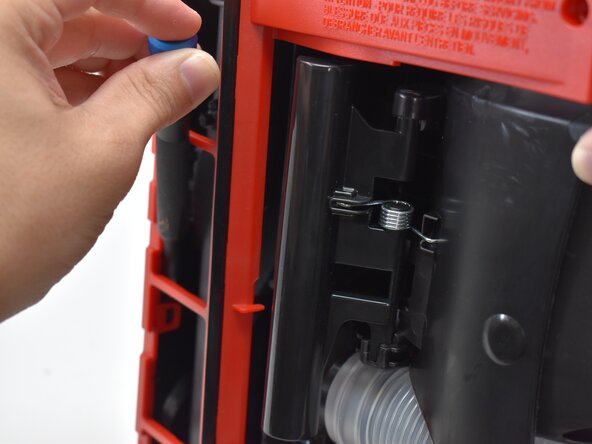
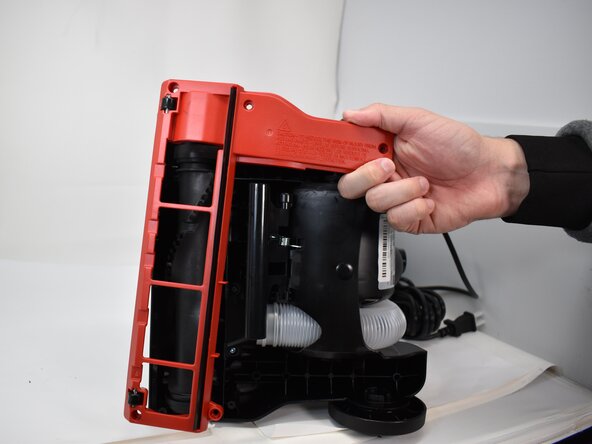
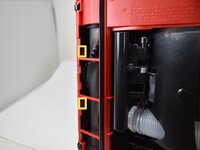
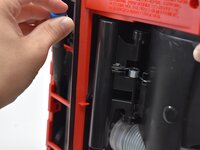
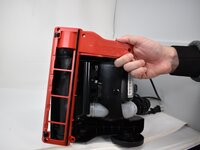
  3. Bissell CleanView Compact 3508 Motor/Power Supply Replacement: step 3, image 1 of 3 Bissell CleanView Compact 3508 Motor/Power Supply Replacement: step 3, image 2 of 3 Bissell CleanView Compact 3508 Motor/Power Supply Replacement: step 3, image 3 of 3
    • Use a pry tool or flathead screwdriver to disengage the two retaining clips securing the brush roll cover.

    • Remove the brush roll cover.

    Ask FixBot

    Add Comment

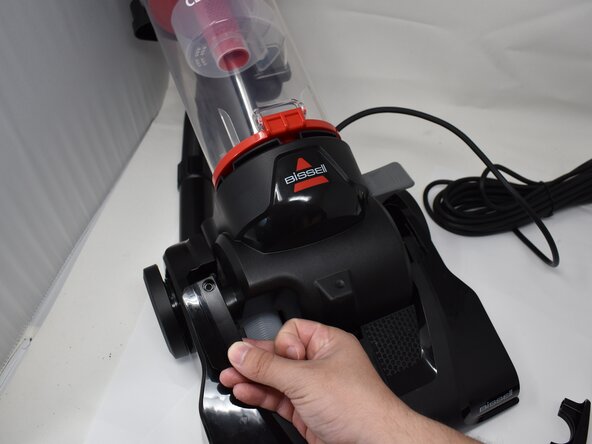
  4. Bissell CleanView Compact 3508 Motor/Power Supply Replacement, Top/Bottom: step 4, image 1 of 3 Bissell CleanView Compact 3508 Motor/Power Supply Replacement, Top/Bottom: step 4, image 2 of 3 Bissell CleanView Compact 3508 Motor/Power Supply Replacement, Top/Bottom: step 4, image 3 of 3
    • Disconnect the main black hose from its lower attachment point.

    Ask FixBot

    Add Comment

  5. Bissell CleanView Compact 3508 Motor/Power Supply Replacement: step 5, image 1 of 1
    • Use a Phillips #2 screwdriver to remove the two 20.7 mm screws from the lower hose attachment point.

    Ask FixBot

    Add Comment

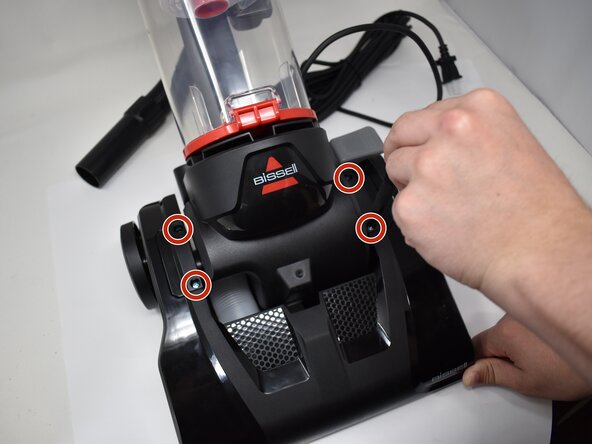
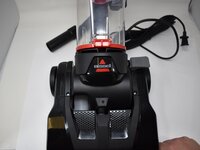
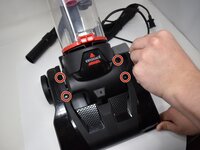
  6. Bissell CleanView Compact 3508 Motor/Power Supply Replacement: step 6, image 1 of 3 Bissell CleanView Compact 3508 Motor/Power Supply Replacement: step 6, image 2 of 3 Bissell CleanView Compact 3508 Motor/Power Supply Replacement: step 6, image 3 of 3
    • Use a Phillips #2 screwdriver to remove the four 20.7 mm screws on the upper cover plates.

    • Remove the two upper cover plates.

    Ask FixBot

    Add Comment

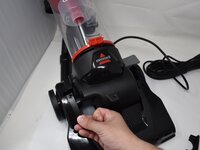
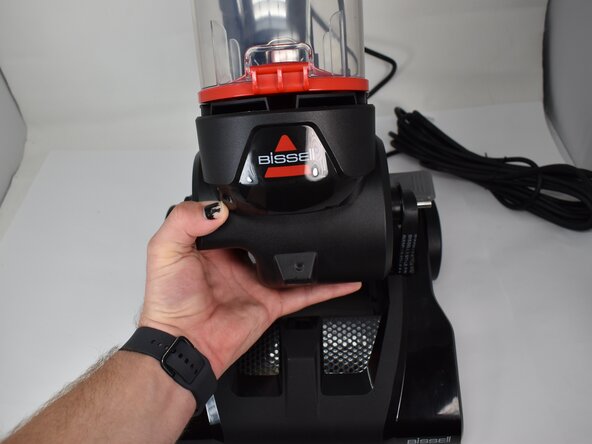
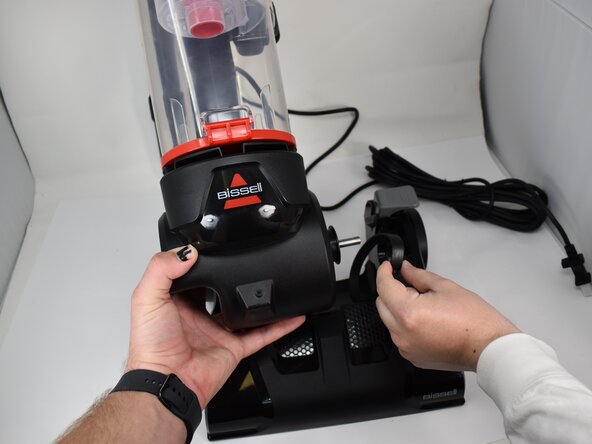
  7. Bissell CleanView Compact 3508 Motor/Power Supply Replacement: step 7, image 1 of 3 Bissell CleanView Compact 3508 Motor/Power Supply Replacement: step 7, image 2 of 3 Bissell CleanView Compact 3508 Motor/Power Supply Replacement: step 7, image 3 of 3
    • Gently pull the top half up and to the side away from the drive shaft to separate both halves.

    • Pull the belt through the socket, and remove the belt from the drive shaft.

    Ask FixBot

    Add Comment

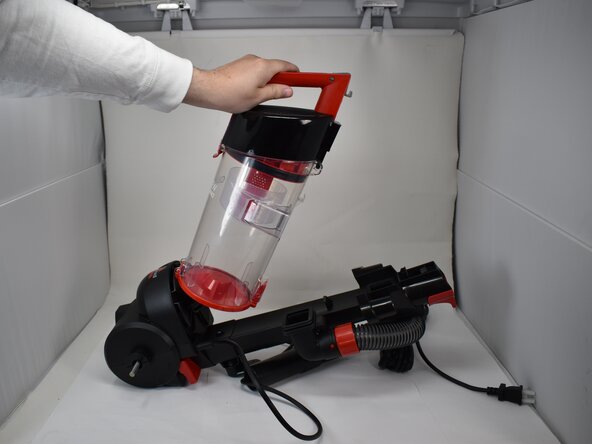
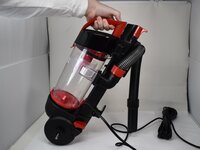
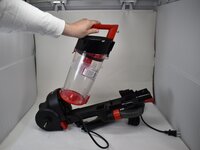
  8. Bissell CleanView Compact 3508 Motor/Power Supply Replacement, Motor: step 8, image 1 of 2 Bissell CleanView Compact 3508 Motor/Power Supply Replacement, Motor: step 8, image 2 of 2
    • Push the button on the canister to remove it from the spine.

    • Set the canister to the side.

    Ask FixBot

    Add Comment

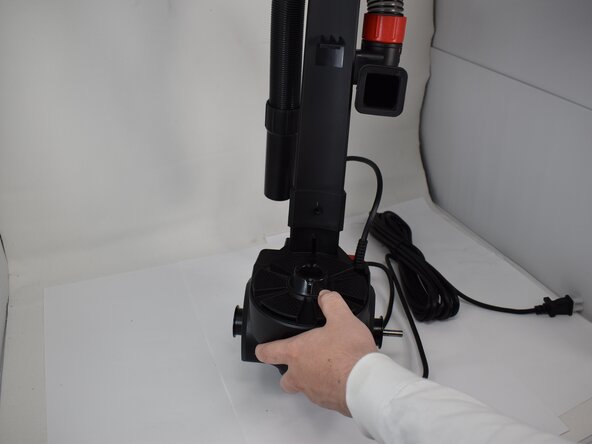
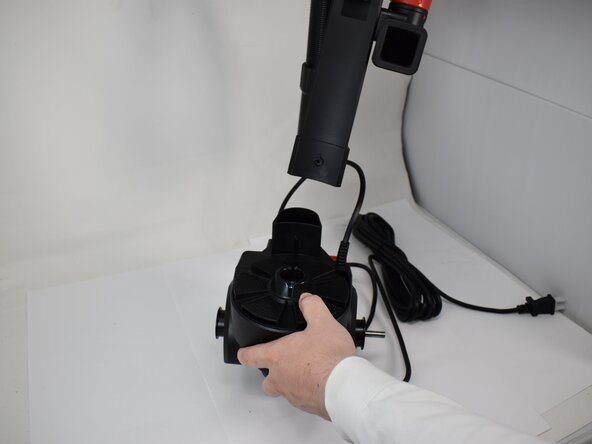
  9. Bissell CleanView Compact 3508 Motor/Power Supply Replacement: step 9, image 1 of 3 Bissell CleanView Compact 3508 Motor/Power Supply Replacement: step 9, image 2 of 3 Bissell CleanView Compact 3508 Motor/Power Supply Replacement: step 9, image 3 of 3
    • Remove the one 20.7 mm screw with a Phillips #2 screwdriver.

    • Separate the spine from the motor.

    Ask FixBot

    Add Comment

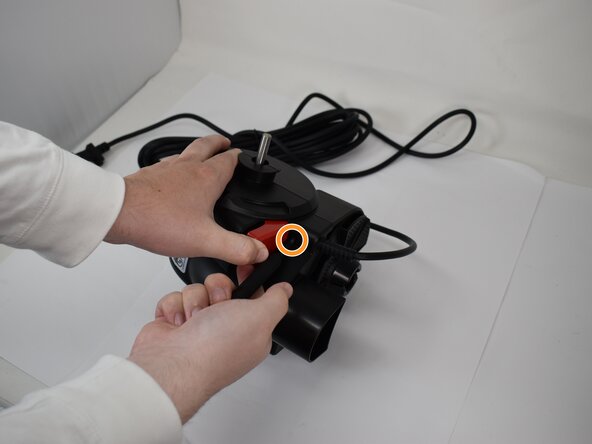
  10. Bissell CleanView Compact 3508 Motor/Power Supply Replacement: step 10, image 1 of 2 Bissell CleanView Compact 3508 Motor/Power Supply Replacement: step 10, image 2 of 2
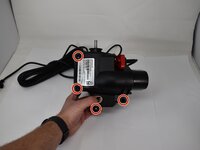
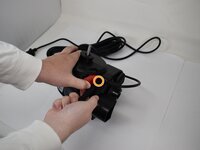
    • Remove the four 2.7 mm screws with a Phillips #2 screwdriver.

    • Press down on the red lever to access another 20.7mm screw. Remove the screw with a Phillips #2 screwdriver.

    Ask FixBot

    Add Comment

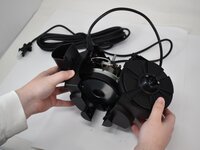
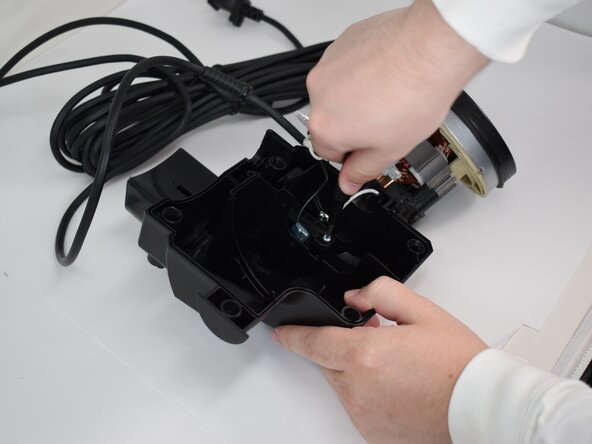
  11. Bissell CleanView Compact 3508 Motor/Power Supply Replacement: step 11, image 1 of 3 Bissell CleanView Compact 3508 Motor/Power Supply Replacement: step 11, image 2 of 3 Bissell CleanView Compact 3508 Motor/Power Supply Replacement: step 11, image 3 of 3
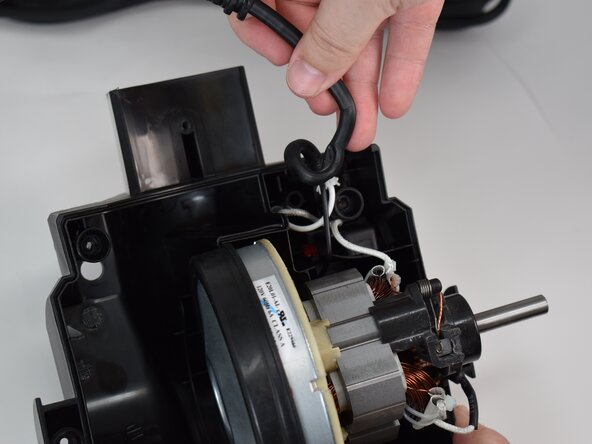
    • Separate the halves.

    • Take care not to strain the connected cables.

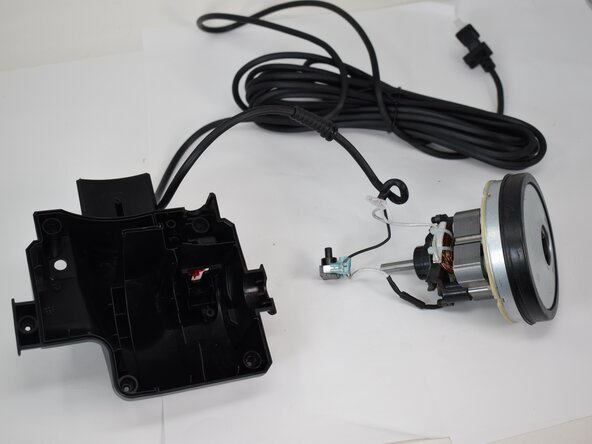
    • Unwind the power cable from its post, and gently pull the motor out of the casing.

    Ask FixBot

    Add Comment

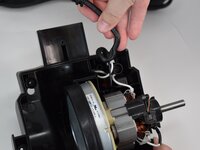
  12. Bissell CleanView Compact 3508 Motor/Power Supply Replacement: step 12, image 1 of 3 Bissell CleanView Compact 3508 Motor/Power Supply Replacement: step 12, image 2 of 3 Bissell CleanView Compact 3508 Motor/Power Supply Replacement: step 12, image 3 of 3
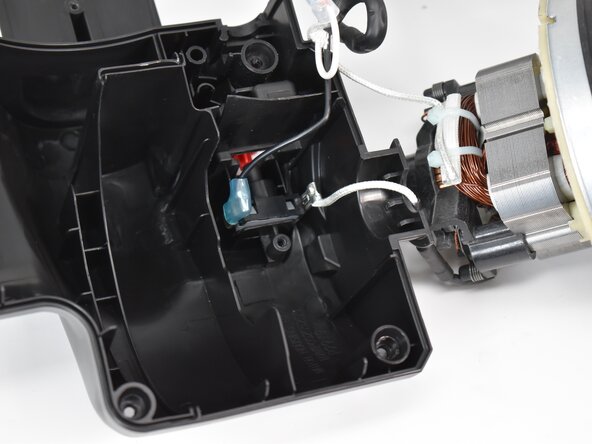
    • By taking the motor out of its casing, the cover of the switch becomes exposed.

    • Use a Phillips #2 screwdriver to remove the 20.7 mm screw from the cover.

    • Gently remove the cover.

    Ask FixBot

    Add Comment

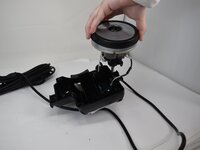
  13. Bissell CleanView Compact 3508 Motor/Power Supply Replacement: step 13, image 1 of 2 Bissell CleanView Compact 3508 Motor/Power Supply Replacement: step 13, image 2 of 2
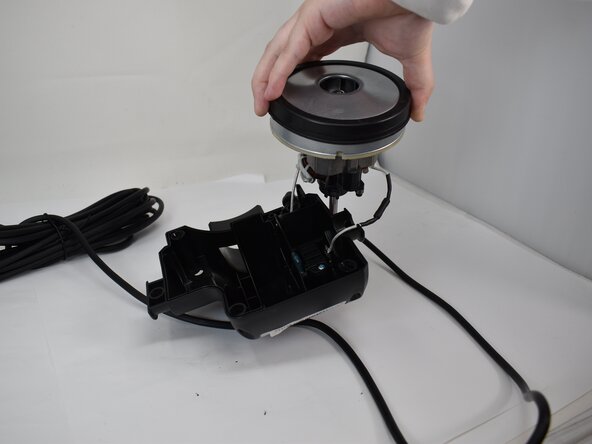
    • Gently disconnect the motor from the connector.

    • Remove the motor.

    Ask FixBot

    Add Comment

Conclusion

To reassemble your device, follow these instructions in reverse order.

Cancel: I did not complete this guide.

0 Guide Comments

Add Comment

View Statistics:

Past 24 Hours: 0

Past 7 Days: 7

Past 30 Days: 34

All Time: 264