
Bicycle Handlebar Tape Replacement

Jordan Byrnes and 2 other contributors
Last updated on Jun 23, 2017
Views: 1.4K
View statistics:
- Past 24 Hours:
- 9
- Past 7 Days:
- 56
- Past 30 Days:
- 169
- All Time:
- 1,365
Comments: 0
No one has left comments on this guide. Will you be first?
Go to guide commentsCompleted: 1 2
1 person has marked this guide "completed." Will you be next?
2 people have marked this guide "completed." Including you — great job!
Favorites: 2 3
2 people have favorited (and subscribed to) this guide. Will you be next?
3 people have favorited (and subscribed to) this guide — including you!
Markup Mishap
This guide needs better markups. Help out by correcting or making some markup annotations.
Introduction
Go to step 1 ↓This is a basic step-by-step guide on how to replace handlebar tape on a bicycle. Whether the bar tape on your bike is ripped, worn-out, or just plain missing, this guide will allow you to replace the tape all by yourself!
What you need


-
-
-
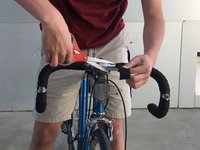
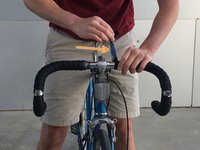
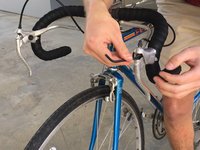
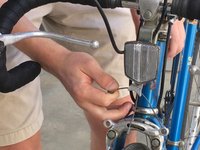
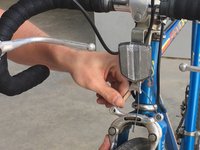
Undo the brake cables holding the brake calipers under tension.
-
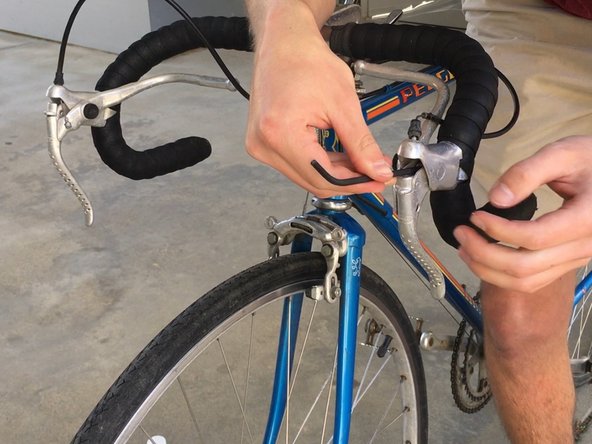
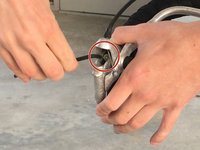
Depress the brake/shift levers (brifters) and insert a 5mm Allen key into the internal bolt. This bolt secures the brifters to the handlebar.
-
With the 5mm Allen key, loosen and temporarily remove brifters.
 Ask FixBot
-
-
-
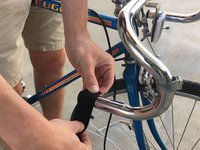
Remove the old tape and discard.
-
Pour some rubbing alcohol on the rag and clean any old adhesive residue off the handlebar.
-
-
-
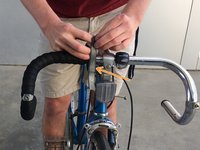
Starting on the right side of the handlebar, wrap the new tape around the end in a clockwise direction moving inward.
-
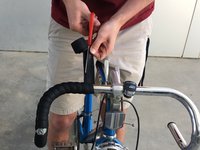
Using the scissors, cut the tape at an angle towards the outside of the bar.
-
Wrap the loose end with either electrical tape or the adhesive piece provided with the handlebar tape (pictured here)
-
-
-
On the left side of the handlebar, wrap the tape around the end in a counter-clockwise direction moving inward.
-
Using the scissors, cut the tape at an angle towards the outside of the bar.
-
Wrap the loose end with either electrical tape or the adhesive piece provided with the handlebar tape (pictured).
-
-
-
-
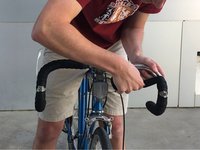
Using the 5mm Allen key, reattach and tighten the brifter levers onto the handlebar.
-
-







Cancel: I did not complete this guide.
One other person completed this guide.

Team

UC Davis, Team S1-G70, Coad Spring 2017 Member of UC Davis, Team S1-G70, Coad Spring 2017
UCD-COAD-S17S1G70
3 Members
12 Guides authored
