
Bicycle Freewheel Replacement

David Hanna and 2 other contributors
Last updated on Aug 6, 2025
Views: 2.4K
View statistics:
- Past 24 Hours:
- 18
- Past 7 Days:
- 132
- Past 30 Days:
- 470
- All Time:
- 2,394
Comments: 0
No one has left comments on this guide. Will you be first?
Go to guide commentsCompleted: 0 1
No one has marked this guide "completed." Will you be the first?
1 person has marked this guide "completed." It's you — great job!
Favorites: 0 1
No one has favorited (and subscribed to) this guide. Will you be the first?
1 person has favorited (and subscribed to) this guide — and that's you!
Introduction
Go to step 1 ↓Replacing a freewheel is an important maintenance task that can restore smooth pedaling and enhance overall bike performance.
The freewheel is a clutch mechanism attached to the rear hub that allows the bike to coast—letting the wheel spin freely even when you're not pedaling.
Over time, freewheels can wear out, leading to skipping, poor engagement, or difficulty shifting. Whether you're replacing a worn-out freewheel or performing routine maintenance, following the correct steps will ensure a secure and reliable installation.
This guide will walk you through the process of replacing a freewheel, beginning after the rear wheel has been removed from the bike. Along the way, you’ll pick up helpful maintenance tips to keep your drivetrain in excellent condition. With the right tools and a bit of care, you’ll have your bike ready to ride in no time!
What you need
Tools
-
-
-
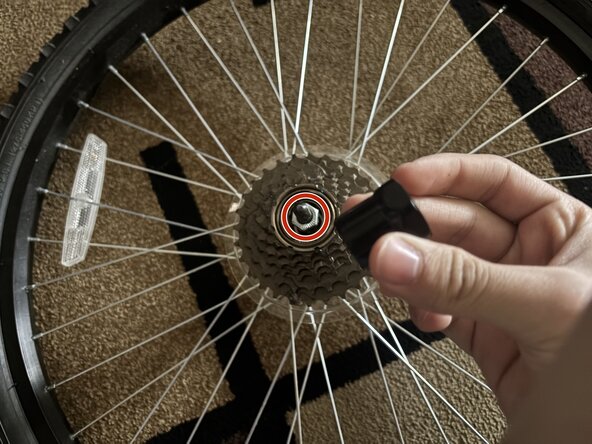
Place the freewheel removal tool onto the notches of the freewheel.
 Ask FixBot
-
-
-
Use an adjustable wrench to turn the freewheel removal tool counter-clockwise to loosen the freewheel.
-
-
-
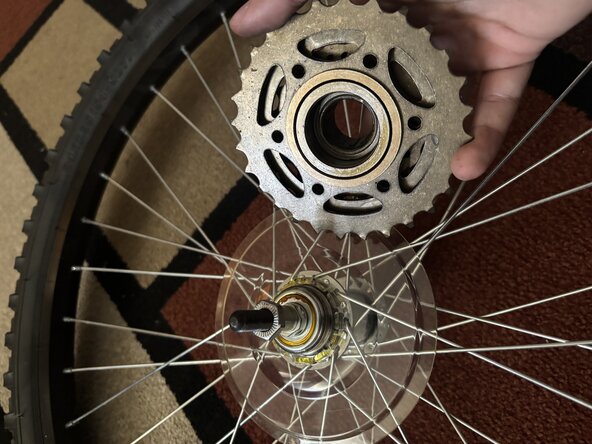
Carefully examine the hub threads for any signs of damage or wear, such as cross-threading or debris.
-
-
-
-
Install the new freewheel by spinning it with your hand clockwise until it is snug.
-
-





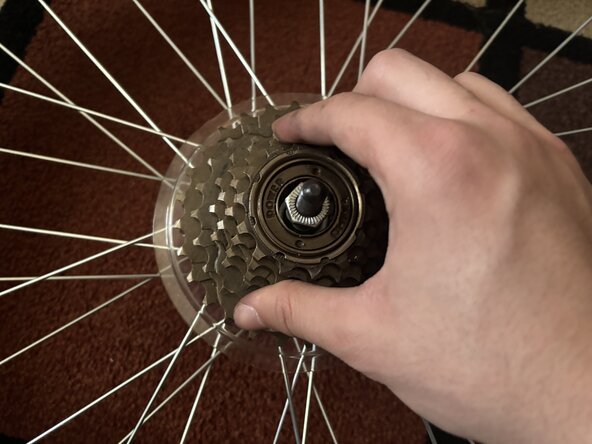


After following this guide your new freewheel should be installed.

Team

York University, Team 4-4, Woodhouse Winter 2025 Member of York University, Team 4-4, Woodhouse Winter 2025
YORK-WOODHOUSE-W25S4G4
2 Members
12 Guides authored
