Introduction
The Benq HT1075 projector uses a technology called Digital Light Processing (DLP) display, which essentially uses mirrors to output images. The circuit board contains the DLP chip responsible for taking in the digital input and outputting the display. If the board becomes dysfunctional, then the image output would be faulty at best.
Note that the BenQ HT1075 Projector Lamp Replacement is a prerequisite since damage to the lamp is hazardous to both the projector and user.
What you need
-
-
Loosen the 2.5 mm Phillips #1 screw that holds the top assembly in place using a Philips #1 (PH1) screwdriver. This will enable you to lift and slide off the top cover.
-
Fully remove the top cover in order to get to the lamp housing.
 Ask FixBot
-
-
-
Using a Phillips #1 (PH1) screwdriver, loosen and remove the single 2.5 mm Phillips #1 screw that secures the lamp housing to the projector.
-
-
-
Remove the lamp from the projector by pulling on the lamp handle.
-
Apply more force on the side opposite of the newly removed screw as you pull the lamp out.
-
-
-
-
Turn the projector over and remove the five 9.5 mm Phillips #1 screws that hold the back cover with a Phillips #1 (PH1) screwdriver.
-
-
-
Flip the projector and remove the 6th and last crew.
-
-
-
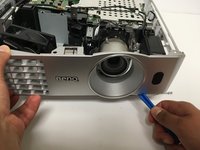
Using an opening tool, remove the top cover by first loosening its top cover.
-
-
-
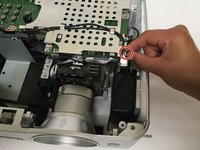
Unplug the wire that connects the front cover to the circuit board.
-
Now use the opening tool to pry the front cover from the platform.
-
Gently pull the top cover from the rest of the frame.
-
-
-
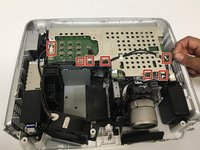
To prevent potential for electrical damage, disconnect any wires connected to the circuit board.
-
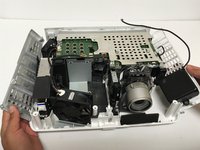
Using the opening tool, loosen the sides of the platform. Then gently pull them off from the projector components.
-
-
-
Remove these four 8.5 mm Phillips #1 screws using a Phillips #1 (PH1) screwdriver.
-
Afterwards, use a 5mm nut driver to remove the four remaining screws.
-
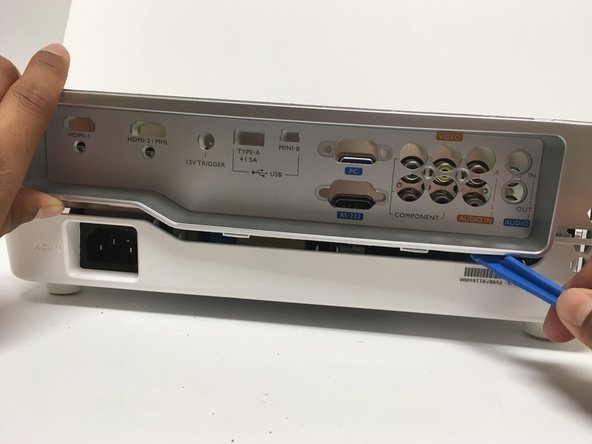
Use the opening tool to loosen the back cover then pull it off.
-
-
-
With a Phillips #1 (PH1) screwdriver, remove the four 6.3 mm Phillips screws that hold the metal casing on top of the circuit board.
-
Remove the metal casing.
-
-
-
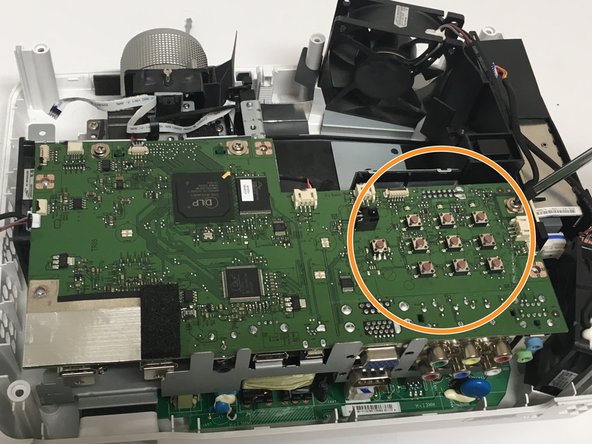
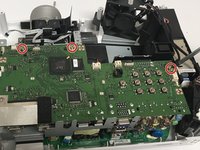
Using the Phillips #1 (PH1) screwdriver, remove the three 6.3 mm Phillips #1 screws holding down the circuit board.
-
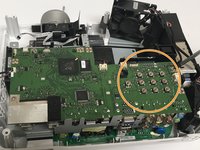
Carefully pull the circuit board from the frame, adding force to the area where the pushbuttons are located.
-








To reassemble your device, follow these instructions in reverse order.
Cancel: I did not complete this guide.
3 other people completed this guide.

Team

Cal Poly, Team S6-G1, Banghart Fall 2017 Member of Cal Poly, Team S6-G1, Banghart Fall 2017
CPSU-BANGHART-F17S6G1
5 Members
9 Guides authored
2 Guide Comments
miss i need to get some information regarding this projector repair. if you can email me, sandarukbio@gmail.com
very good instructions and pictures thank you for your detailed work
