
Belt Loop Keeper Replacement

Shel Rivas and 3 other contributors
Last updated on Jan 13, 2025
Views: 3K
View statistics:
- Past 24 Hours:
- 7
- Past 7 Days:
- 38
- Past 30 Days:
- 212
- All Time:
- 3,041
Comments: 0
No one has left comments on this guide. Will you be first?
Go to guide commentsCompleted: 2 3
2 people have marked this guide "completed." Will you be next?
3 people have marked this guide "completed." Including you — great job!
Favorites: 0 1
No one has favorited (and subscribed to) this guide. Will you be the first?
1 person has favorited (and subscribed to) this guide — and that's you!
Featured Student Guide
This guide has been the hard work of our awesome students and is found to be exceptionally cool by the iFixit staff.
Introduction
Go to step 1 ↓When the tail of a belt is extended past its attached buckle, there is extra length that becomes inconvenient (and an eye sore) that can be kept neatly with an adjustable belt loop keeper. This guide provides a step-by-step procedure about how to replace a belt loop keeper and avoid ruining outfits with a long belt tail.
What you need
Tools


-
-
-
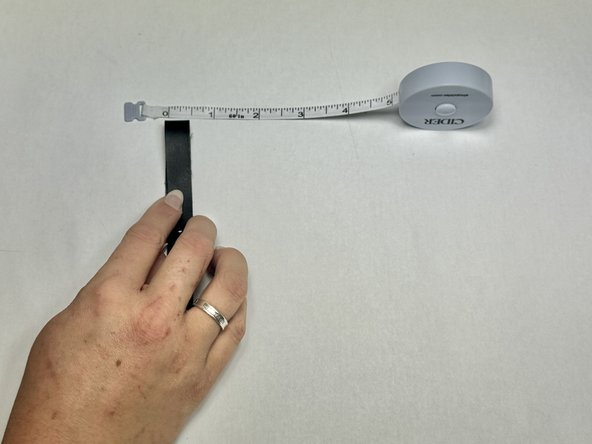
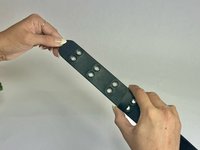
Measure the pieces of leather so the resulting strap will wrap around with a width of 0.5 in and a 1 cm overlap.
 Ask FixBot
-
-
-
Mark the measurements with an indent.
-
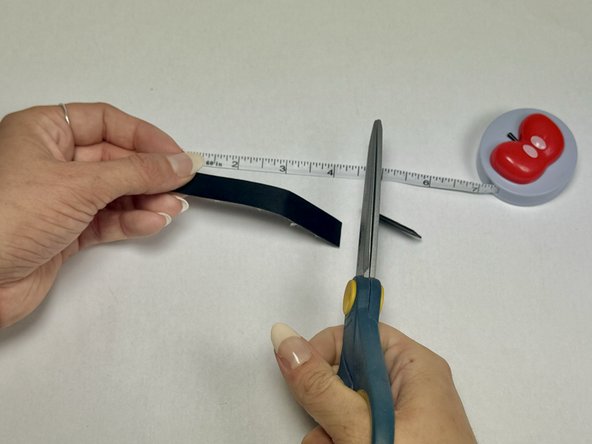
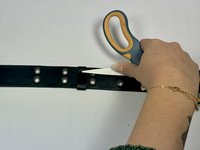
Cut the leather strap using scissors or a pocket knife.
-
-
-
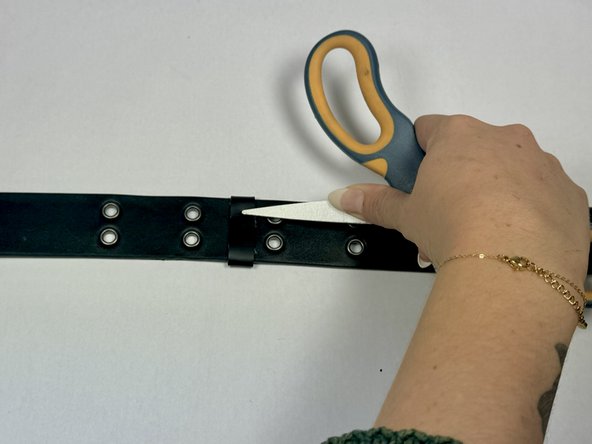
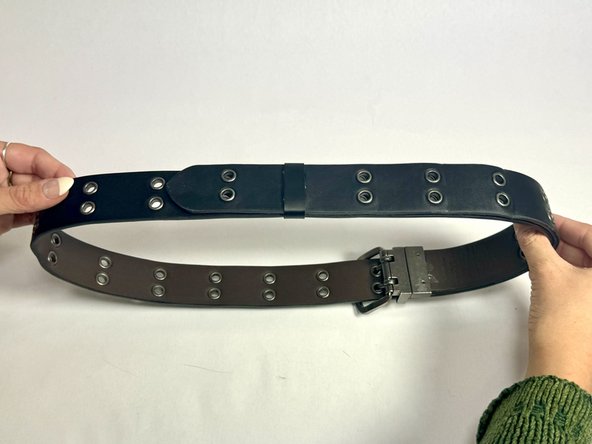
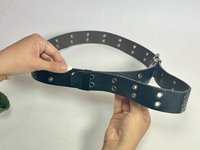
Wrap the leather strap around the belt with 1 cm of overlap.
-
Mark the area underneath where the leather piece will overlap to center the eyelet.
-
-
-
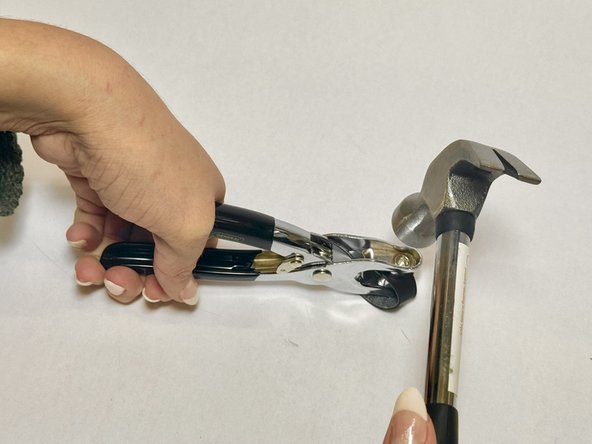
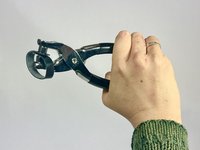
Placing the loop of leather in between the pliers, center the eyelet on the indent previously made and press down firmly.
-
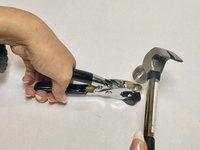
Use a hammer to strike the outside of the pliers for additional force.
-
-
-
-
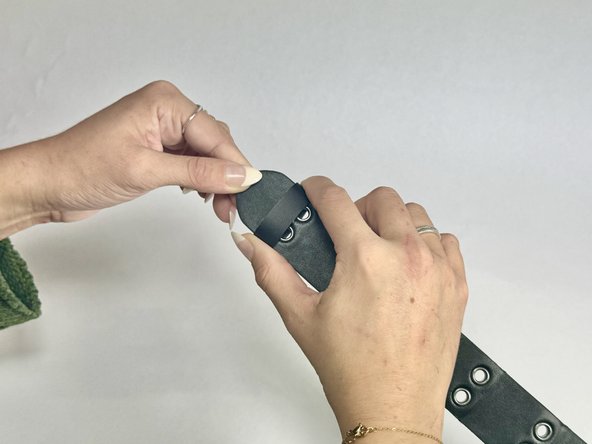
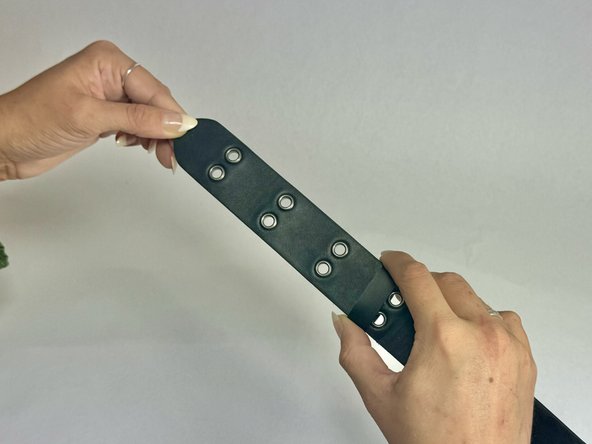
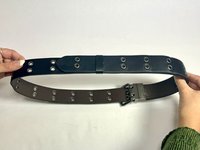
Buckle the belt and insert the excess belt material into the belt loop keeper.
-
Adjust until satisfied.
-
-









Cancel: I did not complete this guide.
2 other people completed this guide.

Team

UC Davis, Team 3-1, Vidal-Chiesa Fall 2024 Member of UC Davis, Team 3-1, Vidal-Chiesa Fall 2024
UCD-VIDAL-CHIESA-F24S3G1
3 Members
12 Guides authored
