
Free Shipping on Domestic Orders $75+

Bella Pro 90246 Light Bulb Replacement

What you need

  1. Bella Pro 90246 Light Bulb Replacement, Light Bulb: step 1, image 1 of 1
    • Make sure your air fryer is unplugged to avoid the risk of being electrocuted.

    • Gather your materials to begin disassembly.

    Ask FixBot

    Add Comment

  2. Bella Pro 90246 Light Bulb Replacement: step 2, image 1 of 3 Bella Pro 90246 Light Bulb Replacement: step 2, image 2 of 3 Bella Pro 90246 Light Bulb Replacement: step 2, image 3 of 3
    • Use the metal spudger to pry off the protective lid on all four sides.

    Ask FixBot

    Add Comment

  3. Bella Pro 90246 Light Bulb Replacement: step 3, image 1 of 2 Bella Pro 90246 Light Bulb Replacement: step 3, image 2 of 2
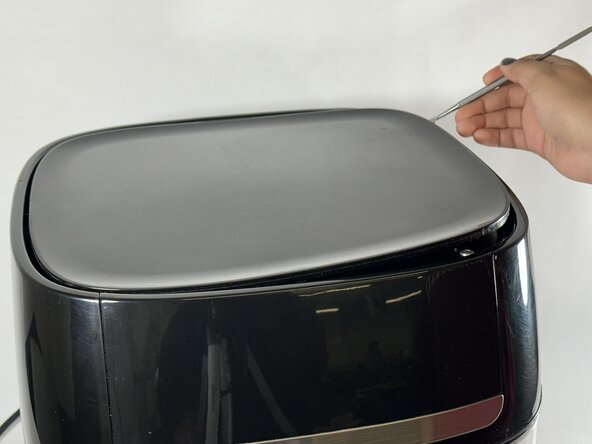
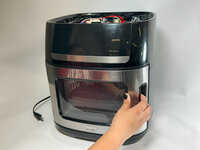
    • Remove the three 9.5 mm screws on the top of the air fryer that hold the plastic cover in place using a Phillips #1 screwdriver.

    Ask FixBot

    Add Comment

  4. Bella Pro 90246 Light Bulb Replacement: step 4, image 1 of 3 Bella Pro 90246 Light Bulb Replacement: step 4, image 2 of 3 Bella Pro 90246 Light Bulb Replacement: step 4, image 3 of 3
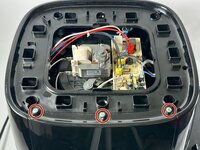
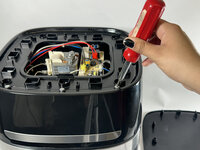
    • Use the Phillips #1 screwdriver to remove the four 34.9 mm screws that are located inside the round holes on the corners of the plastic cover.

    • You may need to use a pair of needle nose pliers to remove the screws from the deep set holes.

    Ask FixBot

    Add Comment

  5. Bella Pro 90246 Light Bulb Replacement: step 5, image 1 of 2 Bella Pro 90246 Light Bulb Replacement: step 5, image 2 of 2
    • Open the door.

    Ask FixBot

    Add Comment

  6. Bella Pro 90246 Light Bulb Replacement: step 6, image 1 of 3 Bella Pro 90246 Light Bulb Replacement: step 6, image 2 of 3 Bella Pro 90246 Light Bulb Replacement: step 6, image 3 of 3
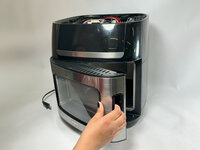
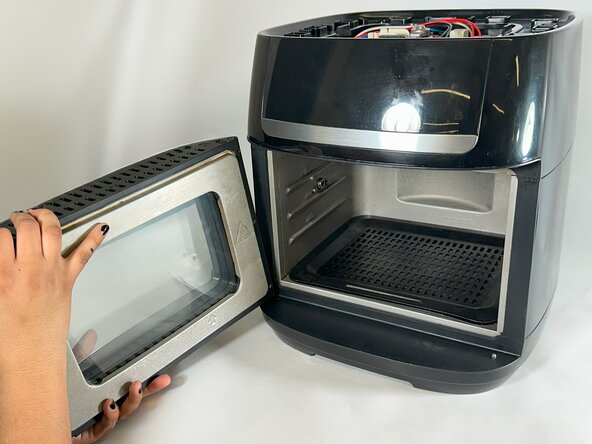
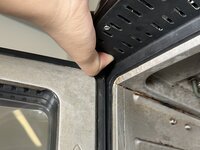
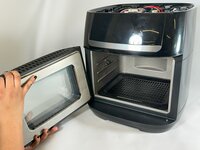
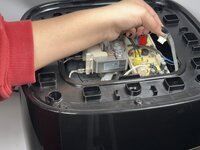
    • Press the button underneath the hood to release the mechanism that holds the door in place.

    • Once the door is disconnected, remove it from the airfryer and set it to the side.

    Ask FixBot

    Add Comment

  7. Bella Pro 90246 Light Bulb Replacement: step 7, image 1 of 2 Bella Pro 90246 Light Bulb Replacement: step 7, image 2 of 2
    • Carefully tilt the air fryer onto its side.

    Ask FixBot

    Add Comment

  8. Bella Pro 90246 Light Bulb Replacement: step 8, image 1 of 3 Bella Pro 90246 Light Bulb Replacement: step 8, image 2 of 3 Bella Pro 90246 Light Bulb Replacement: step 8, image 3 of 3
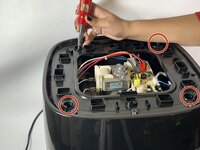
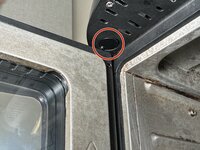
    • Use the Phillips #1 screwdriver to remove the three 25.4 mm screws under the hood.

    Ask FixBot

    Add Comment

  9. Bella Pro 90246 Light Bulb Replacement: step 9, image 1 of 1
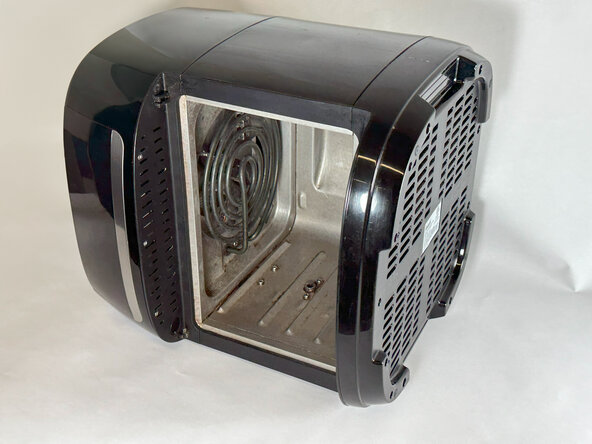
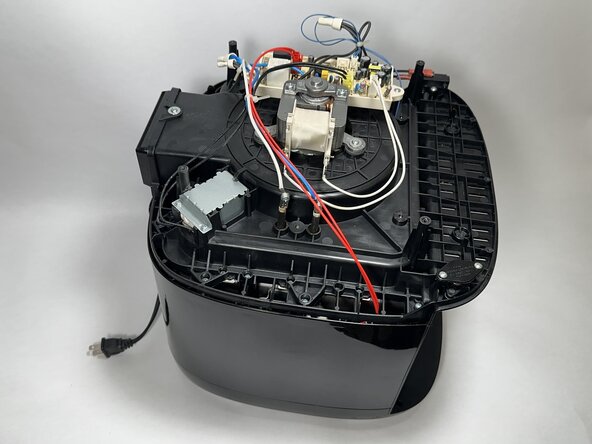
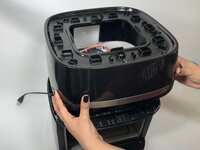
    • Hold the top of the air fryer into place while carefully moving it back to its up-right position.

    • After removing the screws, the top will be loose. Hold firmly to avoid damage to any wire connections underneath the plastic cover.

    Ask FixBot

    Add Comment

  10. Bella Pro 90246 Light Bulb Replacement: step 10, image 1 of 3 Bella Pro 90246 Light Bulb Replacement: step 10, image 2 of 3 Bella Pro 90246 Light Bulb Replacement: step 10, image 3 of 3
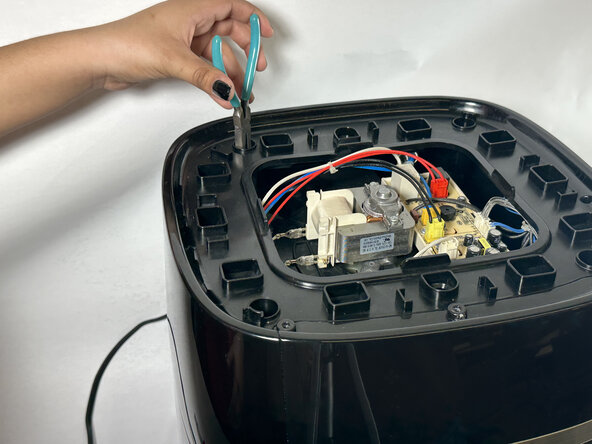
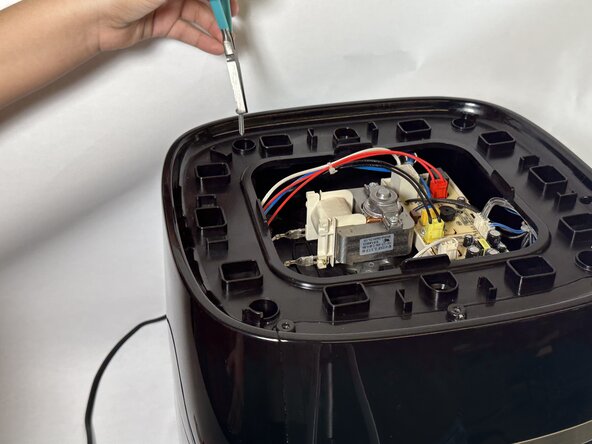
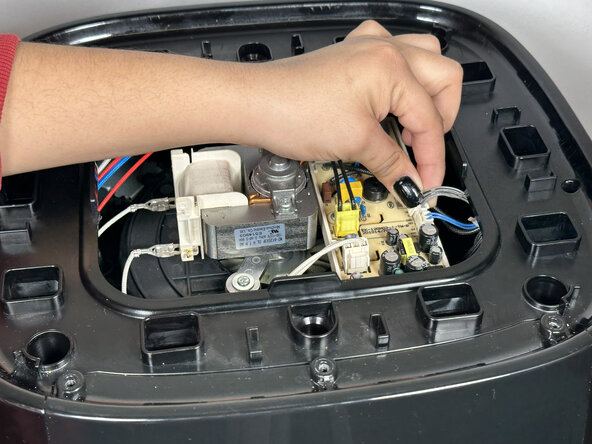
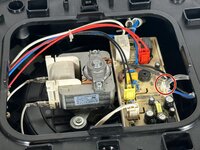
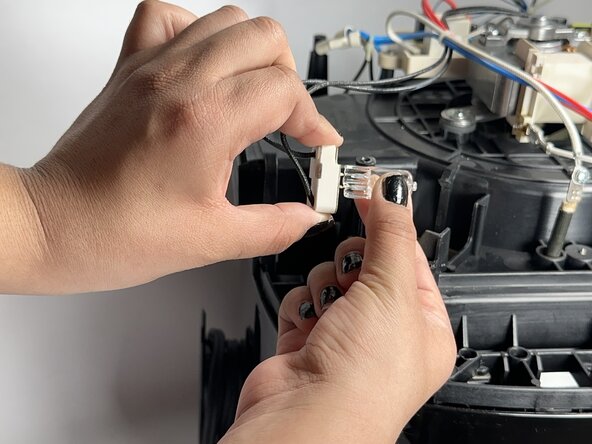
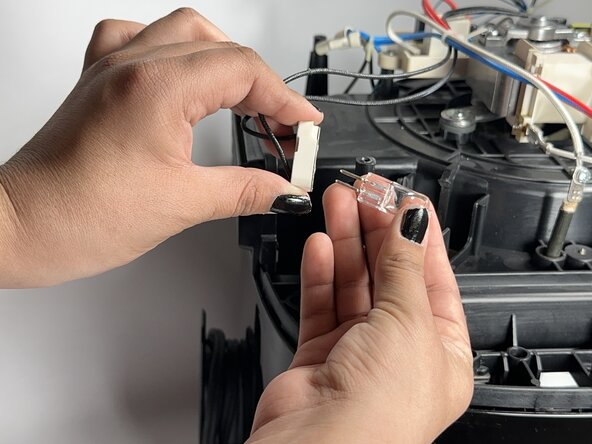
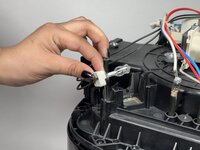
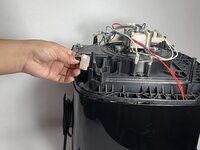
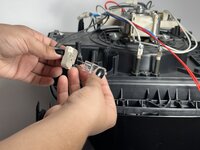
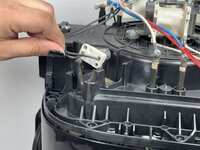
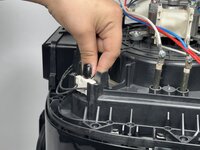
    • Identify the grey electrical cable attached to the circuit board.

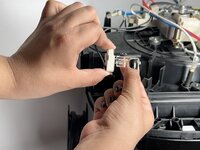
    • Press firmly on the cable head's tab to release the connection.

    • Carefully wiggle the cable head to disconnect the wire from the circuit board without damaging it.

    Ask FixBot

    Add Comment

  11. Bella Pro 90246 Light Bulb Replacement: step 11, image 1 of 2 Bella Pro 90246 Light Bulb Replacement: step 11, image 2 of 2
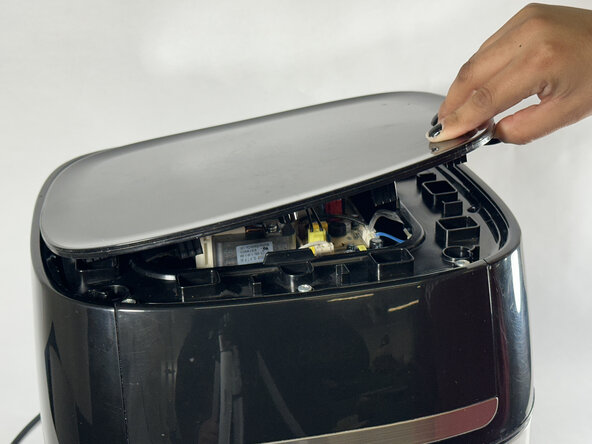
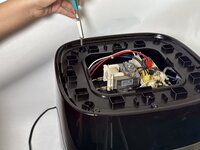
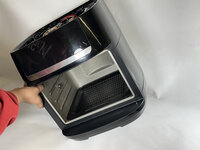
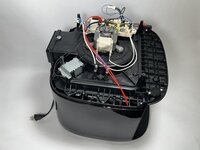
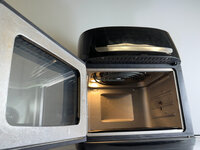
    • Lift the top cover off of the air fryer to access the electrical circuits underneath.

    Ask FixBot

    Add Comment

  12. Bella Pro 90246 Light Bulb Replacement: step 12, image 1 of 3 Bella Pro 90246 Light Bulb Replacement: step 12, image 2 of 3 Bella Pro 90246 Light Bulb Replacement: step 12, image 3 of 3
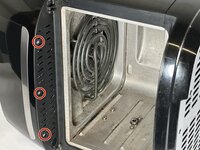
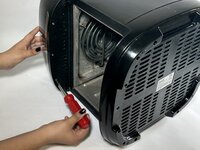
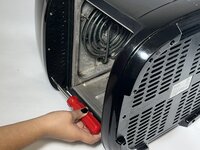
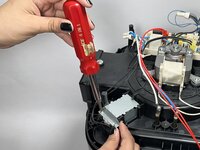
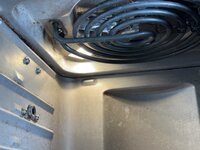
    • Remove the two 19.1 mm screws securing the metal light bulb cover using a Phillips #1 screwdriver.

    • Carefully pull off the metal cover to reveal the burnt-out light bulb.

    Ask FixBot

    Add Comment

  13. Bella Pro 90246 Light Bulb Replacement: step 13, image 1 of 3 Bella Pro 90246 Light Bulb Replacement: step 13, image 2 of 3 Bella Pro 90246 Light Bulb Replacement: step 13, image 3 of 3
    • The light bulb is made of glass and can be fragile. Handle with care to avoid injuring yourself with broken shards of glass.

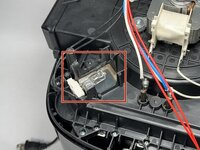
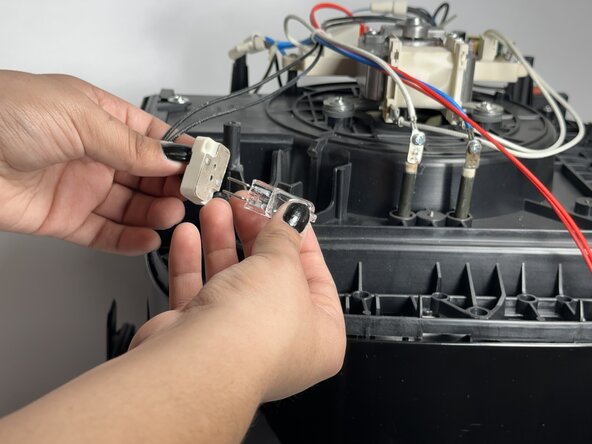
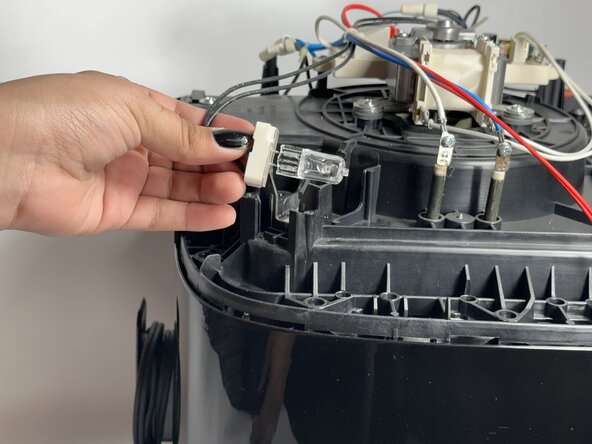
    • Lift the light bulb circuit out of the plastic slot and remove the burnt out light bulb by pulling gently.

    Ask FixBot

    Add Comment

  14. Bella Pro 90246 Light Bulb Replacement: step 14, image 1 of 3 Bella Pro 90246 Light Bulb Replacement: step 14, image 2 of 3 Bella Pro 90246 Light Bulb Replacement: step 14, image 3 of 3
    • Gently plug the new light bulb into the light bulb circuit.

    Ask FixBot

    Add Comment

  15. Bella Pro 90246 Light Bulb Replacement: step 15, image 1 of 2 Bella Pro 90246 Light Bulb Replacement: step 15, image 2 of 2
    • Slide the light bulb circuit carefully back into the plastic slot.

    Ask FixBot

    Add Comment

  16. Bella Pro 90246 Light Bulb Replacement: step 16, image 1 of 2 Bella Pro 90246 Light Bulb Replacement: step 16, image 2 of 2
    • Plug your air fryer into an electrical outlet to confirm your new light bulb works.

    • Enjoy your perfectly cooked food!

    Ask FixBot

    Add Comment

Conclusion

To reassemble your device follow this guide in reverse order starting with step 11.

Cancel: I did not complete this guide.

2 other people completed this guide.

Nattaly Vargas

Member since: 02/21/25

271 Reputation

1 Guide authored

Team

UC Davis, Team 1-5, Andersen Winter 2025 Member of UC Davis, Team 1-5, Andersen Winter 2025

UCD-ANDERSEN-W25S1G5

3 Members

2 Guides authored

1 Guide Comment

Can I please get a picture of the circuit board from both sides? I plugged this air fryer in 220 volts, which might've caused a couple resistors to go bad and I am trying to replace them, but I don't know the exact value of them

AbdulRaheem - Reply Share

Add Comment

View Statistics:

Past 24 Hours: 2

Past 7 Days: 20

Past 30 Days: 78

All Time: 1,090