Introduction
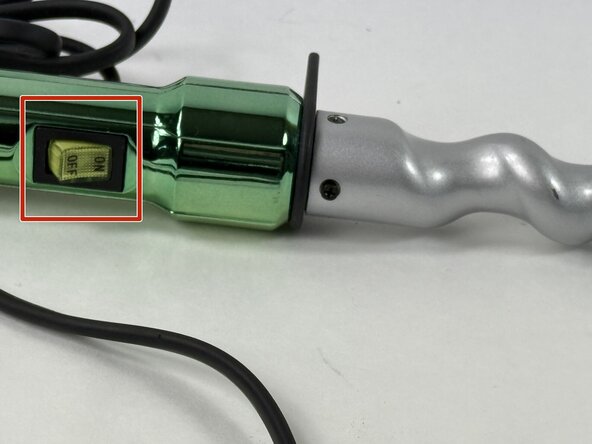
While many repairs can be accomplished without soldering, there are times when it's necessary to replace certain components, e.g., on switches and heater coils. An On Switch may need to be replaced if when flipping the switch back and forth, it does not turn the curler on. It may seem very technical and complicated, however, it is simpler than it seems.
What you need
-
-
Remove all four of the 4 mm Phillips screws on either side of the casing.
 Ask FixBot
-
-
-
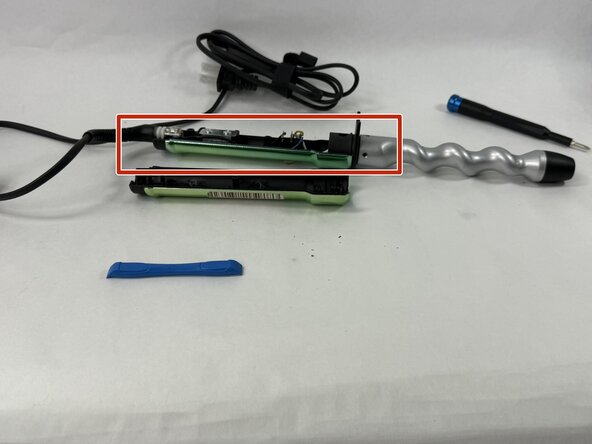
Using an opening tool, insert it along the seam where both halves of the casing meet, and slowly pry the left side of the casing from the right.
-
Gently pull back the right side of the casing from the center molding.
-
-
-
-
Move wiring or other components away from the main soldering field.
-
-
-
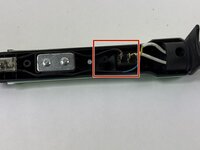
Release the securing tabs on the switch to the center molding.
-
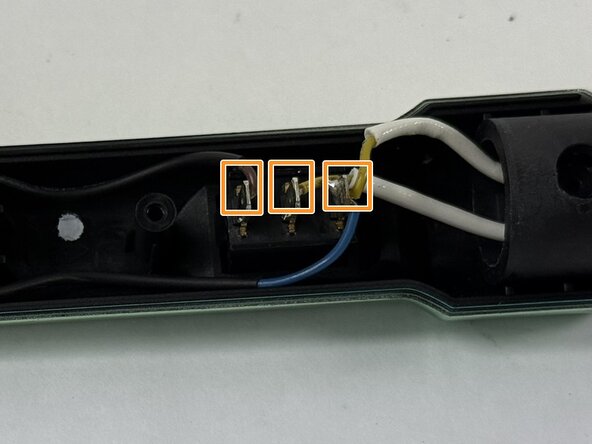
Use a 4mm flat head screwdriver to break off the solder where the wires meet the switch.
-
-
-
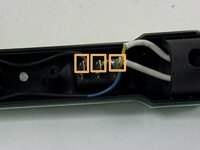
Press the new switch back into the center molding and use a soldering iron to solder the wires on the new switch.
-


To reassemble your device, follow these instructions in reverse order.
Team

UMass Dartmouth, Team 3-6, Botvin Spring 2025 Member of UMass Dartmouth, Team 3-6, Botvin Spring 2025
UMASSD-BOTVIN-S25S3G6
3 Members
4 Guides authored