Introduction
This guide describes the process of removing the motherboard for the BEBCONCOOL Wireless Switch Pro Controller.
The motherboard controls the functions of the controller. If the controller is having issues that cannot be resolved through any other means, you may need to replace the motherboard. This guide has been written to guide you through that process.
What you need
-
-
-
Use a Phillips #0 screwdriver to remove the seven 5 mm screws from the back of the controller.
 Ask FixBot
-
-
-
-
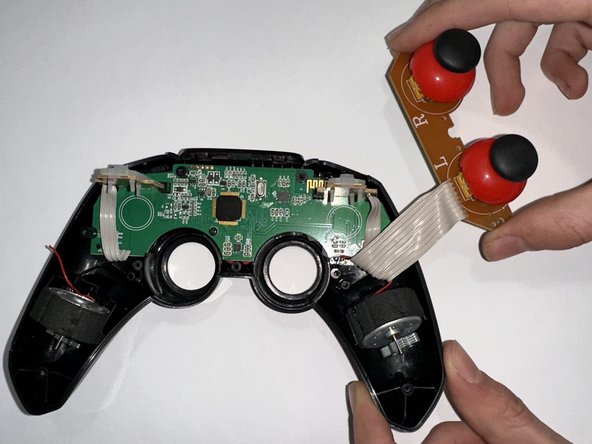
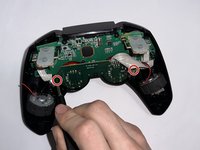
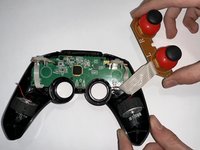
Use a Phillips #0 screwdriver to remove the two 5 mm screws holding the joystick motherboard in place.
-
-
-
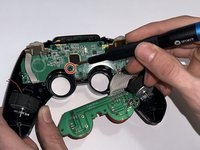
Use a Phillips #0 screwdriver to remove the 5 mm screw holding the motherboard in place.
-
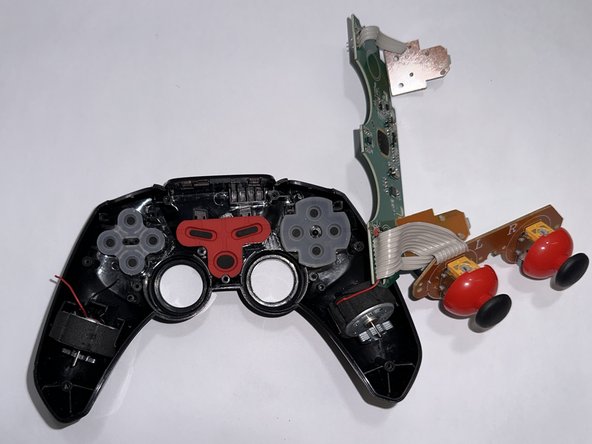
Remove the motherboard.
-
-




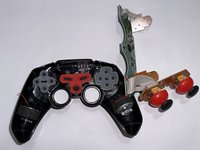
To reassemble your device, follow these instructions in reverse order.

Team

Casper College, Team 1-3, Lareau Spring 2023 Member of Casper College, Team 1-3, Lareau Spring 2023
CASC-LAREAU-S23S1G3
3 Members
60 Guides authored
