
Beboncool Wireless Switch Pro Controller Buttons Replacement

Tayah Appel and 3 other contributors
Last updated on May 7, 2024
Views: 491
View statistics:
- Past 24 Hours:
- 0
- Past 7 Days:
- 12
- Past 30 Days:
- 60
- All Time:
- 491
Comments: 0
No one has left comments on this guide. Will you be first?
Go to guide commentsCompleted: 0 1
No one has marked this guide "completed." Will you be the first?
1 person has marked this guide "completed." It's you — great job!
Favorites: 0 1
No one has favorited (and subscribed to) this guide. Will you be the first?
1 person has favorited (and subscribed to) this guide — and that's you!
Introduction
Go to step 1 ↓This guide describes how to remove broken or damaged buttons for the BEBONCOOL Wireless Switch Pro Controller.
The Beboncool Gamepad has many buttons that all operate in the same manner. A broken or malfunctioning button is rather easy to identify when not getting the correct response or no response at all when pressing the button in a game. Replacing the button will likely fix the issue.
What you need
Tools


-
-
-
Use a Phillips #0 screwdriver to remove the seven 5 mm screws from the back of the controller.
 Ask FixBot
-
-
-
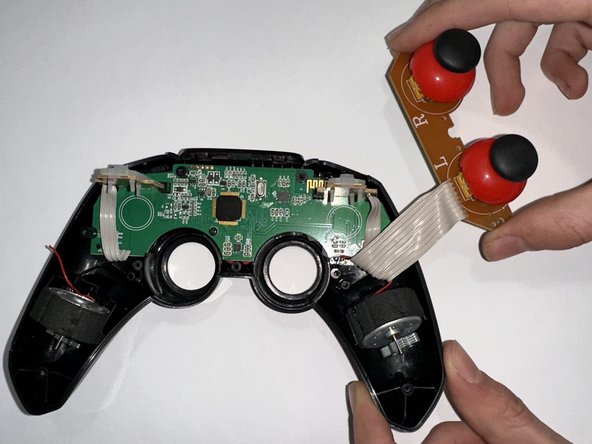
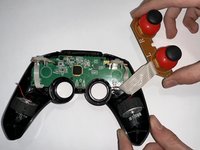
Use a Phillips #0 screwdriver to remove the two 5 mm screws holding the joystick motherboard in place.
-
-
-
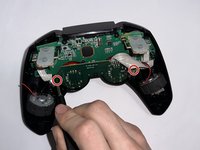
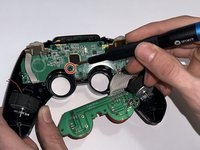
Use a Phillips #0 screwdriver to remove the 5 mm screw holding the motherboard in place.
-
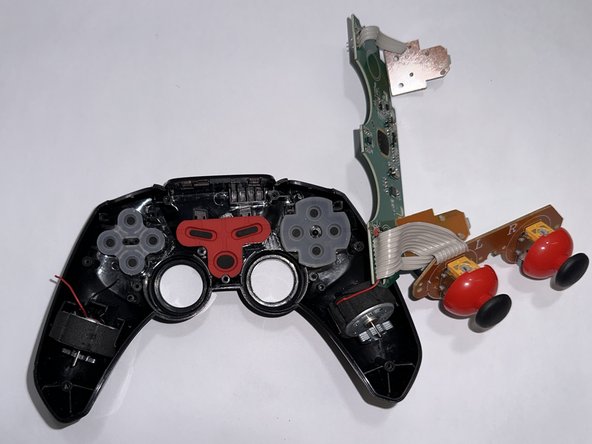
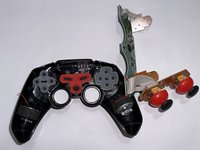
Remove the motherboard.
-
-
-
-
-
Tool used on this step:Tweezers$4.99
-
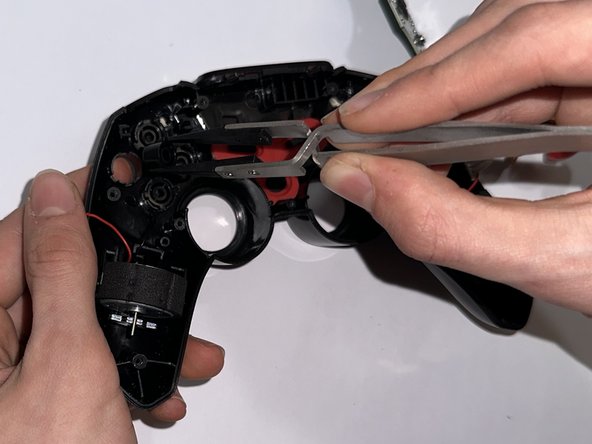
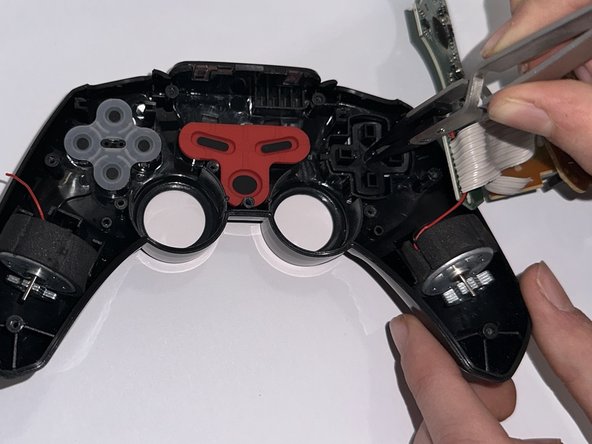
To remove the alphabetic buttons, remove the translucent silicone cover.
-
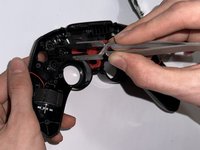
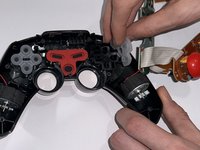
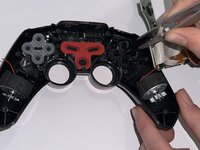
Use tweezers or your fingers to remove the buttons.
-
-
-
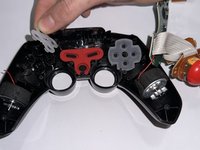
To remove the directional buttons, first remove the translucent silicone cover. Then, use tweezers or your fingers to remove the button pad.
-
-






To reassemble your device, follow these instructions in reverse order.

Team

Casper College, Team 1-3, Lareau Spring 2023 Member of Casper College, Team 1-3, Lareau Spring 2023
CASC-LAREAU-S23S1G3
3 Members
60 Guides authored
