Introduction
Use this guide to replace the speaker on your Beats Studio3 Wireless headphones.
The speaker allows users to receive audio through the headphone, and one can hear what they are playing through their phone or other devices. Failing audio is the most common indicator of faulty speakers. You may experience no sound coming from the speakers and/or poor quality, which indicates a replacement for the speaker.
What you need
-
-
-
Find the separation between the headset and ear cushion.
-
Use an opening tool to go underneath the separation site and split the pieces apart.
 Ask FixBot
-
-
-
-
-
-
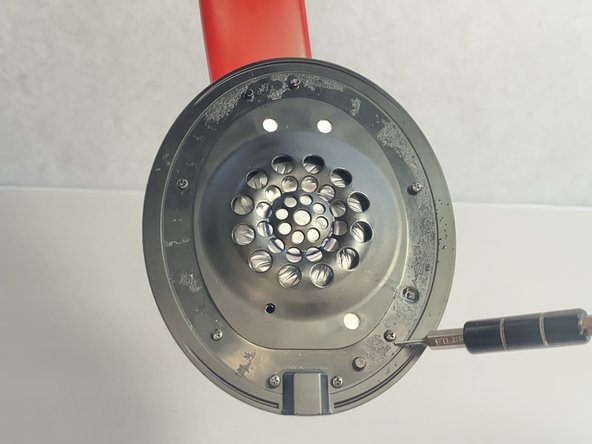
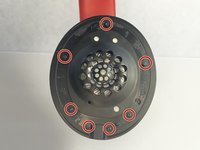
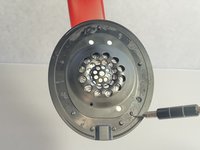
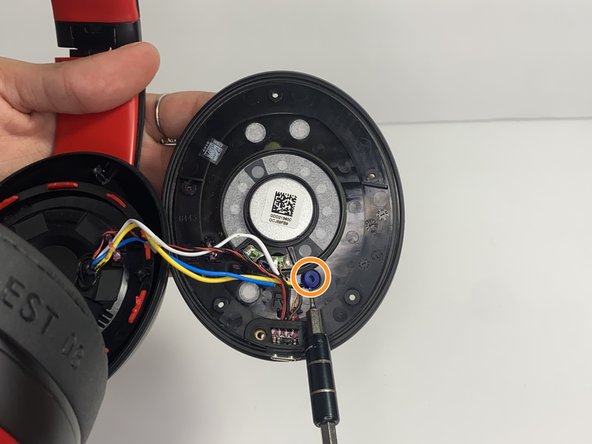
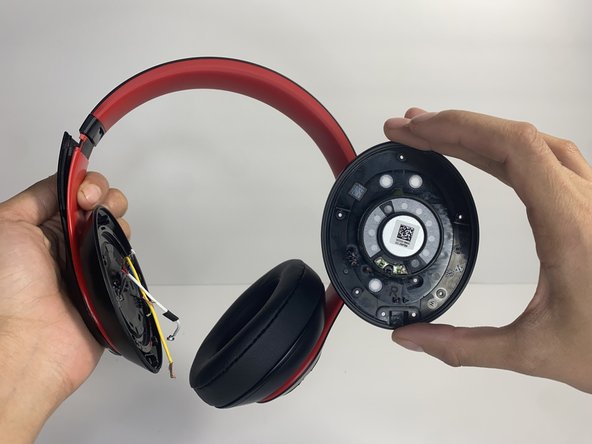
Remove seven 3.6 mm screws holding the speaker assembly in place using a Phillips #0 screwdriver.
-
Open the speaker by pulling the top layer of the speaker.
-
-
-
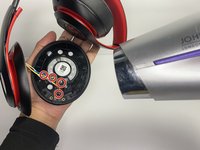
With a heat gun or hair dryer, heat the glue that is sticking the wires down until the glue softens.
-
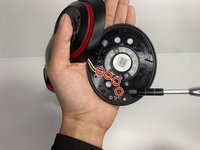
Use a nylon spudger to remove the glue.
-
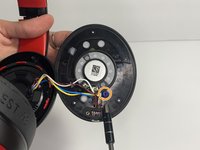
Pull on the wire to remove it while also removing the blue rubber band.
-
-
-
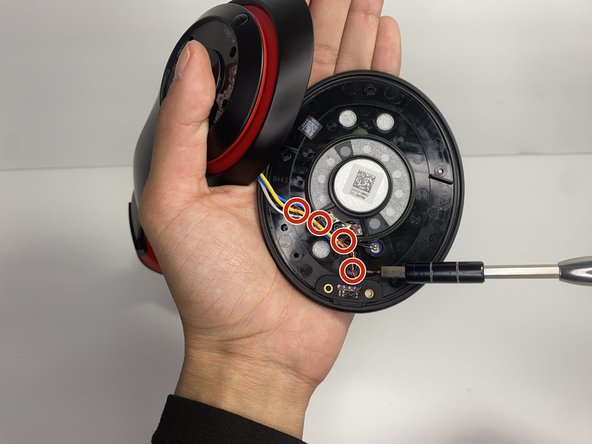
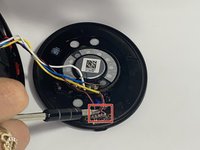
Using a soldering iron to remove the cables on the charger port.
-
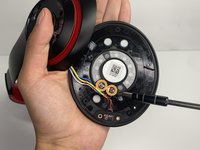
Remove the two wires connected in the middle of the speaker using a soldering iron.
-
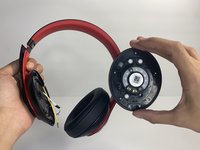
Remove the speaker from the headset.
-
-





To reassemble your device, follow these instructions in reverse order.
Cancel: I did not complete this guide.
One other person completed this guide.

Team

UMass Dartmouth, Team 7-4, Ryckebusch Spring 2023 Member of UMass Dartmouth, Team 7-4, Ryckebusch Spring 2023
UMASSD-RYCKEBUSCH-S23S7G4
3 Members
48 Guides authored
