Introduction
Use this guide to replace the auxilary port on your Beats Studio3 Wireless (model number: A1914).
A failing auxilary port will lead to connection issues when plugged into a seperate device. This guide will allow you to replace the auxilary port thus allowing the user to once again regain full access to physical connections on the device.
What you need
-
-
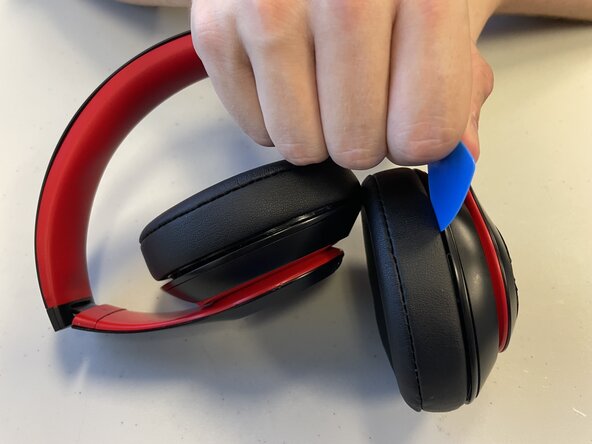
Insert an opening pick into the seam between the left driver housing and the left ear pad.
-
Apply pressure until the two begin to seperate.
-
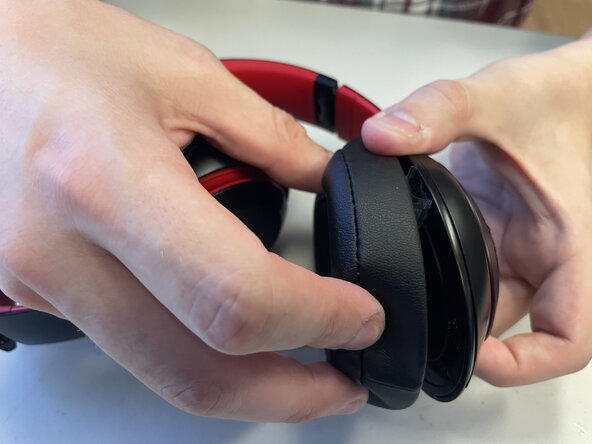
Pull them apart until the ear pad is fully removed from the headset.
-
-


To reassemble your device, follow the above steps in reverse order.
Take your e-waste to an R2 or e-Stewards certified recycler.
Repair didn’t go as planned? Try some basic troubleshooting or ask our Answers community for help.
Team

University of North Texas, Team 3-6, Coppersmith Fall 2025 Member of University of North Texas, Team 3-6, Coppersmith Fall 2025
UNT-COPPERSMITH-F25S3G6
4 Members
3 Guides authored