Introduction
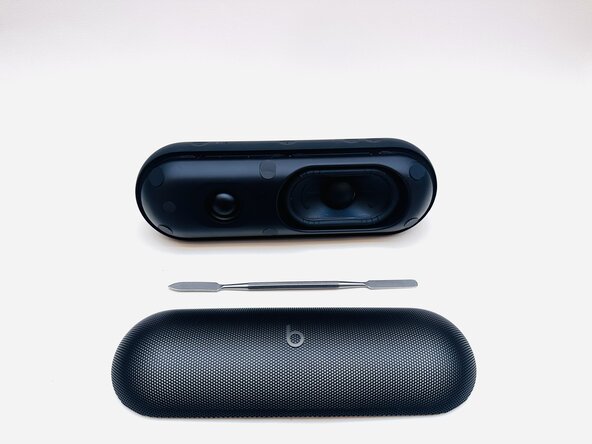
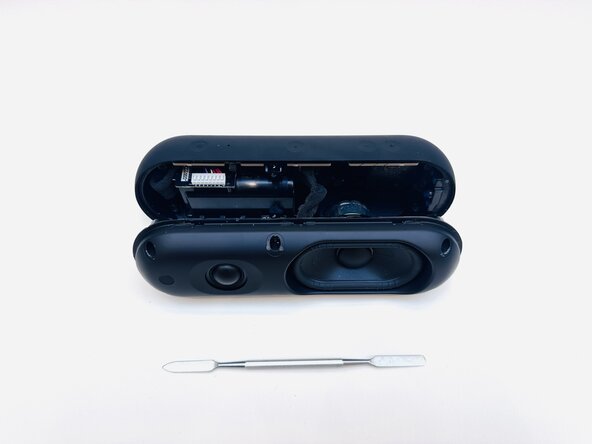
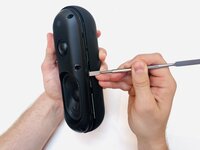
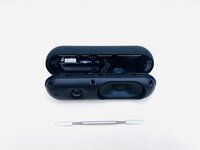
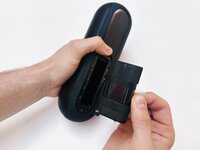
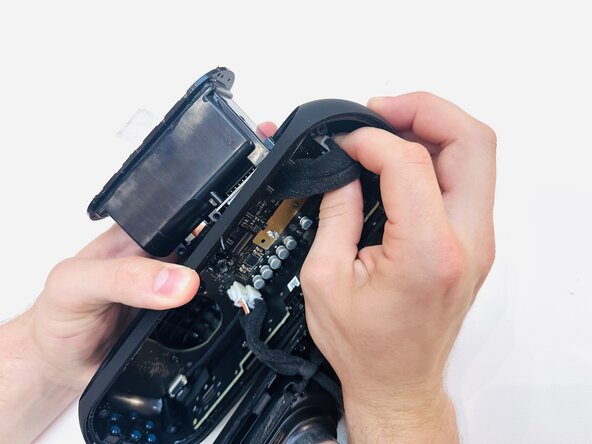
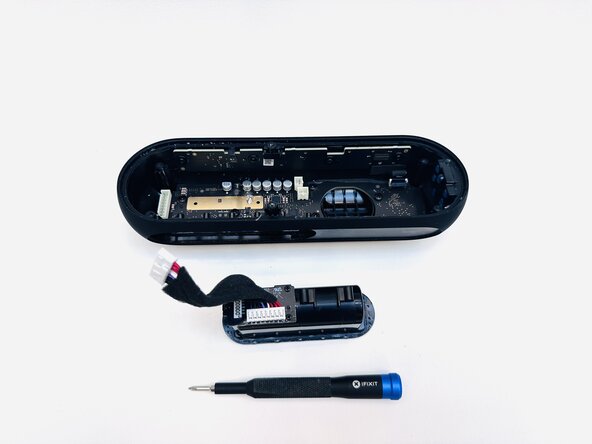
This guide details how to replace the motherboard of the 2024 Beats Pill. A motherboard replacement might be necessary after unsuccessful troubleshooting of connectivity issues or a non-functioning speaker.
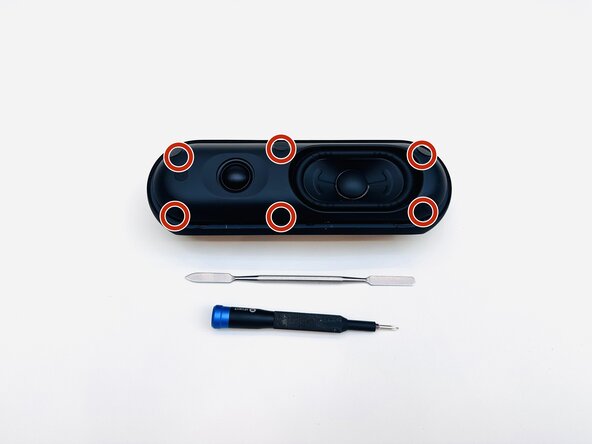
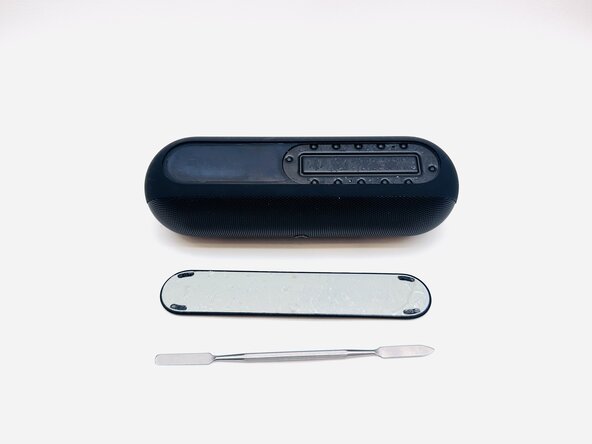
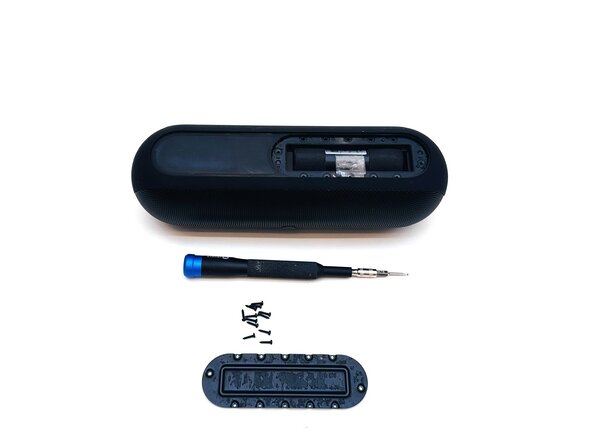
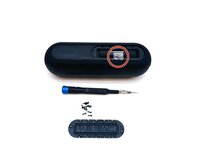
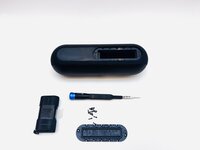
What you need


Conclusion
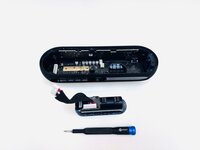
To reassemble your device, follow the above steps in reverse order.
Take your e-waste to an R2 or e-Stewards certified recycler.
Repair didn’t go as planned? Try some basic troubleshooting or ask our Answers community for help.
Team

Western Carolina University, Team 1-6, Virtue Spring 2025 Member of Western Carolina University, Team 1-6, Virtue Spring 2025
WCU-VIRTUE-S25S1G6
4 Members
5 Guides authored