Introduction
Use this guide to repair or replace the clamp spring of your Beachwaver S-Series Dual Voltage Rotating Curling Iron.
The clamp spring is a critical part that holds your hair in place against the rod—also called the heating barrel—of your curling iron. If your clamp is loose and no longer holds your hair against the rod, your clamp spring may be misaligned or broken.
The Beachwaver S-Series is available in three sizes. The S.75 has a 0.75" rod. The S1 has a 1" rod. The S1.25 has a 1.25" rod. The size of your curling iron will determine the size of the clamp spring you require.
Sometimes, a clamp spring may simply be misaligned. Before ordering a replacement clamp spring, follow the steps in this guide to determine if you can repair your device with the original part.
Before starting this repair, ensure the curling iron is turned off and unplugged. If you’ve recently used the curling iron, allow it to cool completely to avoid the risk of burns.
What you need
-
-
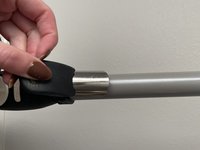
Insert the tip of your size 000 Phillips screwdriver into the pin hole at the base of the clamp.
-
Apply pressure to the top of your screwdriver to push the pin that secures the clamp to the rod out of your curling iron.
-
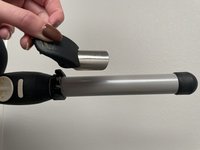
Store the clamp some place you will not lose it.
-
-
-
-
Lift the clamp off of the rod.
-
Store the clamp some place you will not lose it.
-
-
-
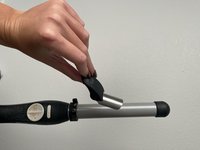
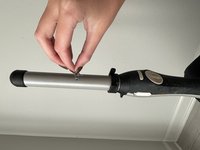
Pull the spring from the base of the rod, where the clamp previously rested.
-
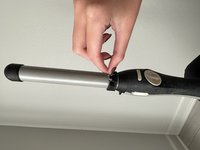
Install your replacement spring into the previous spring's location.
-


To reassemble your device, follow these instructions in reverse order.
Attached Documents

Team

University of North Alabama, Team 23-5, Winner Fall 2024 Member of University of North Alabama, Team 23-5, Winner Fall 2024
UNA-WINNER-F24S23G5
1 Member
1 Guide authored