Free Shipping on Domestic Orders $75+

Backstitch on a Loose Hem

What you need

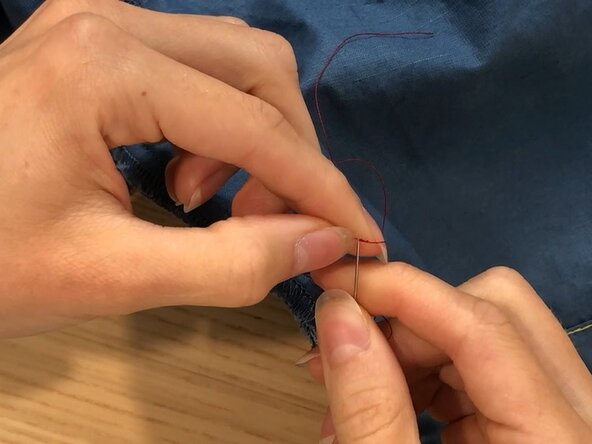
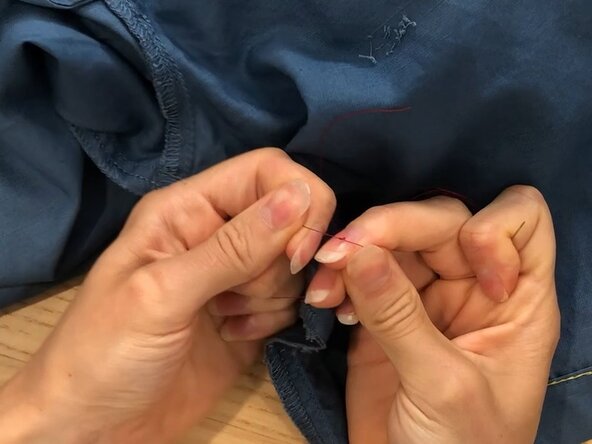
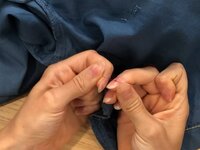
    1. Backstitch on a Loose Hem, Intro to the backstitch: step 1, image 1 of 2 Backstitch on a Loose Hem, Intro to the backstitch: step 1, image 2 of 2
      • The backstitch is one of the strongest hand sewing stitches.

      • Structure - This technique forms a solid line of stitches on the fabric surface while creating a double-length stitch on the backside.

      • Repair Use - Commonly used in hand sewn repairs as a substitute for machine stitching. Its looping structure provides strength, stability, and slight elasticity when pulled.

      Ask FixBot
      Add Comment

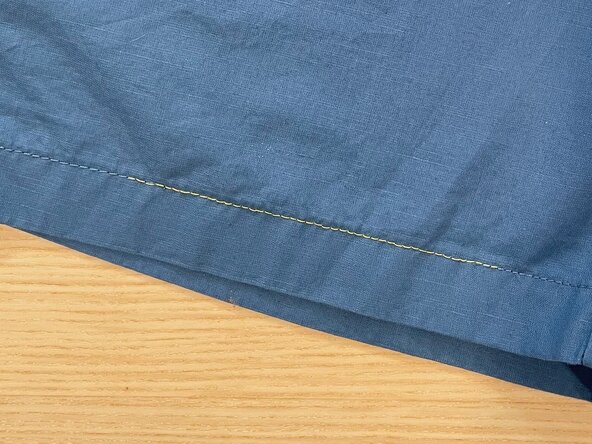
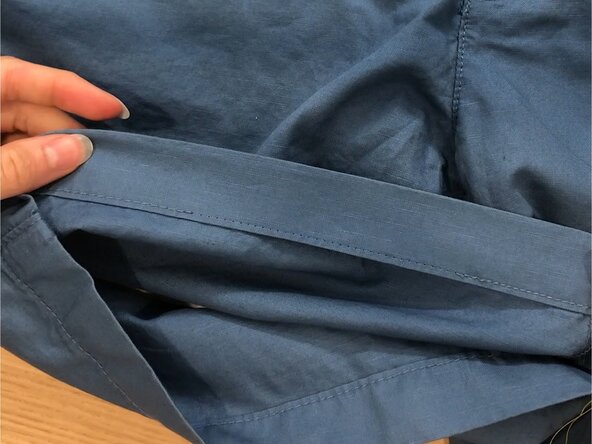
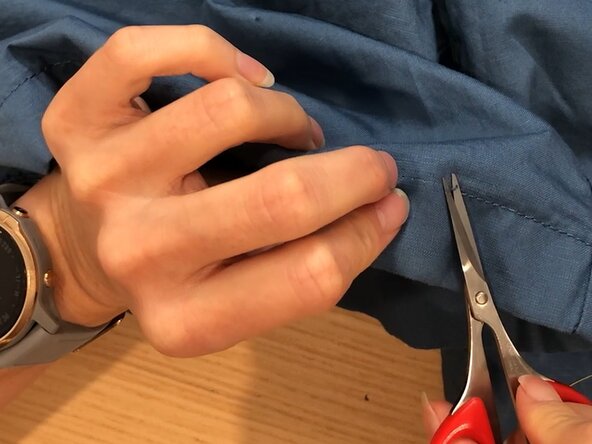
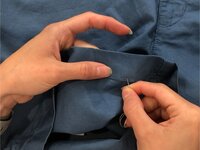
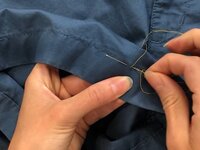
    2. Backstitch on a Loose Hem, Assess the damage: step 2, image 1 of 3 Backstitch on a Loose Hem, Assess the damage: step 2, image 2 of 3 Backstitch on a Loose Hem, Assess the damage: step 2, image 3 of 3
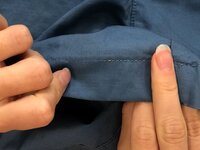
      • Locate the area with missing stitching and trim away any loose or hanging threads.

      • Mark the new stitch line with chalk or a heat-erasable pen.

      • If stitch holes from the previous stitching are visible, these can be used as a guide for the new stitch line.

      • If the opening is larger than a few inches, use pins or binder clips to secure the pieces of fabric together while sewing.

      Ask FixBot
      Add Comment

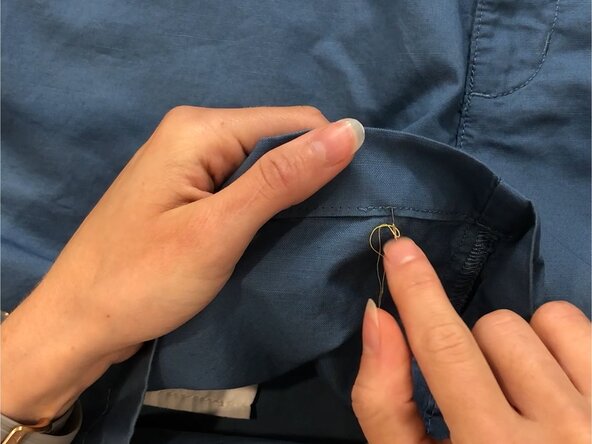
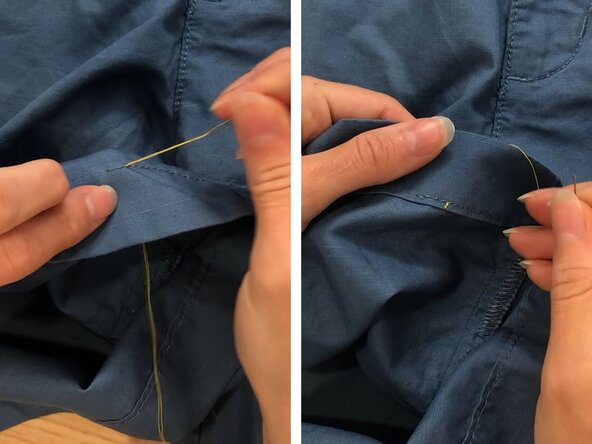
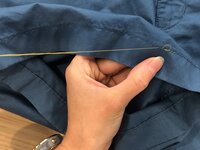
    3. Backstitch on a Loose Hem, Start the stitch: step 3, image 1 of 3 Backstitch on a Loose Hem, Start the stitch: step 3, image 2 of 3 Backstitch on a Loose Hem, Start the stitch: step 3, image 3 of 3
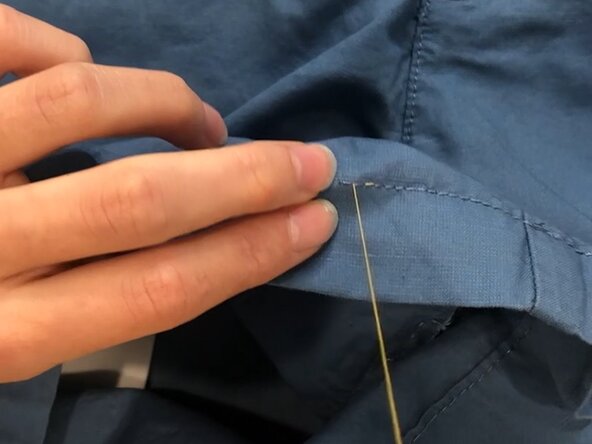
      • Thread the needle with a length of thread approximately 24 inches (~61 cm) long and tie a knot at one end of the thread. For more details see Needles and Thread.

      • The pictured repair uses contrast thread for visibility, but matching thread will make this repair almost invisible.

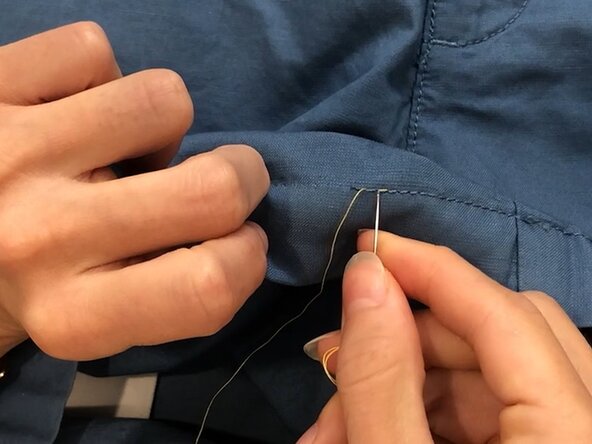
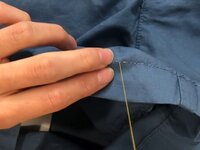
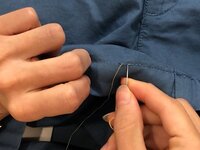
      • From the backside of the seam, pierce the needle through to the front, overlapping any existing stitching by at least 1/2 inch (~13 mm).

      • If the seam doesn't have a front and backside, choose either.

      • Pull the thread through until the knot lies flush against the fabric.

      Ask FixBot

      Add Comment

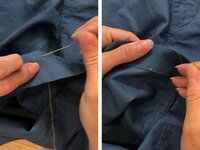
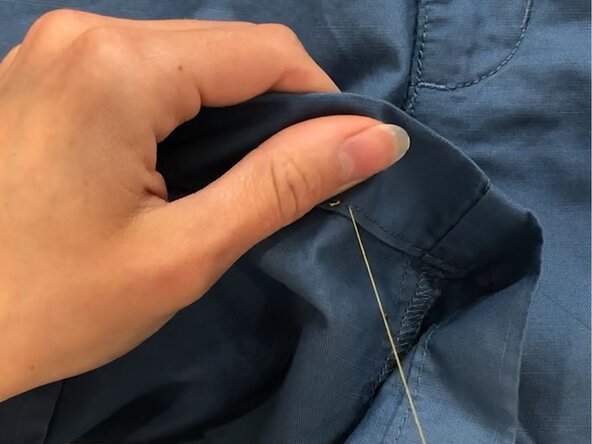
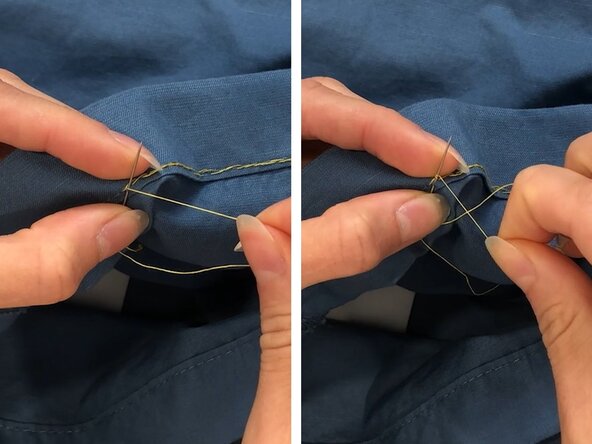
    4. Backstitch on a Loose Hem, Make the backstitch: step 4, image 1 of 3 Backstitch on a Loose Hem, Make the backstitch: step 4, image 2 of 3 Backstitch on a Loose Hem, Make the backstitch: step 4, image 3 of 3
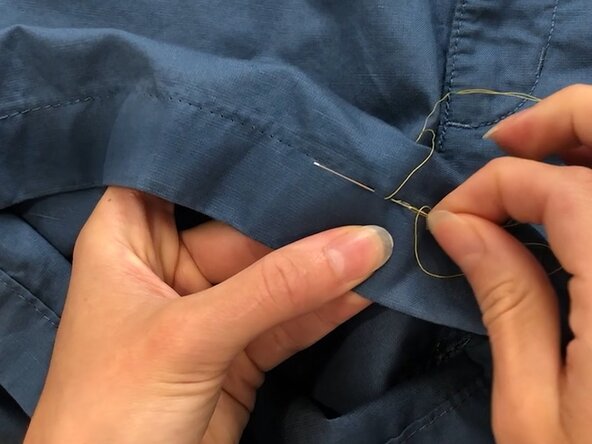
      • From the front side, pierce the seam one stitch length behind the point where the thread emerges, moving in the opposite direction of the stitching path.

      • Pull needle and thread through to the backside.

      Ask FixBot
      Add Comment

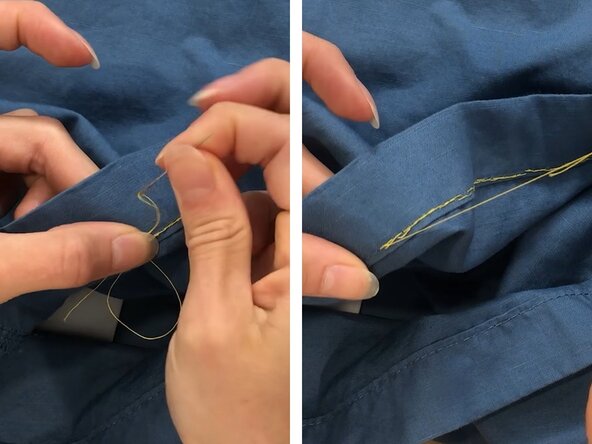
    5. Backstitch on a Loose Hem, Make the backstitch: step 5, image 1 of 3 Backstitch on a Loose Hem, Make the backstitch: step 5, image 2 of 3 Backstitch on a Loose Hem, Make the backstitch: step 5, image 3 of 3
      • From the backside, pierce the seam two stitch lengths forward, moving in the direction of the stitching path.

      • Pull the needle and thread through to the front side.

      • Repeat steps 4 and 5 to create a continuous backstitch along the marked seam line.

      Ask FixBot
      Add Comment

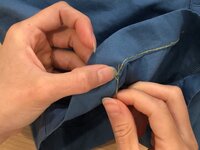
    6. Backstitch on a Loose Hem, Stitch in one movement: step 6, image 1 of 3 Backstitch on a Loose Hem, Stitch in one movement: step 6, image 2 of 3 Backstitch on a Loose Hem, Stitch in one movement: step 6, image 3 of 3
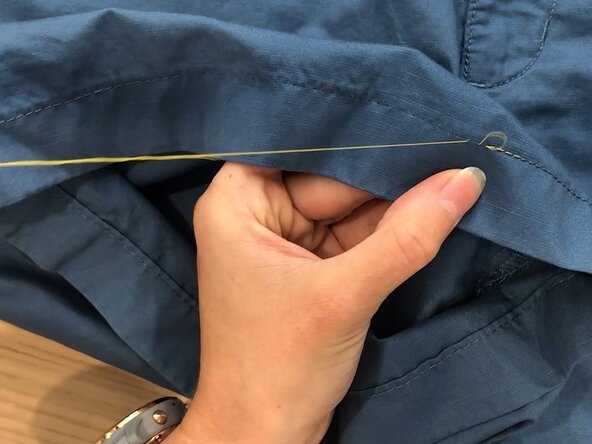
      • To backstitch without repeatedly flipping the fabric, insert the needle into the seam one stitch length behind the current position and guide it to exit one stitch length forward.

      • The working thread should lie in the middle of the needle's entry and exit points.

      • Pull the thread through to secure the stitch.

      • This method is quicker but more prone to tangling on the backside. Periodically check that the thread is pulling through smoothly.

      Ask FixBot
      Add Comment

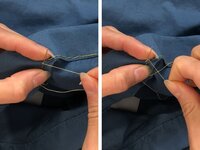
    7. Backstitch on a Loose Hem, Tie off the thread: step 7, image 1 of 3 Backstitch on a Loose Hem, Tie off the thread: step 7, image 2 of 3 Backstitch on a Loose Hem, Tie off the thread: step 7, image 3 of 3
      • Continue until the original stitch has been overlapped by at least 1/2 inch (13 mm) and finish with the needle on the backside.

      • Without pulling the needle all the way through, begin making a small stitch on the backside of the fabric.

      • Wrap the working thread around the needle point three times.

      • Pull the needle through the fabric and loops of thread. The wrapped thread will create a knot that lies flush with the fabric.

      • For a more detailed explanation see Knot Thread to the Fabric (2 Ways).

      Ask FixBot
      Add Comment

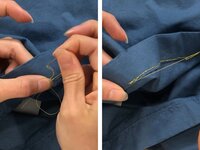
    8. Backstitch on a Loose Hem, Trim the thread: step 8, image 1 of 3 Backstitch on a Loose Hem, Trim the thread: step 8, image 2 of 3 Backstitch on a Loose Hem, Trim the thread: step 8, image 3 of 3
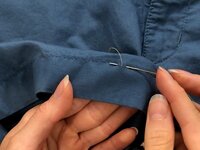
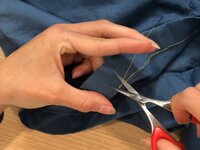
      • Ensure the knot is secure, then snip away excess thread.

      Ask FixBot
      Add Comment

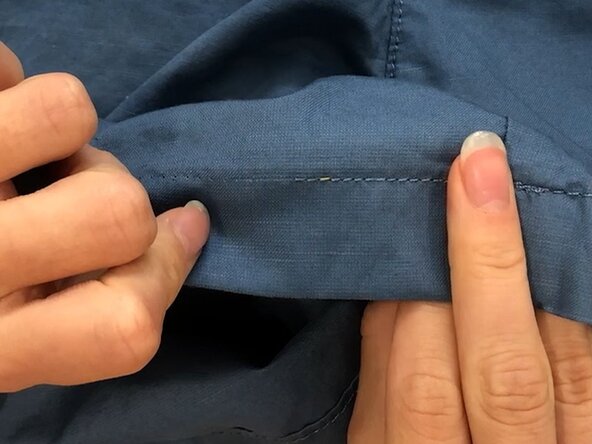
    9. Backstitch on a Loose Hem, Quality check: step 9, image 1 of 1
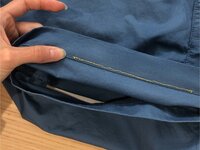
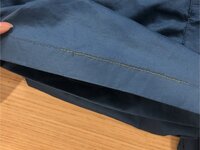
      • Ensure the stitch securely closes the seam and can withstand tension.

      • Add additional lines of stitching if necessary.

      Ask FixBot

      Add Comment

    10. Backstitch on a Loose Hem, Troubleshooting: step 10, image 1 of 3 Backstitch on a Loose Hem, Troubleshooting: step 10, image 2 of 3 Backstitch on a Loose Hem, Troubleshooting: step 10, image 3 of 3
      • TANGLED THREAD: To address tangles or knots in the thread:

      • Start by using the tip of the needle to work the knot loose.
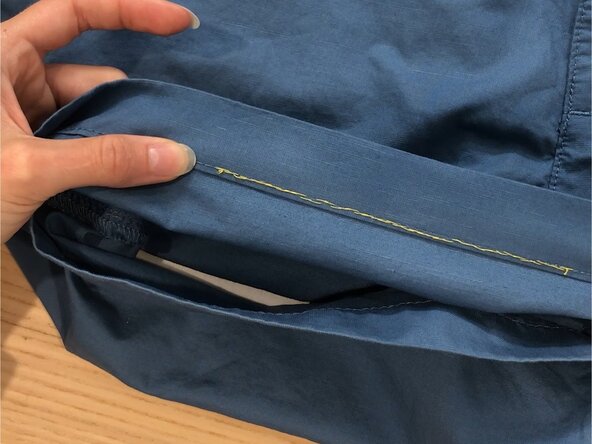
      • If this fails, gently tug on either end of the thread to pull out the knot.
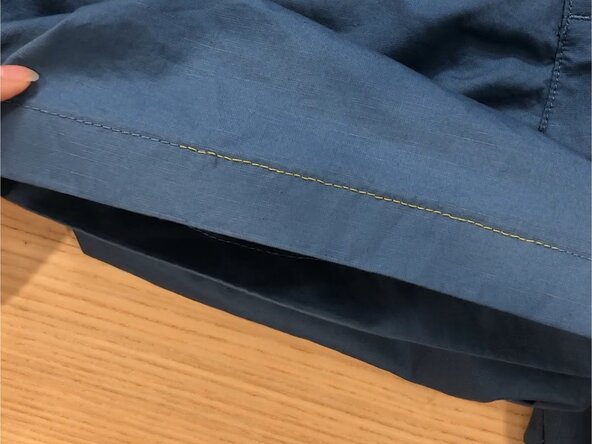
      • If this method is also unsuccessful, cut the thread and start a new stitch, overlapping previous stitches by at least 1/2 inch (~13 mm).

      • Ensure any knot is cut out completely.

      Ask FixBot

      Add Comment

Finish Line

Cancel: I did not complete this guide.

3 other people completed this guide.

Clara Redwood

Member since: 11/12/24

2,574 Reputation

19 Guides authored

Team

Patagonia Member of Patagonia

Community

9 Members

383 Guides authored

0 Guide Comments

Add Comment

View Statistics:

Past 24 Hours: 18

Past 7 Days: 75

Past 30 Days: 359

All Time: 3,784