Free Shipping on Domestic Orders $75+

Backbone One Right Mainboard Replacement

Views: 2.3K

View statistics:

Past 24 Hours:
3
Past 7 Days:
18
Past 30 Days:
81
All Time:
2,287
Comments: 2

1 comment on steps, 1 guide comment.

Go to guide comments
Completed: 1

1 person has marked this guide "completed." Will you be next?

Favorites: 0

No one has favorited (and subscribed to) this guide. Will you be the first?

Time Required: 15 - 30 minutes
Difficulty: Moderate
Backbone One Right Mainboard Replacement

Introduction

Go to step 1 ↓

Use this guide to replace the mainboard on the right controller handle in your Backbone One.

What you need

Tools

    1. Backbone One Right Mainboard Replacement, Remove the screws: step 1, image 1 of 1
      • Use a Phillips screwdriver to remove the four 5.9 mm-long screws.

      Ask FixBot

      Add Comment

    2. Backbone One Right Mainboard Replacement, Rotate the upper part: step 2, image 1 of 3 Backbone One Right Mainboard Replacement, Rotate the upper part: step 2, image 2 of 3 Backbone One Right Mainboard Replacement, Rotate the upper part: step 2, image 3 of 3
      • Lift up the upper cover of the controller.

      • Swing the upper cover over and place it on the controller case.

      • Make sure that the interconnecting cable has no tension.

      Ask FixBot

      Add Comment

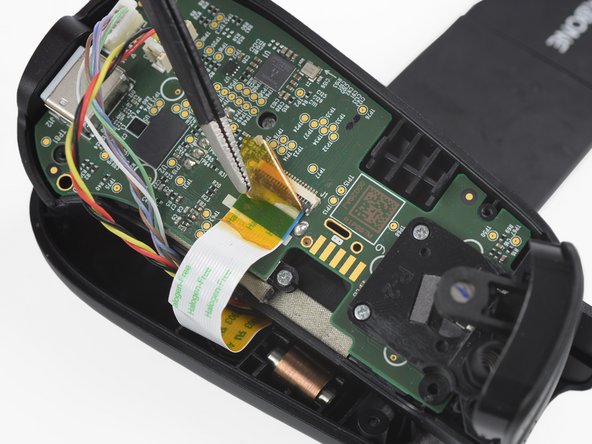
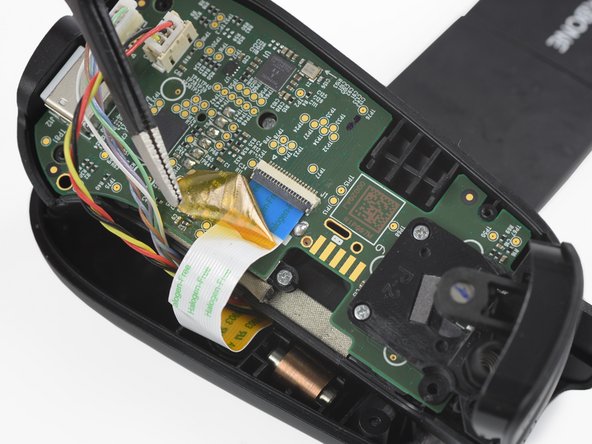
    1. Backbone One Right Mainboard Replacement, Remove the protective tape: step 3, image 1 of 3 Backbone One Right Mainboard Replacement, Remove the protective tape: step 3, image 2 of 3 Backbone One Right Mainboard Replacement, Remove the protective tape: step 3, image 3 of 3
      Tool used on this step:
      Tweezers
      $4.99
      Buy
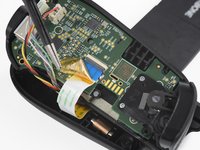
      • Use a pair of tweezers to remove the yellow protective tape which is placed over the interconnect cable and the connector.

      Ask FixBot

      Add Comment

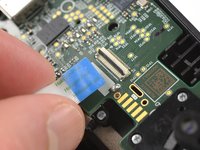
    2. Backbone One Right Mainboard Replacement, Open the interconnect cable ZIF connector: step 4, image 1 of 3 Backbone One Right Mainboard Replacement, Open the interconnect cable ZIF connector: step 4, image 2 of 3 Backbone One Right Mainboard Replacement, Open the interconnect cable ZIF connector: step 4, image 3 of 3
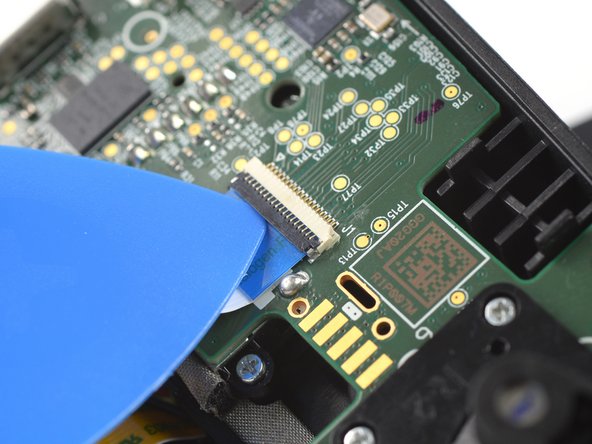
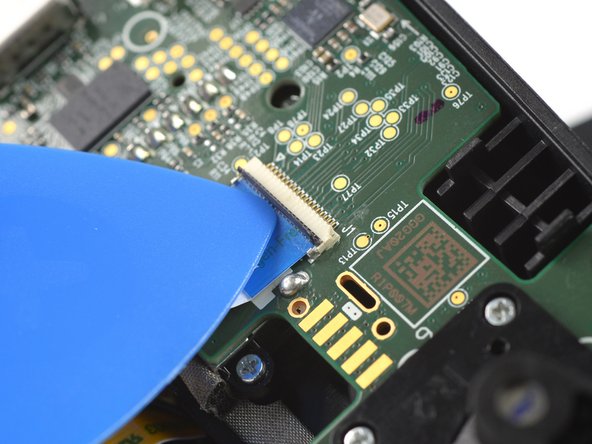
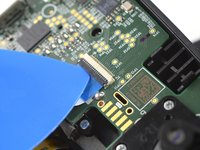
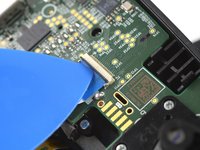
      • Use the tip of an opening pick to open the gray flap of the interconnect cable ZIF connector by pushing it upwards.

      Ask FixBot

      Add Comment

    3. Backbone One Right Mainboard Replacement, Disconnect the interconnect cable: step 5, image 1 of 2 Backbone One Right Mainboard Replacement, Disconnect the interconnect cable: step 5, image 2 of 2
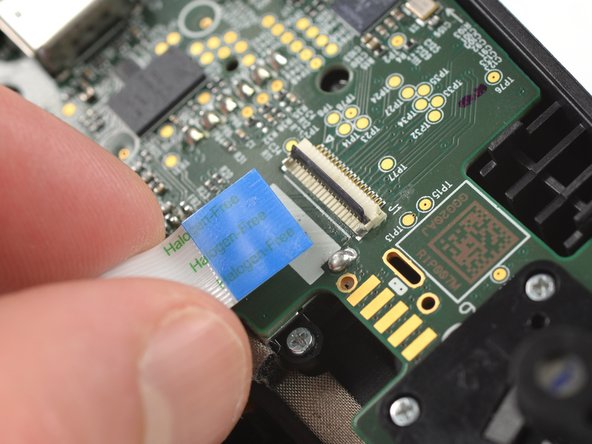
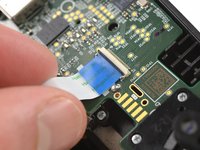
      • Disconnect the cable by pulling it straight out the ZIF connector.

      Ask FixBot

      Add Comment

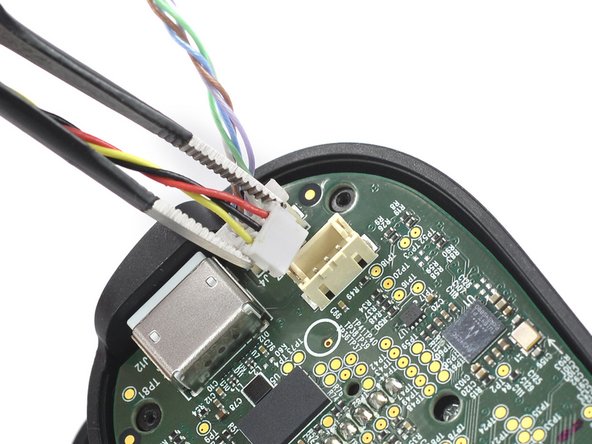
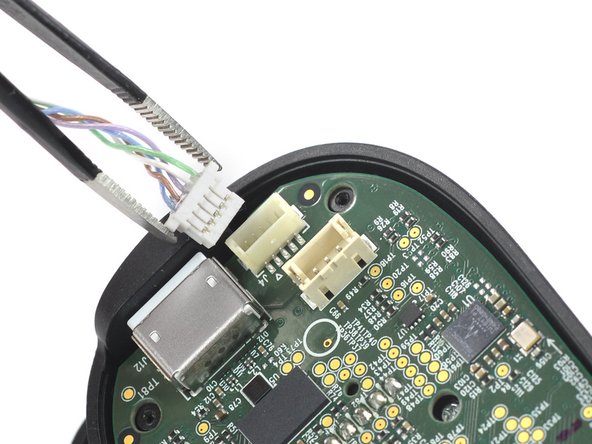
    4. Backbone One Right Mainboard Replacement, Disconnect the phone connector cables: step 6, image 1 of 3 Backbone One Right Mainboard Replacement, Disconnect the phone connector cables: step 6, image 2 of 3 Backbone One Right Mainboard Replacement, Disconnect the phone connector cables: step 6, image 3 of 3
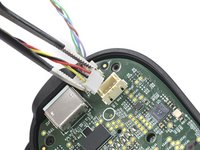
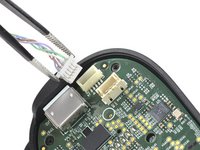
      • Use a pair of tweezers to disconnect the phone connector cables out from their sockets.

      Ask FixBot

      Add Comment

    5. Backbone One Right Mainboard Replacement, Separate the upper case: step 7, image 1 of 1
      • Separate the the upper case of the left controller handle.

      Ask FixBot

      Add Comment

    6. Backbone One Right Mainboard Replacement, Remove the screws: step 8, image 1 of 1
      • Use a Phillips screwdriver to remove the three 5.9 mm-long screws.

      Ask FixBot

      Add Comment

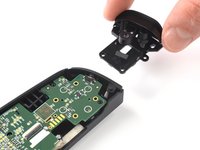
    7. Backbone One Right Mainboard Replacement, Remove the trigger: step 9, image 1 of 2 Backbone One Right Mainboard Replacement, Remove the trigger: step 9, image 2 of 2
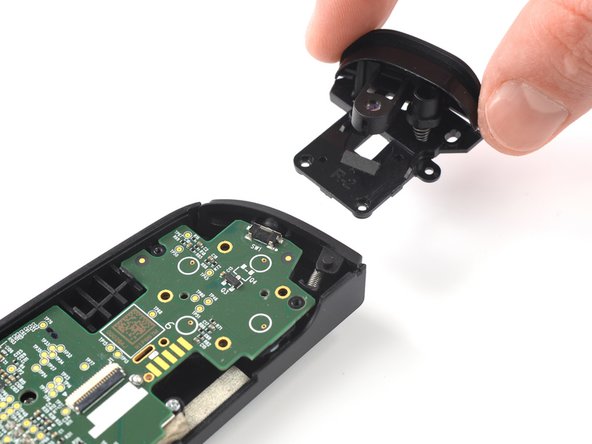
      • Remove the trigger.

      Ask FixBot

      Add Comment

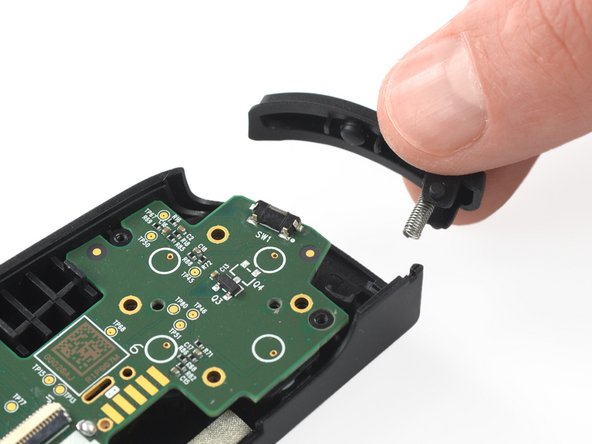
    1. Backbone One Right Mainboard Replacement, Remove the bumper: step 10, image 1 of 2 Backbone One Right Mainboard Replacement, Remove the bumper: step 10, image 2 of 2
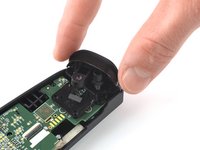
      • Remove the bumper.

      Ask FixBot

      Add Comment

    1. Backbone One Right Mainboard Replacement, Remove the screws: step 11, image 1 of 1
      • Use a Phillips screwdriver to remove the two 3.9 mm-long screws.

      Ask FixBot

      Add Comment

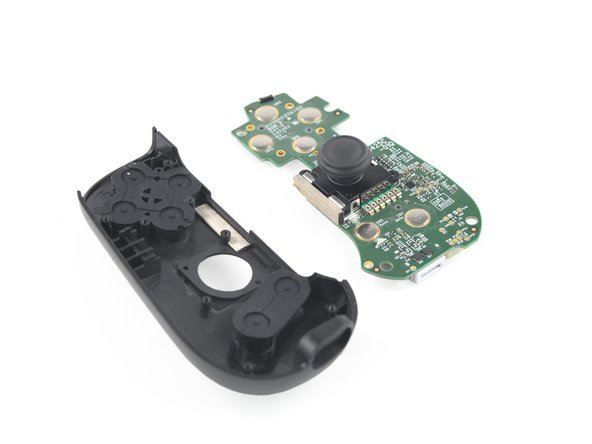
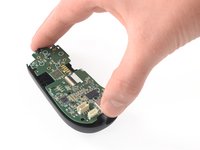
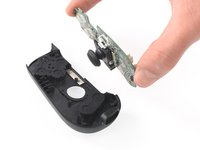
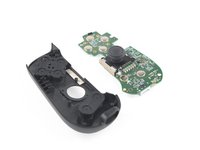
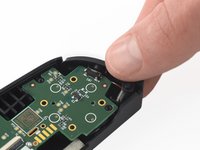
    2. Backbone One Right Mainboard Replacement, Remove the mainboard: step 12, image 1 of 3 Backbone One Right Mainboard Replacement, Remove the mainboard: step 12, image 2 of 3 Backbone One Right Mainboard Replacement, Remove the mainboard: step 12, image 3 of 3
      • Remove the mainboard.

      Ask FixBot

      Add Comment

Conclusion

To reassemble your device, follow these instructions in reverse order.

Take your e-waste to an R2 or e-Stewards certified recycler.

Repair didn’t go as planned? Ask our Answers community for help.

Cancel: I did not complete this guide.

One other person completed this guide.

Adriana Zwink

Member since: 12/18/19

69,271 Reputation

167 Guides authored

Team

iFixit Member of iFixit

Staff

121 Members

72,895 Guides authored

1 Guide Comment

Where do I find this replacement part?

pete_r10@live.com - Reply Share
Add Comment

View Statistics:

Past 24 Hours: 3

Past 7 Days: 18

Past 30 Days: 81

All Time: 2,287