
Back Cover Replacement

Desiree DesJardins and 3 other contributors
Last updated on May 7, 2024
Views: 1.3K
View statistics:
- Past 24 Hours:
- 4
- Past 7 Days:
- 22
- Past 30 Days:
- 102
- All Time:
- 1,263
Comments: 0
No one has left comments on this guide. Will you be first?
Go to guide commentsCompleted: 1 2
1 person has marked this guide "completed." Will you be next?
2 people have marked this guide "completed." Including you — great job!
Favorites: 0 1
No one has favorited (and subscribed to) this guide. Will you be the first?
1 person has favorited (and subscribed to) this guide — and that's you!
Introduction
Go to step 1 ↓This guide is a prerequisite to accessing the inside of the Zoomer Dino Boomer, where the battery, electronics, and pulley system are located. It is important to be gentle while opening the dinosaur since the top covering will still be attached to the electronic system via a wire.
What you need
Tools
-
Spudger4.9
-


-
-
-
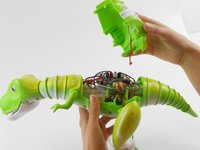
Turn dinosaur over and hold upright.
-
Use the spudger to pry apart the back cover from the remainder of the Zoomer Dino Boomer.
-
-
-
Tool used on this step:Tweezers$4.99
-
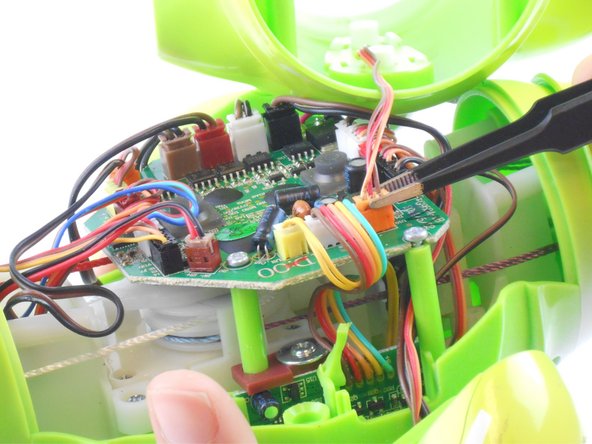
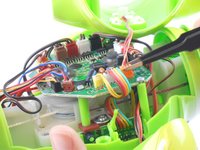
Disconnect the wire that connects the back cover of the dino to the main circuit board by carefully pulling on the orange wire connector with tweezers.
-
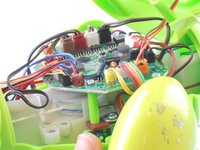
Remove back cover.
-

 Ask FixBot



To reassemble your device, follow these instructions in reverse order.
Cancel: I did not complete this guide.
One other person completed this guide.

Team

USF Tampa, Team 16-1, Wollert Fall 2015 Member of USF Tampa, Team 16-1, Wollert Fall 2015
USFT-WOLLERT-F15S16G1
3 Members
60 Guides authored
