Free Shipping on Domestic Orders $75+

Baby Taylor Guitar String Replacement

What you need

  1. Baby Taylor Guitar String Replacement, Guitar String Replacement: step 1, image 1 of 3 Baby Taylor Guitar String Replacement, Guitar String Replacement: step 1, image 2 of 3 Baby Taylor Guitar String Replacement, Guitar String Replacement: step 1, image 3 of 3
    • Rotate the tuner of the string you want to replace in a clockwise direction until it's loose.

    • You can either do it by hand (First Picture) or you can use the guitar string winder (Second picture).

    Ask FixBot

    Add Comment

  2. Baby Taylor Guitar String Replacement: step 2, image 1 of 2 Baby Taylor Guitar String Replacement: step 2, image 2 of 2
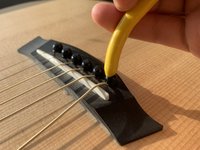
    • Grab a plier and pull out the bridge pin of the string you want to replace.

    • Make sure that you've completed step 1 first. The string has to be loose before doing this step.

    Ask FixBot

    Add Comment

  3. Baby Taylor Guitar String Replacement: step 3, image 1 of 3 Baby Taylor Guitar String Replacement: step 3, image 2 of 3 Baby Taylor Guitar String Replacement: step 3, image 3 of 3
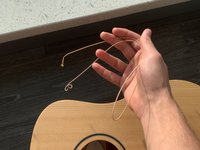
    • Take out the string from the bridge and the tuning pin.

    • You can now throw away the string. You will not be needing it anymore.

    Ask FixBot

    Add Comment

  4. Baby Taylor Guitar String Replacement: step 4, image 1 of 2 Baby Taylor Guitar String Replacement: step 4, image 2 of 2
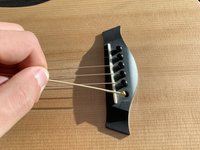
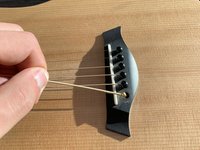
    • Grab the new string and place the end (ball-end) inside the bridge.

    • The ball-end of a string is the side of the string that has a ball shape. (Shown in picture 2)

    Ask FixBot

    Add Comment

  5. Baby Taylor Guitar String Replacement: step 5, image 1 of 2 Baby Taylor Guitar String Replacement: step 5, image 2 of 2
    • Place the bridge pin inside the bridge in order to lock in the new string.

    • Lightly hammer down the bridge pin to keep it from detaching.

    Ask FixBot

    Add Comment

  6. Baby Taylor Guitar String Replacement: step 6, image 1 of 2 Baby Taylor Guitar String Replacement: step 6, image 2 of 2
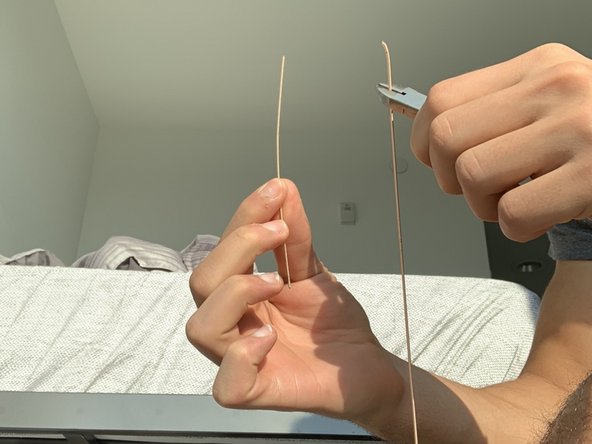
    • Cut the excess string with a plier.

    • Cut the string around 1.5 inches over the desired tuning pin. (Recommended by Taylor Guitars)

    Ask FixBot

    Add Comment

  7. Baby Taylor Guitar String Replacement: step 7, image 1 of 1
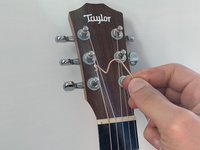
    • Place the new string inside the tuning pinhole.

    • It is recommended to place a really small portion of the string inside the pinhole to keep it from ripping your guitar bag. (As shown in the picture)

    Ask FixBot

    Add Comment

  8. Baby Taylor Guitar String Replacement: step 8, image 1 of 3 Baby Taylor Guitar String Replacement: step 8, image 2 of 3 Baby Taylor Guitar String Replacement: step 8, image 3 of 3
    • Rotate the tuners in a counter-clockwise direction to tighten the new string.

    • You can either tighten it by hand (First Picture) or you can use the guitar string winder (Second Picture).

    Ask FixBot

    Add Comment

  9. Baby Taylor Guitar String Replacement: step 9, image 1 of 1
    • Make sure your string is in tune and strum away!

    Ask FixBot

    Add Comment

Conclusion

Most guitar strings de-tune after they’ve been recently replaced. Tune your strings every once in a while for a few days and the strings will stay in tune.

Cancel: I did not complete this guide.

Mohamed Saleh

Member since: 09/18/21

230 Reputation

1 Guide authored

Team

0 Guide Comments

Add Comment

View Statistics:

Past 24 Hours: 0

Past 7 Days: 10

Past 30 Days: 46

All Time: 1,226