Free Shipping on Domestic Orders $75+

BRCK v1 Battery Replacement

Views: 632

View statistics:

Past 24 Hours:
5
Past 7 Days:
16
Past 30 Days:
87
All Time:
632
Comments: 0

No one has left comments on this guide. Will you be first?

Go to guide comments
Completed: 0

No one has marked this guide "completed." Will you be the first?

Favorites: 0

No one has favorited (and subscribed to) this guide. Will you be the first?

Time Required: 25 minutes
Difficulty: Moderate
BRCK v1 Battery Replacement

Introduction

Go to step 1 ↓

This guide will use a hex 2.0 head to open the case, as well as tweezers to disconnect and remove the motherboard. This will allow you to access the battery located at the bottom of the case.

What you need

Tools

    1. BRCK v1 Battery Replacement, Antenna: step 1, image 1 of 1
      • Stand the device on its side so the antenna is sitting on the top.

      Ask FixBot

      Add Comment

    2. BRCK v1 Battery Replacement: step 2, image 1 of 2 BRCK v1 Battery Replacement: step 2, image 2 of 2
      Tool used on this step:
      Tweezers
      $4.99
      Buy
      • Use the tweezers to grip the neck of the antenna(the part closest to the device).

      • Use opposite hand to twist off the body of the antenna.

      Ask FixBot
      Add Comment

    1. BRCK v1 Battery Replacement, Top Cover: step 3, image 1 of 1
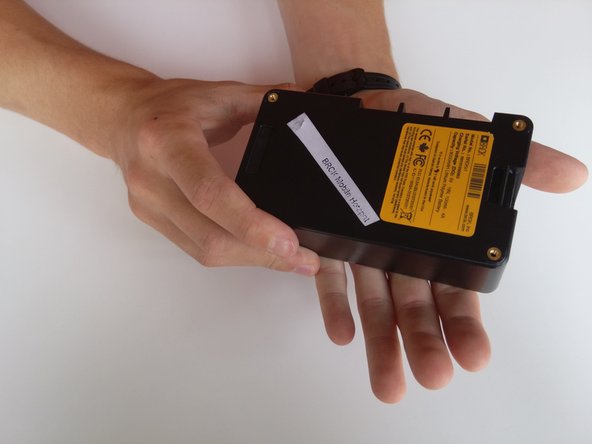
      • Place the face of the device showing BRCK face up.

      Ask FixBot
      Add Comment

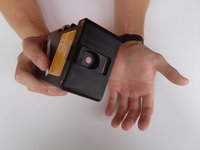
    2. BRCK v1 Battery Replacement: step 4, image 1 of 1
      • Remove the four screws(4mm hex head) on the corners of the device with a Hex 2.0 Screwdriver.

      Ask FixBot
      Add Comment

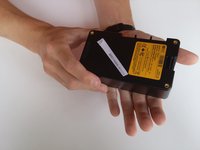
    3. BRCK v1 Battery Replacement: step 5, image 1 of 1
      • Remove the top cover.

      Ask FixBot
      Add Comment

    1. BRCK v1 Battery Replacement, Motherboard: step 6, image 1 of 2 BRCK v1 Battery Replacement, Motherboard: step 6, image 2 of 2
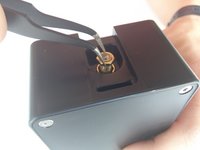
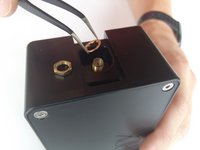
      • Remove the nut and washer from the RF connector, located where the antenna was connected.

      Ask FixBot
      Add Comment

    2. BRCK v1 Battery Replacement: step 7, image 1 of 2 BRCK v1 Battery Replacement: step 7, image 2 of 2
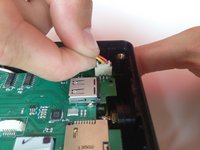
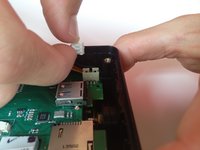
      • Unplug the red, black, and yellow wire connection by lifting up.

      Ask FixBot

      Add Comment

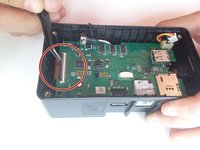
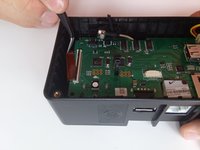
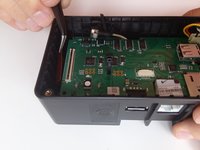
    3. BRCK v1 Battery Replacement: step 8, image 1 of 3 BRCK v1 Battery Replacement: step 8, image 2 of 3 BRCK v1 Battery Replacement: step 8, image 3 of 3
      Tool used on this step:
      Tweezers
      $4.99
      Buy
      • Carefully insert tweezers under the black tab, and lift to release the clip.

      • Slide the ribbon out from under the clip to free the motherboard.

      Ask FixBot

      Add Comment

    4. BRCK v1 Battery Replacement: step 9, image 1 of 1
      • Remove outside rubber covers by lifting them out of place.

      Ask FixBot

      Add Comment

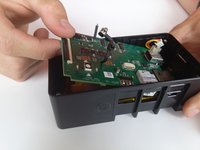
    5. BRCK v1 Battery Replacement: step 10, image 1 of 3 BRCK v1 Battery Replacement: step 10, image 2 of 3 BRCK v1 Battery Replacement: step 10, image 3 of 3
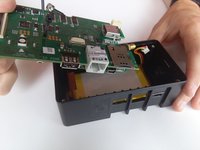
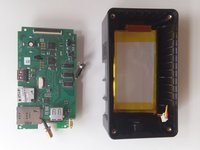
      • Slowly lift the motherboard out from the device by lifting it from the end next to the ribbon connection.

      • Lift and pull out of place.

      Ask FixBot

      Add Comment

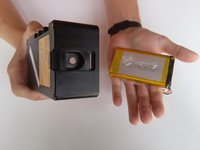
    1. BRCK v1 Battery Replacement, Battery: step 11, image 1 of 3 BRCK v1 Battery Replacement, Battery: step 11, image 2 of 3 BRCK v1 Battery Replacement, Battery: step 11, image 3 of 3
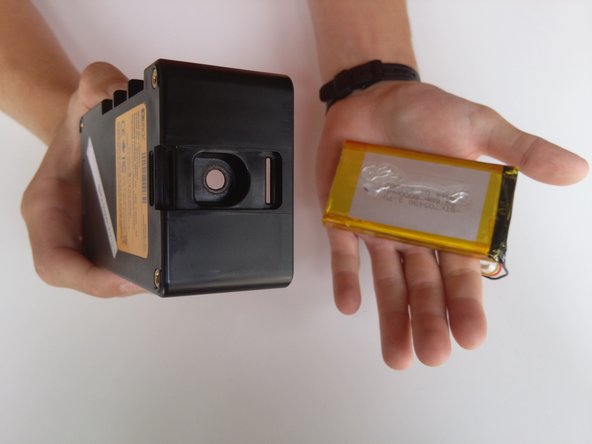
      • Flip device upside down. Hold the device and tap into your other hand with varying force to remove battery.

      • This may take a few tries to remove the battery.

      Ask FixBot

      Add Comment

Conclusion

To reassemble your device, follow these instructions in reverse order.

Cancel: I did not complete this guide.

Jeret Buerger

Member since: 04/01/15

501 Reputation

5 Guides authored

Team

Cal Poly, Team 12-3, Lancaster Spring 2015 Member of Cal Poly, Team 12-3, Lancaster Spring 2015

CPSU-LANCASTER-S15S12G3

3 Members

84 Guides authored

0 Guide Comments

Add Comment

View Statistics:

Past 24 Hours: 5

Past 7 Days: 16

Past 30 Days: 87

All Time: 632