Introduction
This guide will demonstrate the steps needed to remove and replace the front panel for the BLU Tank II. Removing the back panel is a step required to replace the outer screen and change color/customization of phone
What you need
-
-
-
With the screen facing you, find the left corner of the phone. There should be a visible groove.
-
With your fingers, carefully press a fingernail into the slot and separate the back panel from the phone.
 Ask FixBot
-
-
-
-
-
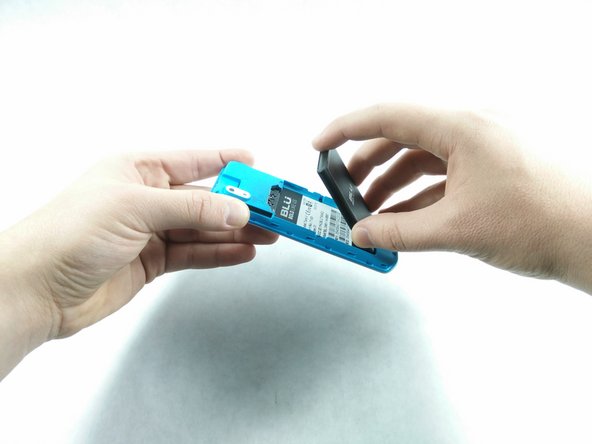
After the back panel has been removed, put your finger on and press down on the bottom part of the battery.
-
Lift the battery up and carefully remove the battery.
-
-
-
-
-
-
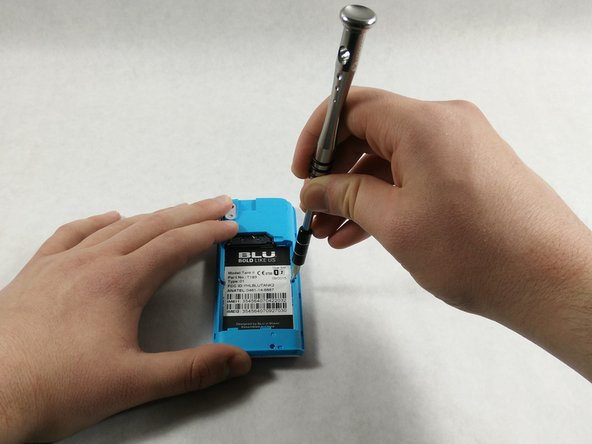
Wedge the blue plastic iFixit opening tool between the front plate and the outer lens plate.
-
Carefully separate the front plate from all sides of the phone.
-





To reassemble your device, follow these instructions in reverse order.

Team

UMass Dartmouth, Team S6-G2, Isaacson Spring 2017 Member of UMass Dartmouth, Team S6-G2, Isaacson Spring 2017
UMASSD-ISAACSON-S17S6G2
4 Members
72 Guides authored
