Free Shipping on Domestic Orders $75+

Azpen A720 Touch Screen Replacement

Views: 3.2K

View statistics:

Past 24 Hours:
4
Past 7 Days:
15
Past 30 Days:
90
All Time:
3,235
Comments: 2

2 comments on steps.

Completed: 1

1 person has marked this guide "completed." Will you be next?

Favorites: 1

1 person has favorited (and subscribed to) this guide. Will you be next?

Time Required: 20 minutes
Difficulty: Moderate
Needs Better Images

Better photos will improve this guide. Help out by taking, editing, or uploading new ones!

Step Trimmer

This guide has unnecessary steps. Trim them to be more concise!

Azpen A720 Touch Screen Replacement

Introduction

Go to step 1 ↓

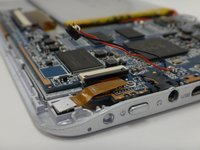
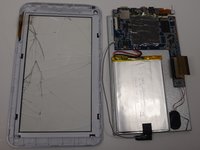
The touchscreen is embedded in the outer front casing of your Azpen A720 tablet. If the front touch screen is cracked or is not responding properly to touch, you should replace it. This replacement is moderately difficult, and it may take some time and patience, but this guide will help you through the process of replacing the tablet's front casing and touch screen.

What you need

Tools

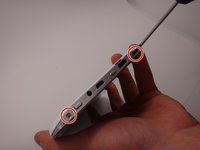
    1. Azpen A720 Touch Screen Replacement, Back Cover: step 1, image 1 of 2 Azpen A720 Touch Screen Replacement, Back Cover: step 1, image 2 of 2
      • Use a Phillips #00 screwdriver to remove the two 4mm screws found on the top edge of the tablet near the power button.

      Ask FixBot

      Add Comment

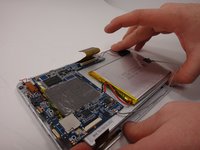
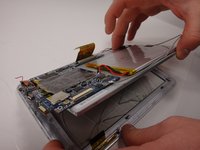
    2. Azpen A720 Touch Screen Replacement: step 2, image 1 of 3 Azpen A720 Touch Screen Replacement: step 2, image 2 of 3 Azpen A720 Touch Screen Replacement: step 2, image 3 of 3
      • Use the plastic opening tool to pry the white back from the silver frame. Start near the micro SD slot.

      • Slide the plastic opening tool around the perimeter of the casing until the back is disconnected.

      Ask FixBot

      Add Comment

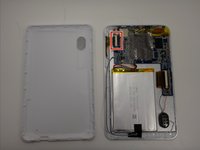
    3. Azpen A720 Touch Screen Replacement: step 3, image 1 of 1
      • Remove the rear casing.

      Ask FixBot

      Add Comment

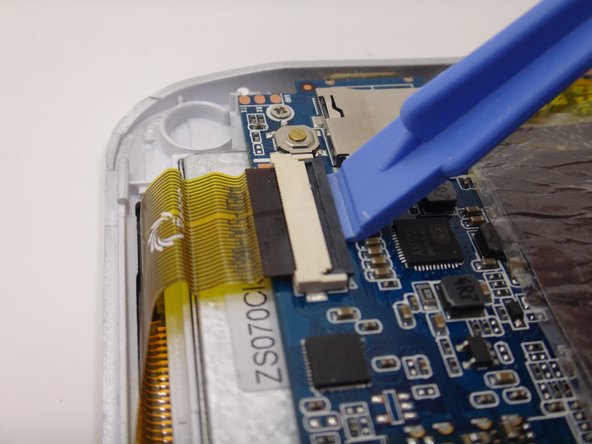
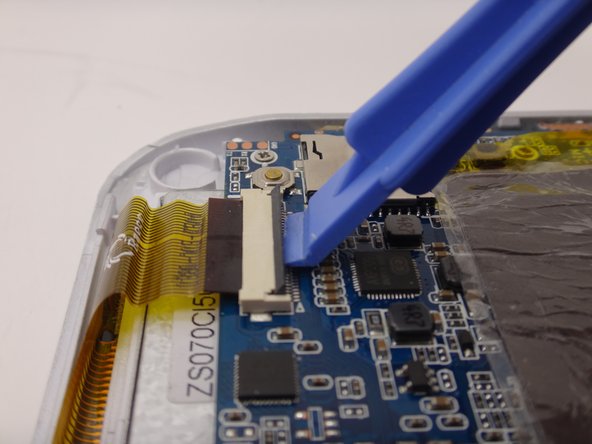
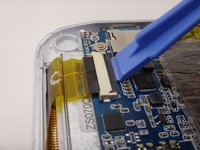
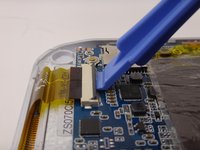
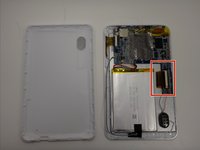
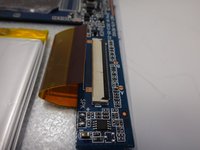
    1. Azpen A720 Touch Screen Replacement, Touch Screen: step 4, image 1 of 3 Azpen A720 Touch Screen Replacement, Touch Screen: step 4, image 2 of 3 Azpen A720 Touch Screen Replacement, Touch Screen: step 4, image 3 of 3
      • Use the plastic opening tool to gently lift the release lever for the ZIF cable.

      • The ZIF connector is delicate. Be careful not to damage the tab!

      Ask FixBot

      Add Comment

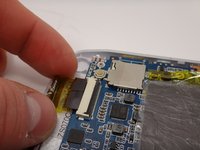
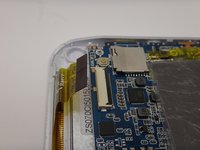
    2. Azpen A720 Touch Screen Replacement: step 5, image 1 of 2 Azpen A720 Touch Screen Replacement: step 5, image 2 of 2
      • Gently remove the ZIF cable from the connector.

      Ask FixBot

      Add Comment

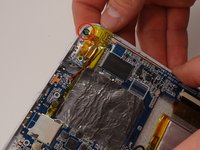
    3. Azpen A720 Touch Screen Replacement: step 6, image 1 of 2 Azpen A720 Touch Screen Replacement: step 6, image 2 of 2
      • Disconnect the second ZIF connector using the same method detailed earlier.

      Ask FixBot

      Add Comment

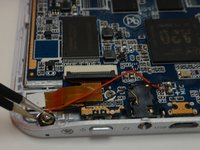
    4. Azpen A720 Touch Screen Replacement: step 7, image 1 of 3 Azpen A720 Touch Screen Replacement: step 7, image 2 of 3 Azpen A720 Touch Screen Replacement: step 7, image 3 of 3
      Tool used on this step:
      Tweezers
      $4.99
      Buy
      • Locate the microphone. It is at the top of the device and next to the audio jack.

      • Using tweezers, gently remove the microphone.

      • Remember to reinsert the microphone when reassembling!

      Ask FixBot

      Add Comment

    5. Azpen A720 Touch Screen Replacement: step 8, image 1 of 3 Azpen A720 Touch Screen Replacement: step 8, image 2 of 3 Azpen A720 Touch Screen Replacement: step 8, image 3 of 3
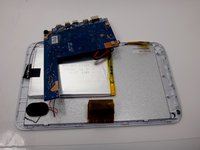
      • Remove the three 4mm Phillips #00 screws securing the motherboard in place.

      Ask FixBot

      Add Comment

    6. Azpen A720 Touch Screen Replacement: step 9, image 1 of 3 Azpen A720 Touch Screen Replacement: step 9, image 2 of 3 Azpen A720 Touch Screen Replacement: step 9, image 3 of 3
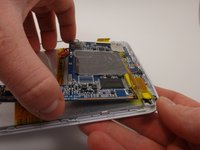
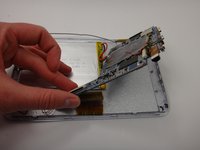
      • Remove the motherboard from the casing, being careful not to damage the remaining wires.

      • It's okay if the buttons fall out of the case.

      • Flip the motherboard so it rests upside down and out of the way of the metal backing.

      Ask FixBot

      Add Comment

    7. Azpen A720 Touch Screen Replacement: step 10, image 1 of 2 Azpen A720 Touch Screen Replacement: step 10, image 2 of 2
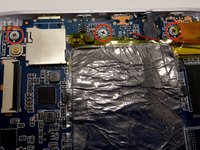
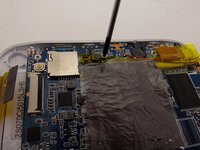
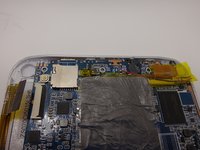
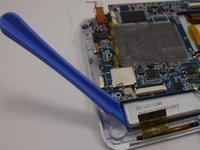
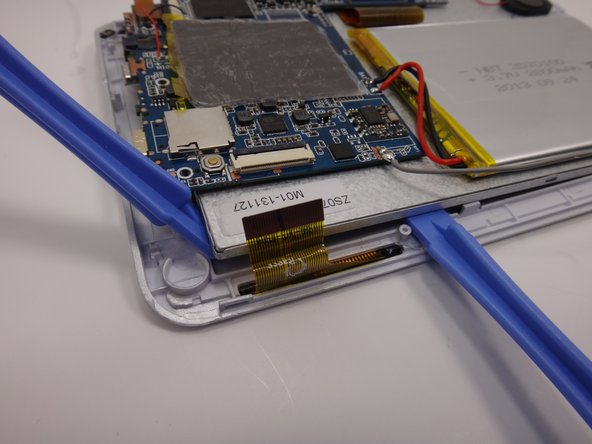
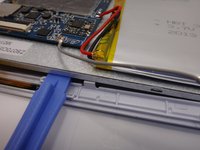
      • Starting at the edge, use a plastic opening tool to carefully pry the front casing off of the metal backing.

      • Leave the plastic opening tool in place underneath the metal backing to prop it up.

      • Move the motherboard out of the way as needed.

      Ask FixBot

      Add Comment

    8. Azpen A720 Touch Screen Replacement: step 11, image 1 of 2 Azpen A720 Touch Screen Replacement: step 11, image 2 of 2
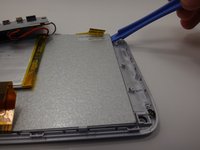
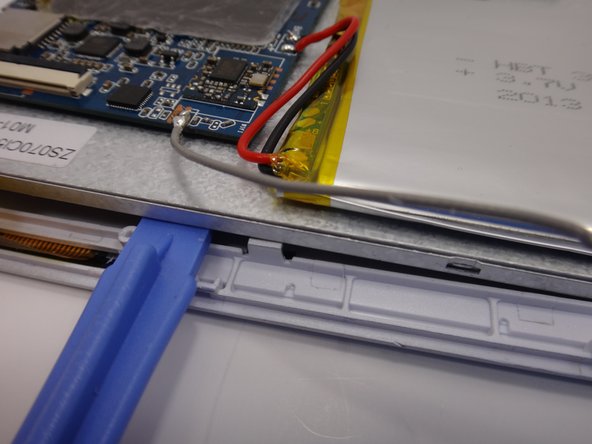
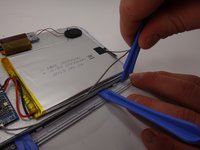
      • Using a second plastic opening tool, pry the adjacent side of the metal backing from the front casing/touch screen.

      • Pry close to the plastic tabs so you do not break them.

      • Leave the plastic opening tool in place underneath the metal backing to prop it up.

      Ask FixBot

      Add Comment

    9. Azpen A720 Touch Screen Replacement: step 12, image 1 of 1
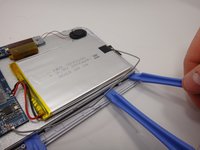
      • Remove the first plastic opening tool and use it to pry along the second edge.

      • Slide the tool along the edge until it is close the next tab, and gently pry the metal up.

      Ask FixBot

      Add Comment

    10. Azpen A720 Touch Screen Replacement: step 13, image 1 of 3 Azpen A720 Touch Screen Replacement: step 13, image 2 of 3 Azpen A720 Touch Screen Replacement: step 13, image 3 of 3
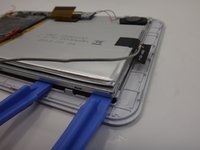
      • Use a third plastic opening tool to pry at the corner of the tablet and pop off the metal backing.

      Ask FixBot

      Add Comment

    11. Azpen A720 Touch Screen Replacement: step 14, image 1 of 3 Azpen A720 Touch Screen Replacement: step 14, image 2 of 3 Azpen A720 Touch Screen Replacement: step 14, image 3 of 3
      • Lift the metal backing from the propped edge to remove it from the front casing.

      • Replace the broken front touch screen and casing with a new one.

      Ask FixBot

      Add Comment

Conclusion

To reassemble your device, follow these instructions in reverse order.

Cancel: I did not complete this guide.

One other person completed this guide.

Anna

Member since: 03/17/15

353 Reputation

3 Guides authored

Team

0 Guide Comments

Add Comment

View Statistics:

Past 24 Hours: 4

Past 7 Days: 15

Past 30 Days: 90

All Time: 3,235