
Azpen A701 Screen Replacement

Michael and 5 other contributors
Last updated on Jan 15, 2026
Views: 1.1K
View statistics:
- Past 24 Hours:
- 2
- Past 7 Days:
- 18
- Past 30 Days:
- 92
- All Time:
- 1,054
Comments: 0
No one has left comments on this guide. Will you be first?
Go to guide commentsCompleted: 1 2
1 person has marked this guide "completed." Will you be next?
2 people have marked this guide "completed." Including you — great job!
Favorites: 0 1
No one has favorited (and subscribed to) this guide. Will you be the first?
1 person has favorited (and subscribed to) this guide — and that's you!
Better Introduction
Improve this guide by completing or revising its introduction.
Missing Details
Some of this guide's details are missing. Help users by adding tools, difficulty, or time.
Introduction
Go to step 1 ↓The screen assembly is located underneath all of the other parts of the device. To access it, you will have to remove these pieces first. Make sure to keep track of all five screws and any connected parts.
What you need
Tools
-
Spudger4.9


-
-
-
Remove the two 2cm screws on the bottom using the PH0 Phillips head screw driver.
 Ask FixBot
-
-
-
Pry open the back piece with the plastic spudger.
-
Remove the back piece from the device.
-
-
-
Disconnect speaker (which is attached by black and red wires) from back piece using plastic spudger.
-
-
-
-
-
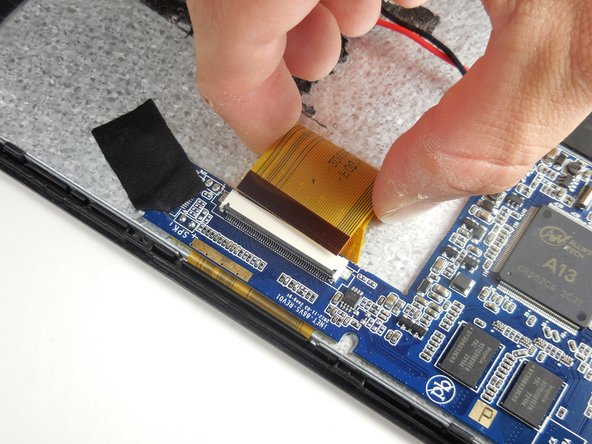
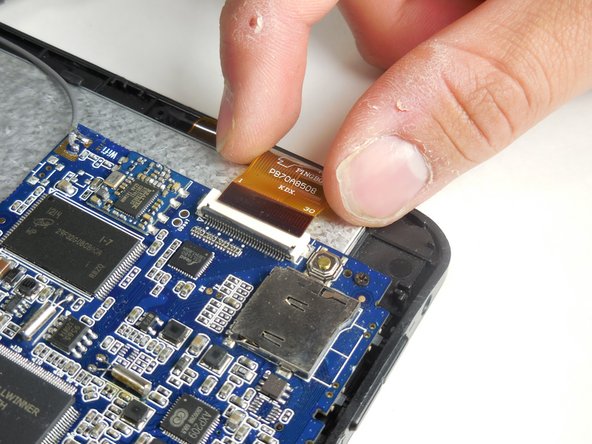
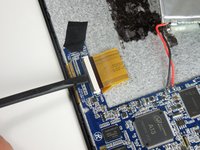
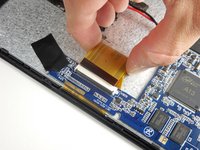
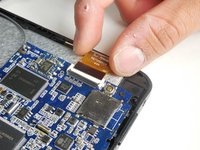
Disconnect the two largest (of the three) ZIF cables by prying open the flap with a plastic spudger to gently remove them.
-
-
-
Peel off the black tape from the corner of the motherboard (indicated by the blue surface of the device).
-
-
-
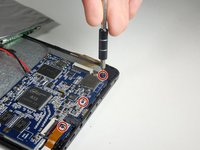
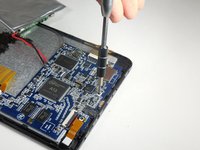
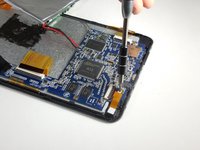
Use a Phillips #000 screwdriver to remove the three screws that connect the motherboard to the front panel.
-
-
-
-
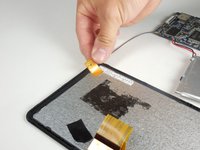
Remove the small orange tape attached with a gray wire from the top corner of the device. This is the antenna.
-
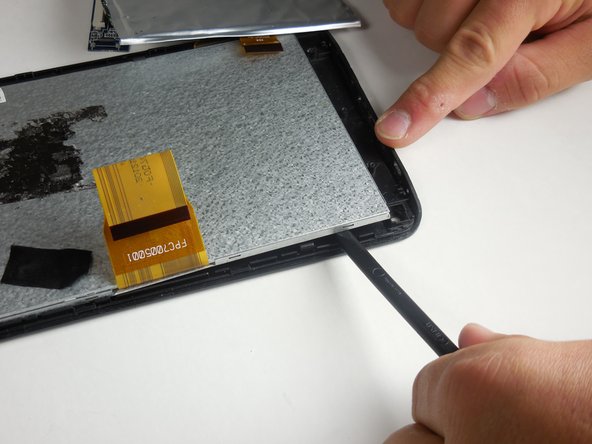
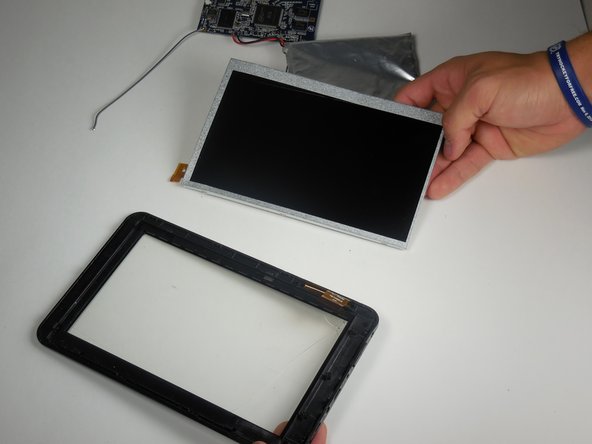
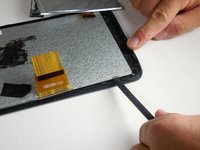
Use a plastic spudger around the silver lining within the device to pry the screen off.
-
-






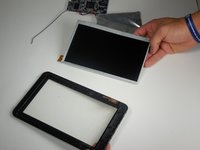

To reassemble your device, follow these instructions in reverse order.
Cancel: I did not complete this guide.
One other person completed this guide.

Team

Colorado Springs, Team 2-1, Panko Spring 2015 Member of Colorado Springs, Team 2-1, Panko Spring 2015
UCCS-PANKO-S15S2G1
3 Members
72 Guides authored
