Introduction
This guide will show you how to properly replace the speaker in a Azpen 1045 tablet if your speaker is scratchy or blown out. These steps will show how to safely remove and install a new speaker.
What you need
-
-
Power off the tablet by holding the side button for five seconds.
-
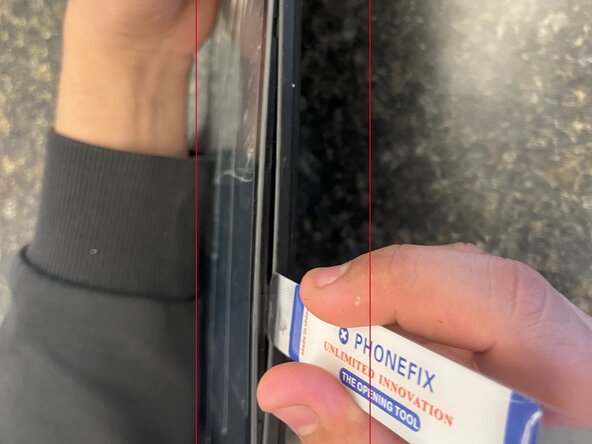
Insert an opening tool into one of the sides and lift until the screen comes off.
 Ask FixBot
-
-
-
-
If there is electrical tape covering the contacts on the motherboard, gently peel it back to expose the contacts.
-
-
-
With a soldering iron, carefully melt the two speaker contacts on the motherboard and use a desoldering wick to absorb the melted solder to prevent possible short circuits.
-
Take the new speaker and place it in the same location as the old speaker and screw it in place. With a soldering iron, carefully solder the wires back to the motherboard as they were with the old speaker.
-


To reassemble your device, follow these instructions in reverse order.
Team

UMass Dartmouth, Team 5-1, Biswokarma Spring 2025 Member of UMass Dartmouth, Team 5-1, Biswokarma Spring 2025
UMASSD-BISWOKARMA-S25S5G1
7 Members
4 Guides authored