Introduction
This guide applies to the Azpen A1045 Tablet for the replacement of the charging port. The charging port will allow the device to be powered up and battery charged by an external power supply connected to a standard household 120-volt outlet.
What you need
-
-
Power off the tablet by holding the side button for five seconds.
-
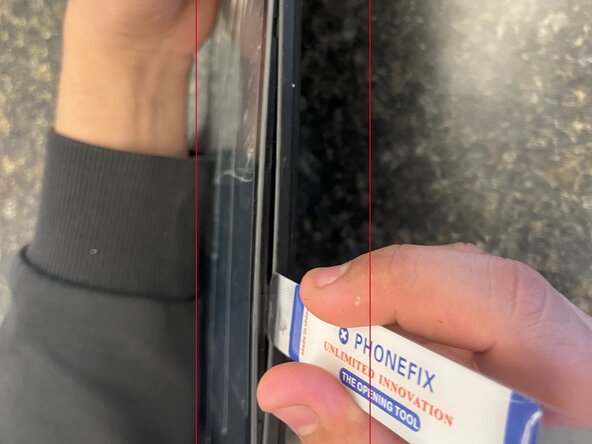
Insert an opening tool into one of the sides and lift until the screen comes off.
 Ask FixBot
-
-
-
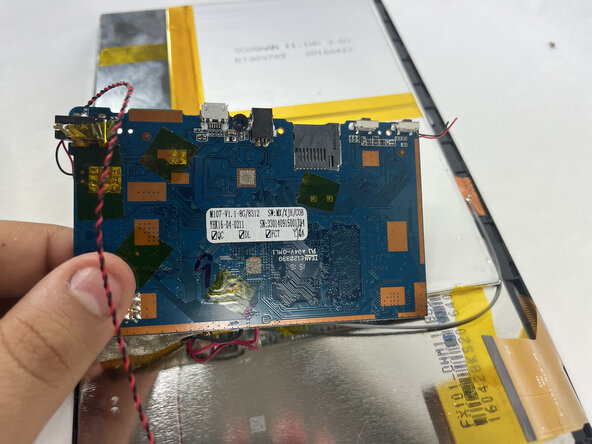
The charging port is located on the right-hand side when viewing the rear panel, just above the USB connector. It can be identified by the black square with a hole on the underside of the circuit board.
-
-
-
-
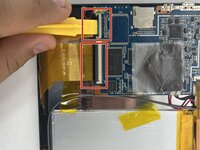
To remove the circuit board, carefully peel off any tape securing it to the front panel. Gently disconnect the camera from the port in the upper corner of the panel.
-
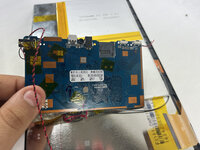
Gently disconnect the two remaining orange ribbon connectors attached to the circuit board. Use an opening tool to lift and remove the circuit board from the front panel.
-
-
-
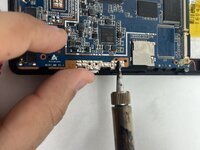
Remove the charging port with a pair of tweezers. Solder the new charging port onto the circuit board using a soldering iron.
-
For more information on soldering, check out this guide.
-


To reassemble your device, follow these instructions in reverse order.
Cancel: I did not complete this guide.
2 other people completed this guide.

Team

UMass Dartmouth, Team 5-1, Biswokarma Spring 2025 Member of UMass Dartmouth, Team 5-1, Biswokarma Spring 2025
UMASSD-BISWOKARMA-S25S5G1
7 Members
4 Guides authored