
Azpen A1045 Battery Replacement

Alaa Kaliny and one other contributor
Last updated on Jun 27, 2025
Views: 382
View statistics:
- Past 24 Hours:
- 0
- Past 7 Days:
- 14
- Past 30 Days:
- 69
- All Time:
- 382
Comments: 0
No one has left comments on this guide. Will you be first?
Go to guide commentsCompleted: 3 4
3 people have marked this guide "completed." Will you be next?
4 people have marked this guide "completed." Including you — great job!
Favorites: 0 1
No one has favorited (and subscribed to) this guide. Will you be the first?
1 person has favorited (and subscribed to) this guide — and that's you!
Needs Better Images
Better photos will improve this guide. Help out by taking, editing, or uploading new ones!
Introduction
Go to step 1 ↓This guide will walk you through replacing the faulty battery in the Azpen A1045 tablet. If your device isn’t powering on, drains quickly, or overheats, these could be signs of a faulty battery. The battery is crucial for powering the device, and replacing it will restore normal functionality. Be sure to power off the tablet and disconnect the battery before starting the repair. Handle the battery with care, especially if it is swollen, as it can be hazardous.
What you need
Tools


-
-
-
Power off the tablet by holding the side button for five seconds.
-
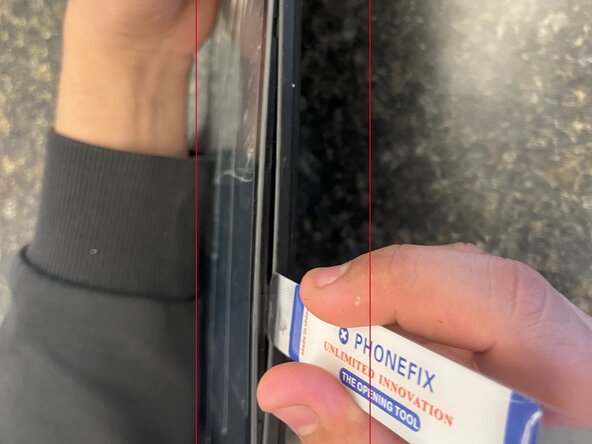
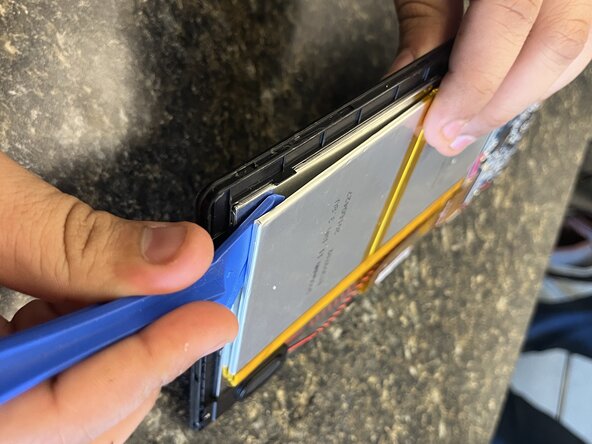
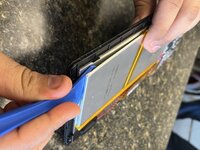
Insert an opening tool into one of the sides and lift until the screen comes off.
 Ask FixBot
-
-
-
-
-
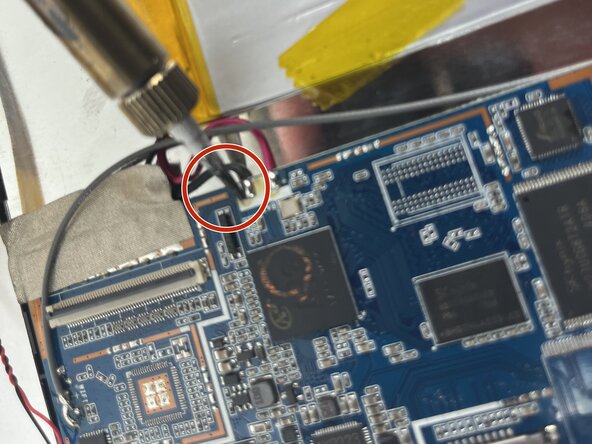
After heating your soldering iron, place it on the black wire and desolder it.
-
Repeat the same step for the red wire.
-
For more information on soldering, check out this guide.
-
-
-





To reassemble your device, follow these instructions in reverse order.
Cancel: I did not complete this guide.
3 other people completed this guide.

Team

UMass Dartmouth, Team 5-1, Biswokarma Spring 2025 Member of UMass Dartmouth, Team 5-1, Biswokarma Spring 2025
UMASSD-BISWOKARMA-S25S5G1
7 Members
48 Guides authored
