Introduction
This 8-step guide offers precise instructions for replacing the side buttons on the Axess TA2513-10WT Android tablet computer. It becomes essential when the side buttons become unresponsive due to extended use or get stuck, leading to operational difficulties. However, it's crucial to note that while the process carries little to no risk, there is a potential for harming the computer if the cover is removed too forcefully.
What you need
-
-
-
Lay the tablet down on a flat surface with the screen facing up, and the external camera facing upwards and closest to you.
 Ask FixBot
-
-
-
Insert the plastic opening tool in the space between the screen and the back cover above the volume buttons.
-
Slide the plastic opening tool gently along the sides.
-
-
-
Place the spudger in an open space to keep the back case from shutting while you continue to slide the opening tool.
-
-
-
-
Remove the back cover with your hands once all points have been unlatched. It should separate completely from the screen that contains the battery and chip components.
-
-
-
-
-
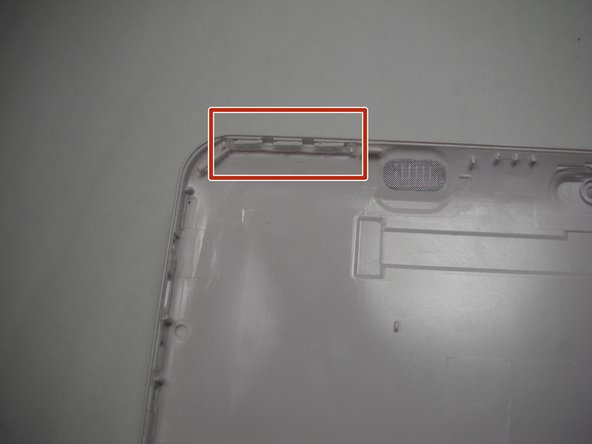
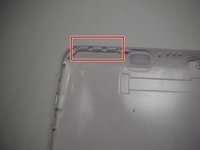
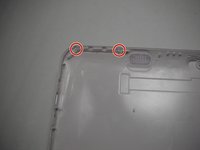
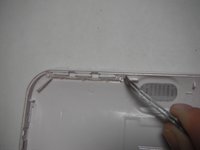
Orient the tablet's back cover so that the inside faces up and the buttons are positioned at the top left corner.
-
-
Tool used on this step:Tweezers$4.99
-
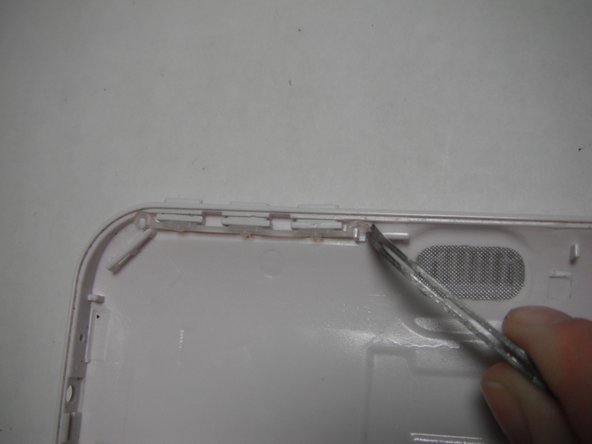
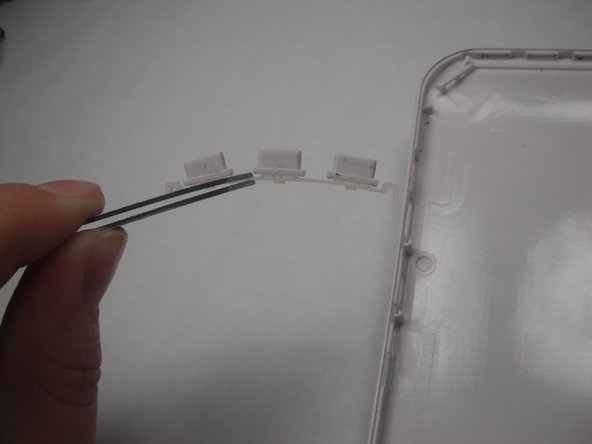
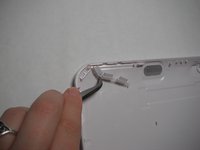
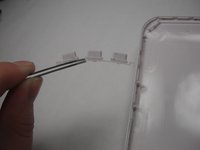
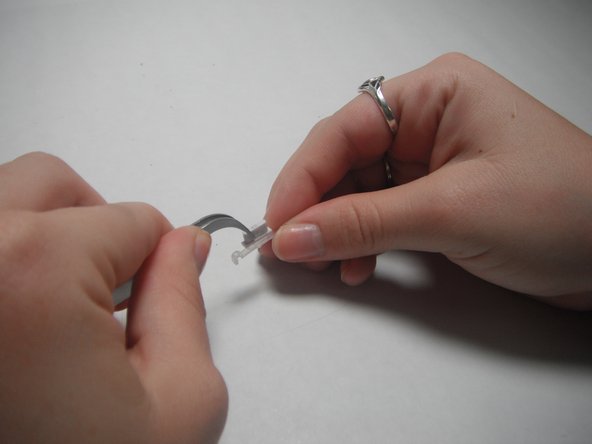
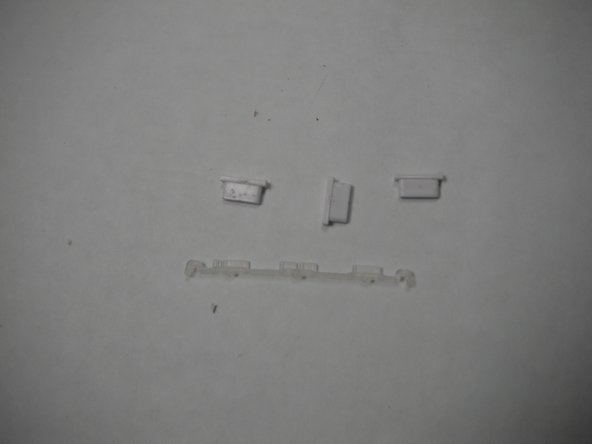
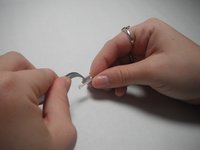
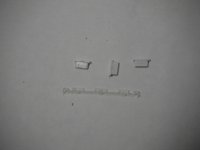
Unlatch the clear rubber holder from the posts with the tweezers.
-
-






To reassemble your device, follow these instructions in reverse order.

Team

Baylor, Team 6-3, Shaver Spring 2015 Member of Baylor, Team 6-3, Shaver Spring 2015
BU-SHAVER-S15S6G3
3 Members
60 Guides authored
