Introduction
This is the replacement guide for the PoE (Power over Ethernet) cable for the AvertX HD810. The only prerequisite for this guide is the Clear Dome Cover. Make sure to completely turn off, power down, and unplug your AvertX HD810 before attempting this operation.
What you need
-
-
-
Lift off the paintable snap-on cover from the AvertX HD810 dome security camera.
 Ask FixBot
-
-
-
Loosen both 10mm screws on either side of the clear dome cover housing using a T10 Torx security screwdriver.
-
-
-
-
-
-
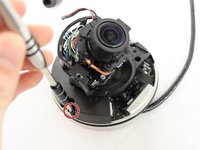
Unscrew the two 10mm screws holding the plastic camera base to the metal camera base using the PH1 screwdriver.
-
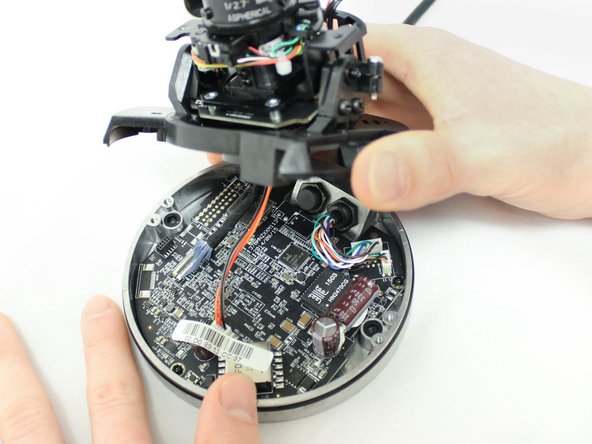
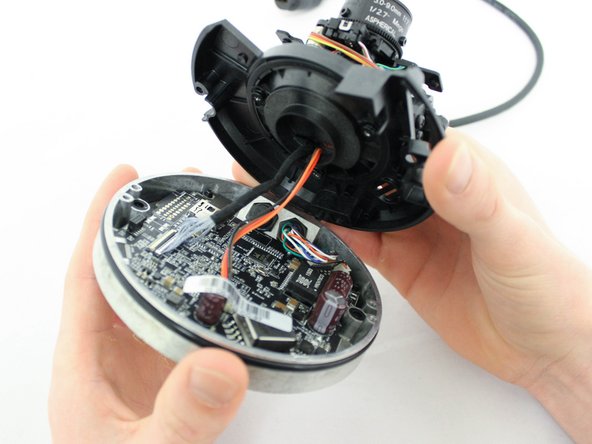
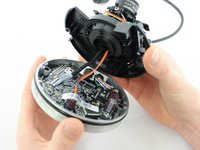
Be aware that cables are still connected under this base, and gently lift the plastic base with the camera away from the metal base with the motherboard.
-
-
-
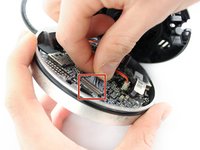
Disconnect the two cables from the camera base motherboard by gently but firmly pulling directly away from their respective ports.
-
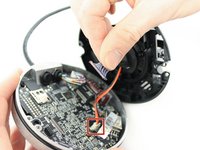
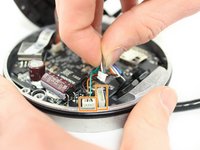
Disconnect the two PoE (Power over Ethernet) cables from the motherboard by gently but firmly pulling the connected cables directly away from their respective ports.
-
-
-
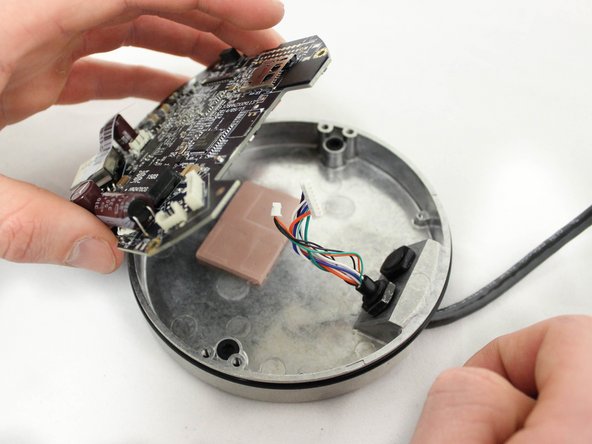
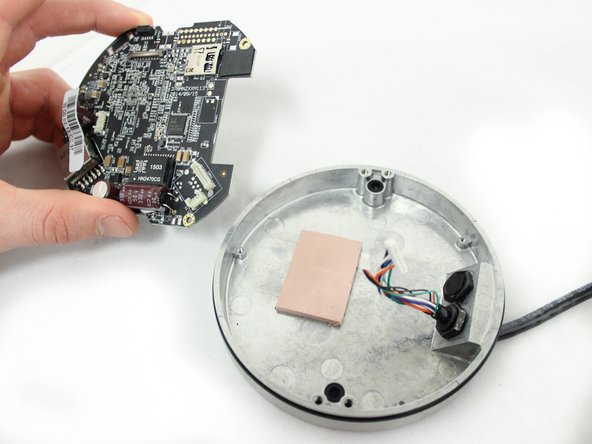
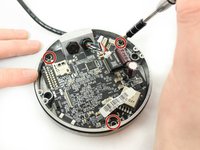
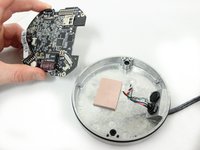
Using a nonmagnetic, PH000 Phillips Head screwdriver, remove the three 6mm screws that hold the motherboard to the metal base.
-
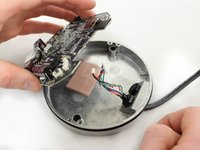
Set the motherboard aside on a non-static surface.
-
-
-
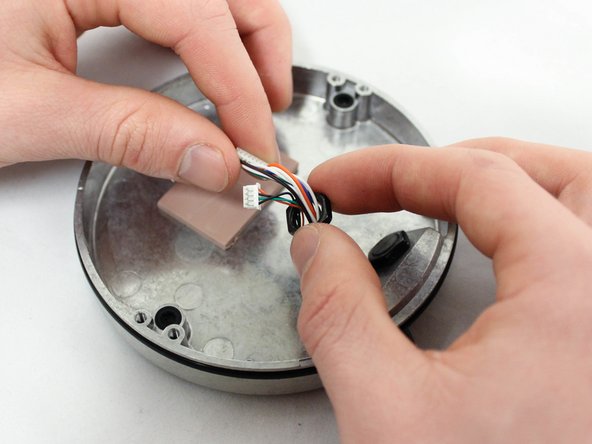
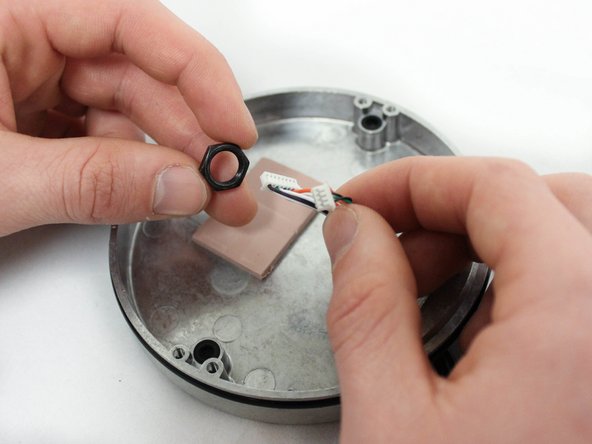
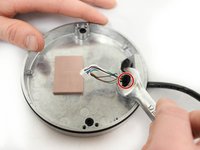
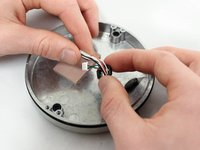
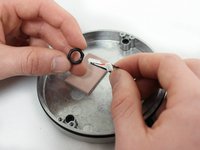
Remove the 1/2" hex nut holding the cable in place to the metal base with a 1/2" open-ended wrench.
-
-
-
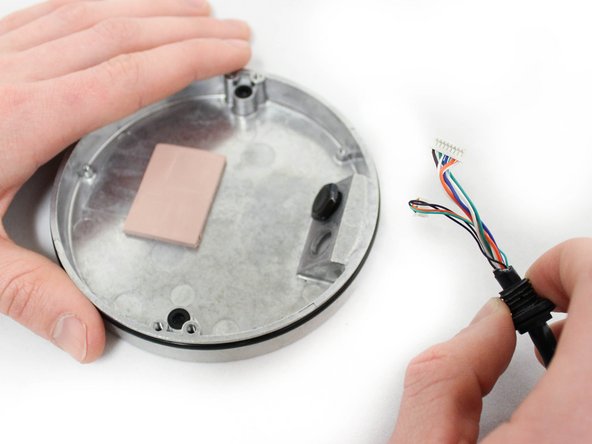
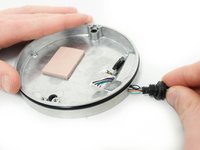
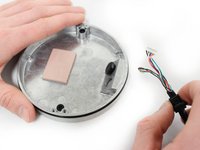
Pull the PoE cable away from the metal camera base while angling the plastic connectors through the hole
-
-


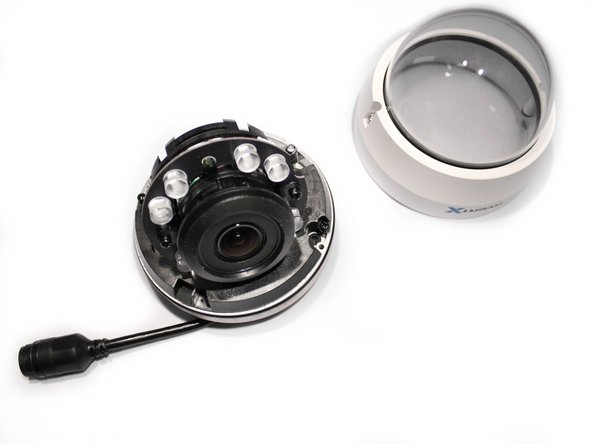






To reassemble your device, follow these instructions in reverse order.

Team

Eastern Washington University, Team 2-3, Crane Winter 2017 Member of Eastern Washington University, Team 2-3, Crane Winter 2017
EWU-CRANE-W17S2G3
3 Members
60 Guides authored
