
Audiovox CDM-8900 Camera Replacement

Aaron Shaw and 12 other contributors
Last updated on May 29, 2024
Views: 3K
View statistics:
- Past 24 Hours:
- 3
- Past 7 Days:
- 22
- Past 30 Days:
- 106
- All Time:
- 2,987
Comments: 0
No one has left comments on this guide. Will you be first?
Go to guide commentsCompleted: 0 1
No one has marked this guide "completed." Will you be the first?
1 person has marked this guide "completed." It's you — great job!
Favorites: 4 5
4 people have favorited (and subscribed to) this guide. Will you be next?
5 people have favorited (and subscribed to) this guide — including you!
Needs Better Images
Better photos will improve this guide. Help out by taking, editing, or uploading new ones!
Inconsistent Images
Updating the images on this guide to be more consistent with the prerequisites would increase its awesomeness.
Missing Steps
Oops! This guide is currently missing one or more important steps.
Introduction
Go to step 1 ↓If the camera on your Audiovox CDM-8900 is not working correctly or showing a black screen when trying to use the camera, then you might need a camera replacement.
There is no need to purchase a new phone. Just replace the camera!
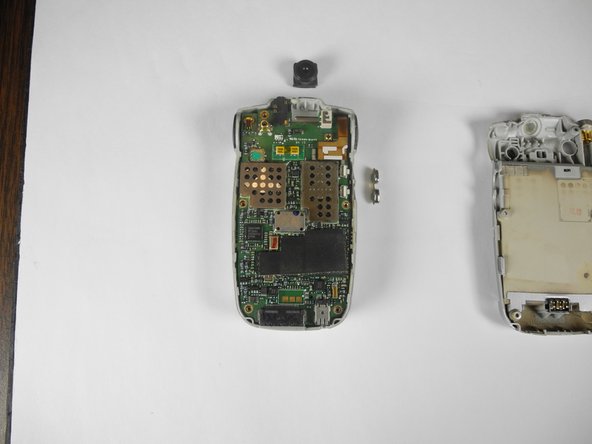
Step 6 requires you to take the motherboard and simply add the new camera carefully and verify that the camera is oriented correctly when reinserting.
Remember to carefully place everything back to its original place.
What you need
Tools


-
-
-
Hold the phone in one hand, slide the latch up, and pull the battery up to remove it.
 Ask FixBot
-
-
-
-
-
-
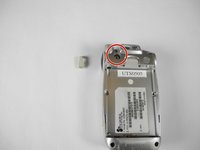
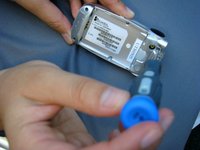
Remove the small rubber insert from the top of the phone to access the top screw.
-
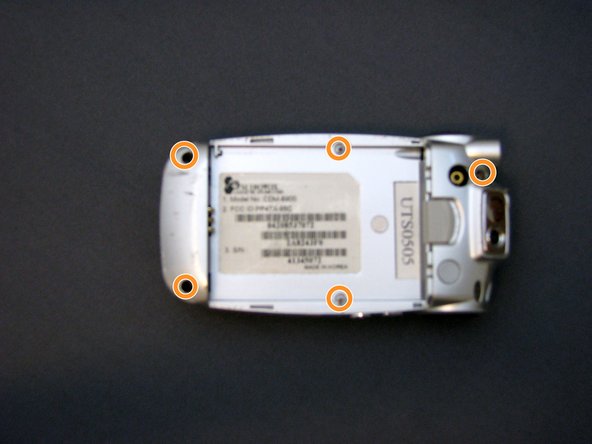
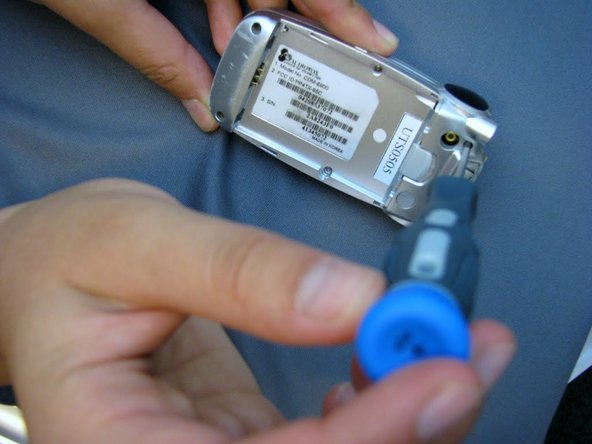
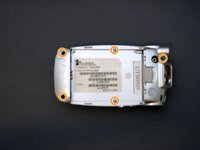
Unscrew all five screws on the back of the cell phone with a Phillips #00 screwdriver.
-
-
-
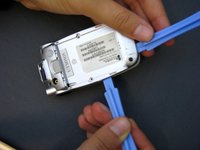
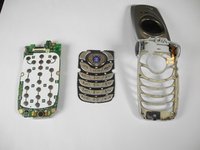
Wedge the phone plate toward you, using the leverage from an opening tool.
-
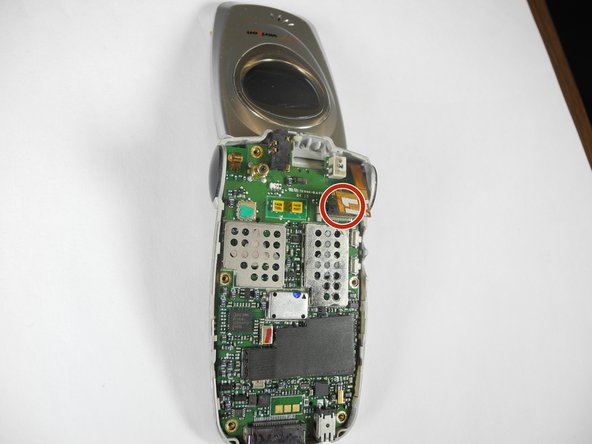
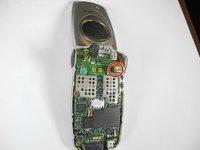
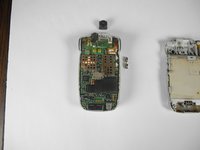
Detach the motherboard from the LCD screen connector by gently detaching the small copper plate on the top right of the motherboard.
-
-
-
-
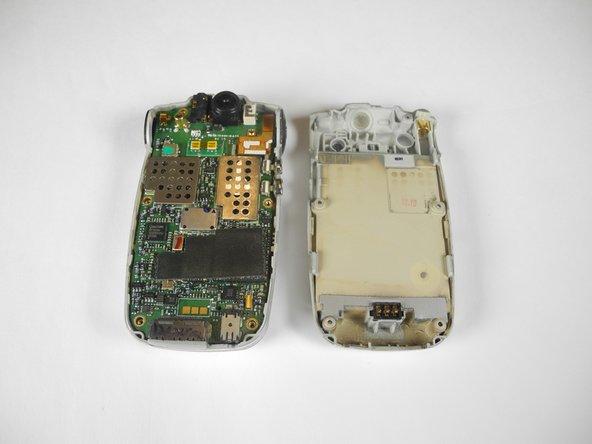
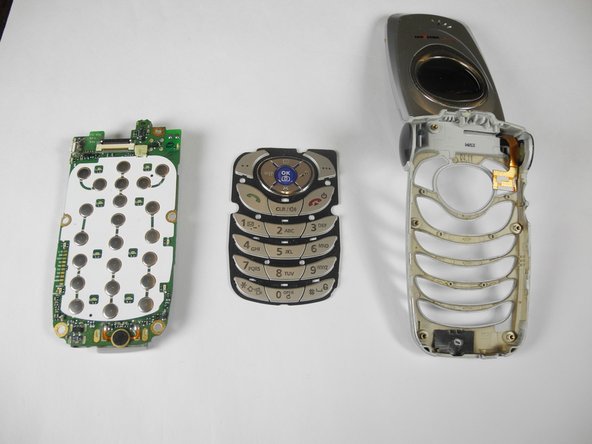
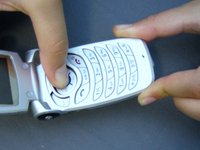
To release the motherboard, push the large "OK" button located on the other side of the phone.
-
-
-



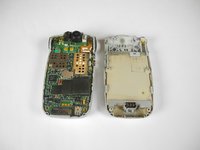


To reassemble your device, follow these instructions in reverse order.

Team

Cal Poly, Team 28-31, Regan Spring 2010 Member of Cal Poly, Team 28-31, Regan Spring 2010
CPSU-REGAN-S10S28G31
4 Members
72 Guides authored
