Introduction
Use this guide to replace the bulb on your AuKing M8-F projector.
The bulb is a part of the projector that shines through its optical component(s) to create and magnify the image. If the bulb is not properly functioning, the projector can result in a black, blank screen. In some cases, the bulb may wear off when used too much than the exceeded maximal time. The bulb will likely need a replacement if your projector is showing any of the symptoms mentioned.
Before continuing with this guide, please take a look at the troubleshooting page to see if the cause is mentioned in this page. Be sure to turn off your projector completely and disconnect any cable before starting this guide.
What you need
-
-
-
Flip the projector on its opposite side.
-
Remove all six of the 11 mm screws on the base of the projector using a Phillips #1 screwdriver.
-
Remove the two 14 mm screws using a Phillips #1 screwdriver.
 Ask FixBot
-
-
-
Carefully prop open the top of the projector.
-
To remove the cord that is attached to the top, carefully wiggle the cord out.
-
Remove the top lid.
-
-
-
-
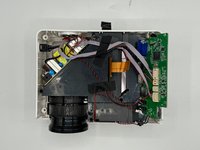
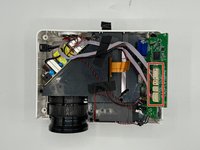
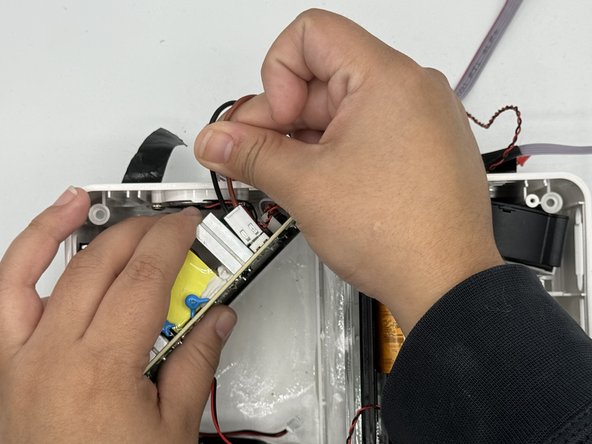
Carefully disconnect the wires that are attached to the motherboard.
-
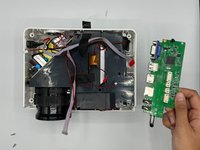
Remove the motherboard.
-
-
-
-
-
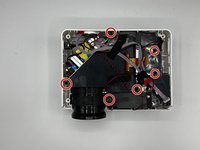
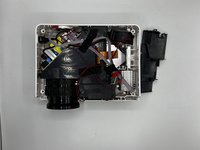
Remove the six 9 mm screws using a Phillips #0 screwdriver to detach both of the black panels.
-
-
-
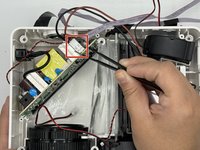
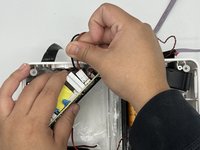
Slide the motherboard upwards to remove the wire component connected to the LED bulb.
-
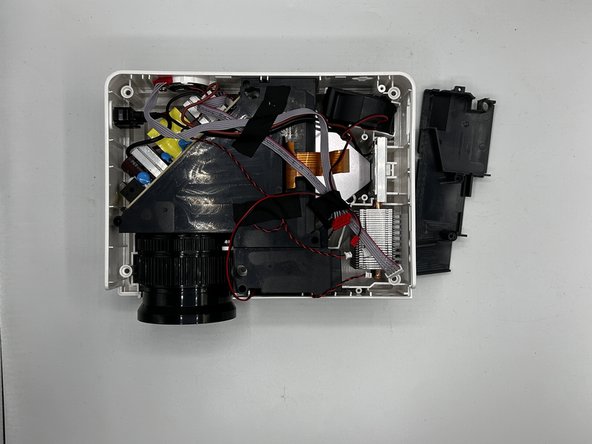
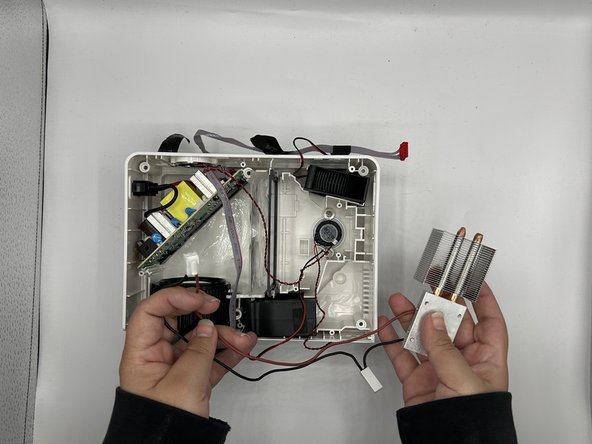
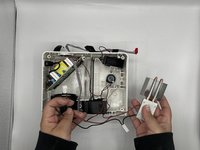
Gently remove the LED bulb and the attached heatsink from the projector
-
-


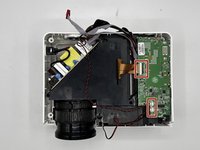
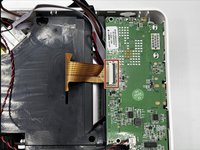
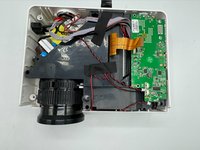


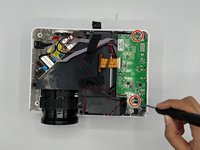




To reassemble your device, follow these instructions in reverse order.

