
Atmega328P Microcontroller Replacement for Arduino Board

Youssef Qteshat and 2 other contributors
Last updated on May 10, 2023
Views: 1.7K
View statistics:
- Past 24 Hours:
- 1
- Past 7 Days:
- 18
- Past 30 Days:
- 110
- All Time:
- 1,670
Comments: 0
No one has left comments on this guide. Will you be first?
Go to guide commentsCompleted: 3 4
3 people have marked this guide "completed." Will you be next?
4 people have marked this guide "completed." Including you — great job!
Favorites: 0 1
No one has favorited (and subscribed to) this guide. Will you be the first?
1 person has favorited (and subscribed to) this guide — and that's you!
Introduction
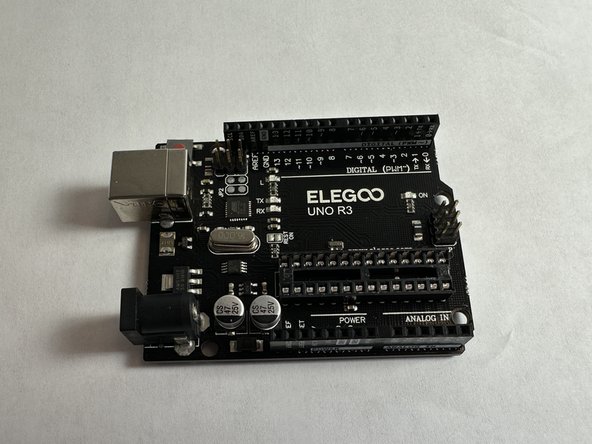
Go to step 1 ↓This is a guide on how to replace a ATMega328P microcontroller (Code: X000048) on an Arduino UNO R3 Board (Model: EL-CB-001, Code: A000066). This guide does not require any specialized skills or knowledge.
The ATMega328P processes the instructions in C from the Arduino IDE. If damaged, the code cannot be executed. Fortunately, replacing the microcontroller is a simple and uncomplicated process. Before starting the repair, please unplug the the Arduino board from the USB.
What you need

-
-
-
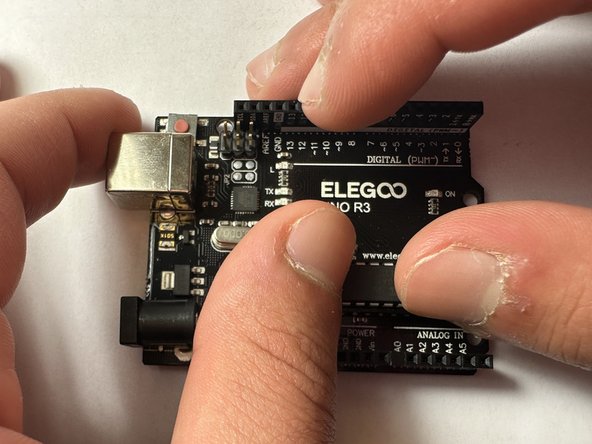
Place the Arduino UNO R3 board on a flat clean surface.
 Ask FixBot
-
-
-
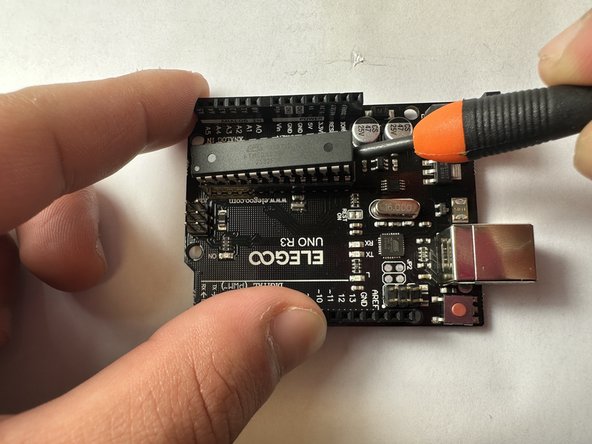
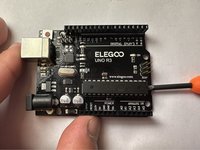
On the right side of board, position a nylon spudger in between the microcontroller and the dip socket, and gently lift upwards to pry it out.
-
-
-
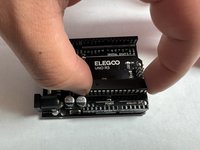
Repeat steps 2 and 3 until the microcontroller is loose enough to remove out of the socket.
-
-
-
-
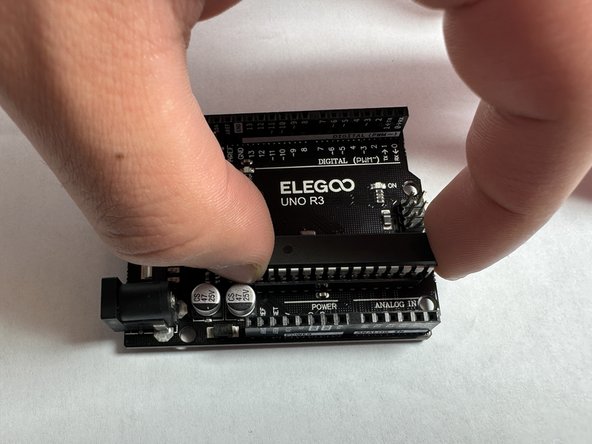
If needed, straighten the pins of the replacement microcontroller and place it directly over the dip socket.
-
-



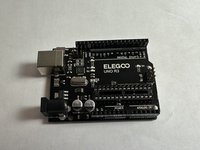


To reassemble your device, follow these instructions in reverse order.
Cancel: I did not complete this guide.
3 other people completed this guide.

Team

UC Davis, Team 5-5, Morris Winter 2023 Member of UC Davis, Team 5-5, Morris Winter 2023
UCD-MORRIS-W23S5G5
2 Members
12 Guides authored
