
Atari Flashback 6 Controller Board Repair

Kyle Albright and 2 other contributors
Last updated on May 30, 2024
Views: 646
View statistics:
- Past 24 Hours:
- 2
- Past 7 Days:
- 14
- Past 30 Days:
- 69
- All Time:
- 646
Comments: 1
1 comment on steps.
Completed: 0 1
No one has marked this guide "completed." Will you be the first?
1 person has marked this guide "completed." It's you — great job!
Favorites: 0 1
No one has favorited (and subscribed to) this guide. Will you be the first?
1 person has favorited (and subscribed to) this guide — and that's you!
Needs More Images
A few more images would make this guide's procedures crystal clear.
Missing Steps
Oops! This guide is currently missing one or more important steps.
Introduction
Go to step 1 ↓This repair is for an Atari Flashback 6 controller. Over time, controller wiring can wear down and disconnect from the terminals. In this guide, we will demonstrate how to disassemble, re-solder the wires to the terminal, and then reassemble your Atari Flashback 6 controller. You can achieve all nine steps with little to no experience, as long as you have the right tools. Handle tools such as a soldering iron and exacto knife with care to prevent injury or controller damage.
Information on how to solder
Before you begin the repair, make sure to remove the batteries from the controller.
What you need
Tools
-
-
-
Spudger4.9


-
-
-
Use a Phillips #1 screwdriver to remove single 1.5 mm-long screw securing the battery cover.
-
Lift the battery cover off.
-
Depress the spring that is in contact with the negative side of the battery to remove the batteries. Push down, and then remove batteries one at a time.
 Ask FixBot
-
-
-
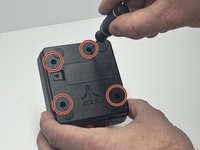
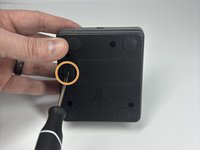
Use a Phillips #1 screwdriver to remove the four 2 mm screws from the bottom of the Atari controller.
-
-
-
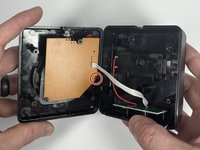
Open the bottom case gently.
-
Remove the single 2 mm-long Phillips #1 screw securing the motherboard to the top case.
-
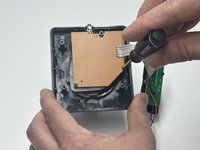
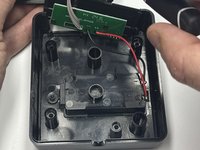
Use a spudger to gently remove the motherboard from the top case.
-
-
-
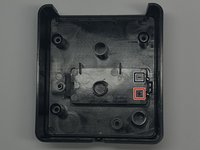
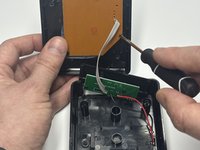
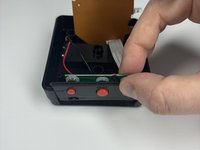
Separate the button board from the back panel.
-
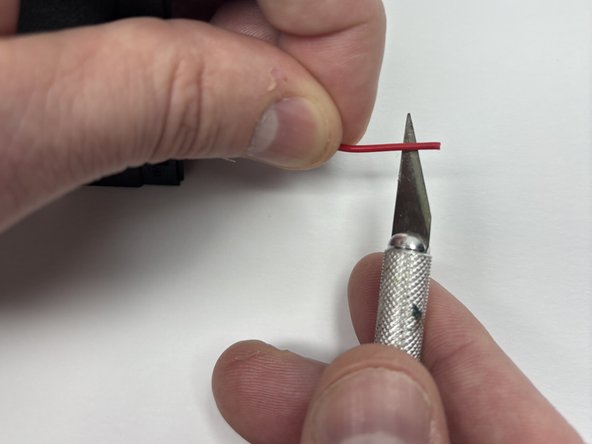
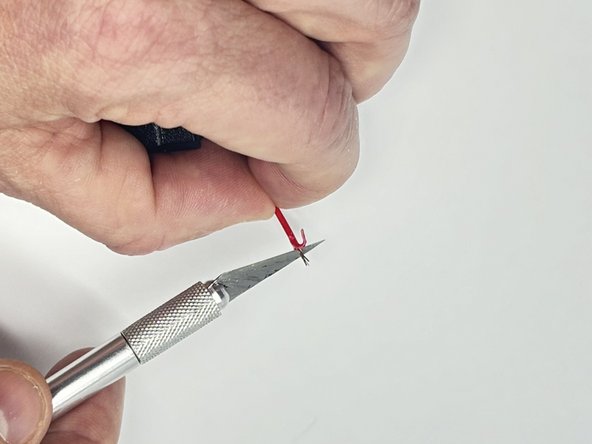
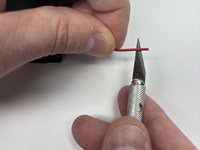
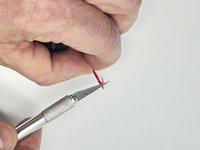
Use a wire stripper to expose the internal wiring to secure a proper connection in the next step.
-
-
-
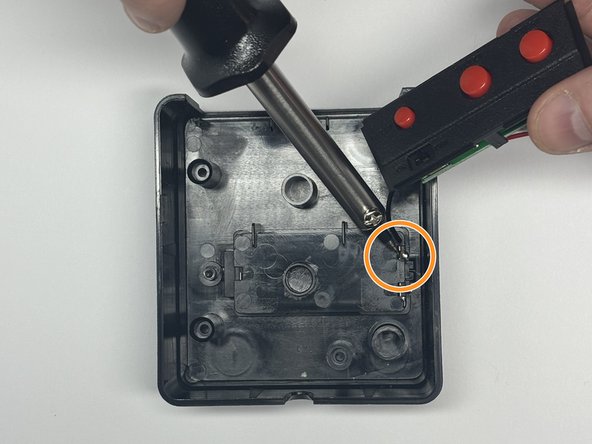
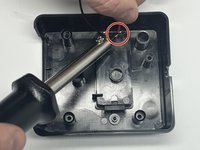
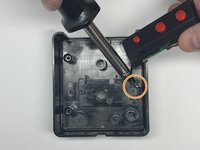
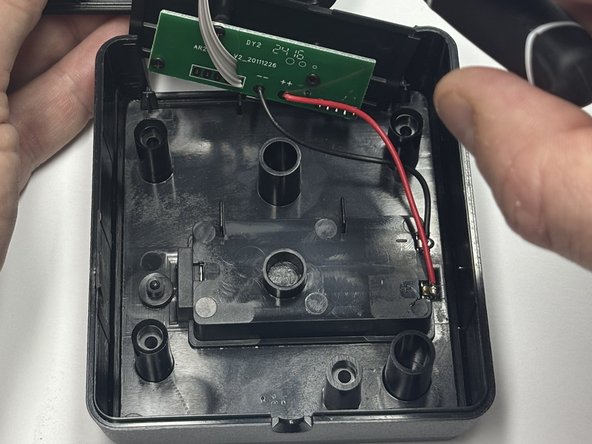
Attach the red wire to the positive terminal using the soldering iron, melting the solder to create a connection.
-
Attach the black wire to the negative terminal using the soldering iron, melting the solder to create a connection.
-
-
-
Use a Phillips #1 screwdriver to replace the 2 mm screw that secures the motherboard to the top case.
-
-
-
-
Replace the 2 mm Phillips #1 screws in the back panel to reassemble the controller.
-
After the back panel is secure, re-install the batteries, and replace the 1.5 mm Phillips #1 screw.
-
-
-
Make sure to test the product by playing an Atari game. If buttons or directional toggle are not working, repeat steps 1- 8.
-
-







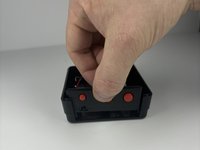



Ensure you test your controller when finished to verify the proper connection.

Team

Austin Community College, Team 52-1, Watkins Spring 2024 Member of Austin Community College, Team 52-1, Watkins Spring 2024
AUSTINCC-WATKINS-S24S52G1
2 Members
24 Guides authored
