Introduction
These cartridges often will freeze due to a poor connection to the mainboard. Opening it and removing excess dust will improve the connection, reducing the amount of freezing.
What you need
-
-
-
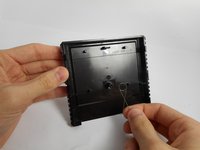
Flip the cartridge over.
-
Unscrew the single screw on the back.
-
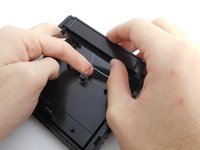
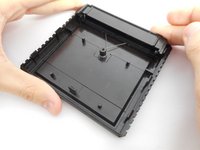
Carefully pry apart the casing. There are six (6) tabs that need to be released, three (3) each side. If you're not careful they will break. (experience has taught me)
-
Set aside any case parts after dissassembly.
 Ask FixBot
-
-
-
Unscrew the board casing, and remove it.
-
Use a compressed air can to blow off any excess dust off the board.
-
Use an alcohol-dabbed cloth to wipe down the gold-plated contacts of the board.
-
-
-
-
Place the two contact protectors together.
-
Place the spring on the knob in the cartridge.
-
-
-
Thread the spring into the connected plates.
-
Push the plates into the cartridge against the pressure of the spring.
-
-
-
Place the chip in the case.
-
Screw the other side of the case on.
-
-


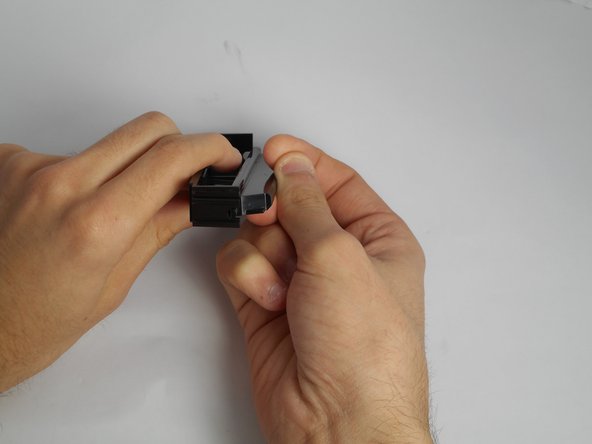
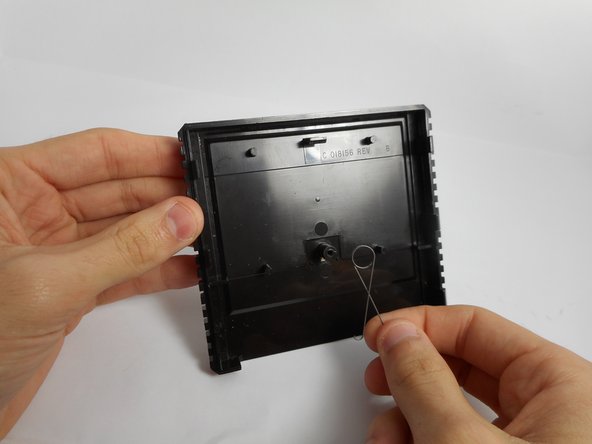


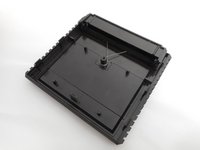


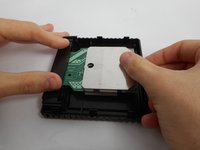
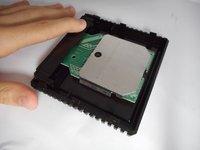
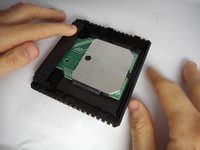
Be sure to test the game, and if freezing still occurs, check the contacts once again.
Cancel: I did not complete this guide.
3 other people completed this guide.

Team

USF Tampa, Team 13-1, Staggers Fall 2014 Member of USF Tampa, Team 13-1, Staggers Fall 2014
USFT-STAGGERS-F14S13G1
5 Members
96 Guides authored
2 Guide Comments
I’m curious to see the Atari 2600 cartridge inside but I can’t get my hands on one.
it's not a 2600 cart. the systems have similarities, but they are not pin compatible, nor are they software compatible. the 5200 is its own thing.
