
Atari 5200 Controller Side Buttons Replacement

Alan Abelson and 5 other contributors
Last updated on Jul 19, 2021
Views: 1.6K
View statistics:
- Past 24 Hours:
- 3
- Past 7 Days:
- 18
- Past 30 Days:
- 92
- All Time:
- 1,640
Comments: 0
No one has left comments on this guide. Will you be first?
Go to guide commentsCompleted: 1 2
1 person has marked this guide "completed." Will you be next?
2 people have marked this guide "completed." Including you — great job!
Favorites: 0 1
No one has favorited (and subscribed to) this guide. Will you be the first?
1 person has favorited (and subscribed to) this guide — and that's you!
Incorrect Tools
Help make this guide better by using the correct tools in images and/or text.
Better Introduction
Improve this guide by completing or revising its introduction.
What you need
Tools


-
-
-
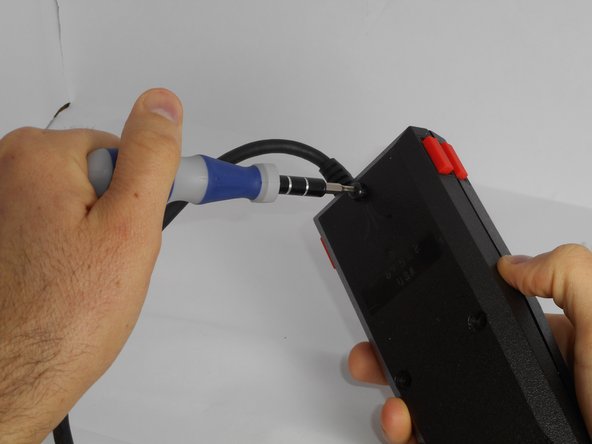
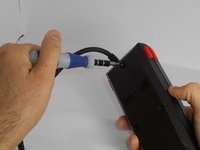
Turn the controller over, exposing the three screws on the back. Use a 6mm screwdriver to remove these screws.
-
Carefully slide and pull the two parts of the controller shell apart, exposing the innards.
 Ask FixBot
-
-
-
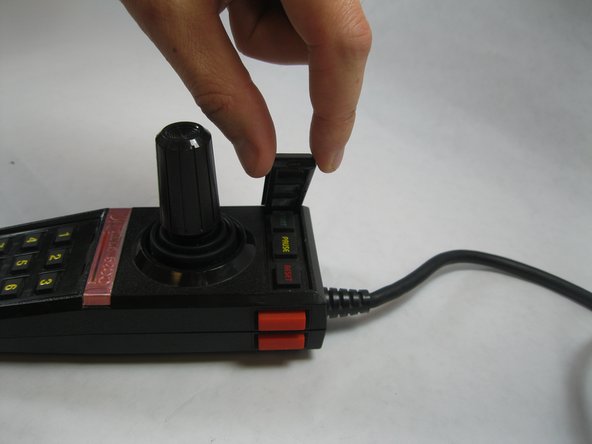
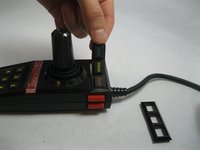
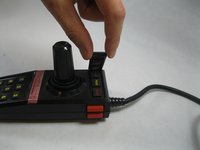
Now that the top of the controller is exposed, the orange, side buttons can easily slide out.
-
Realign the buttons over the sensors/clean the sensor contacts.
-
-
-
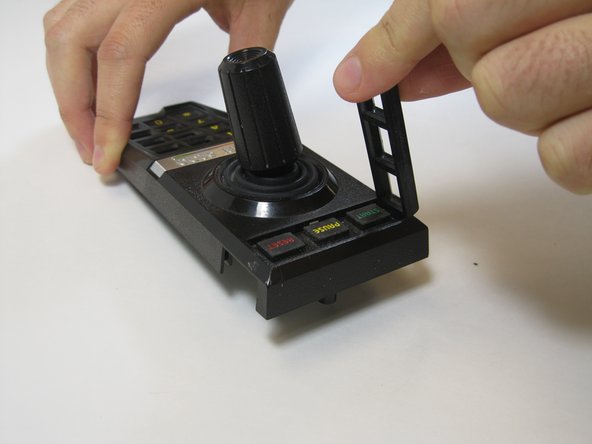
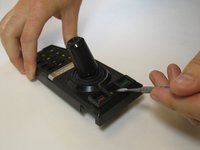
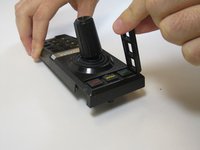
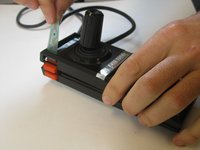
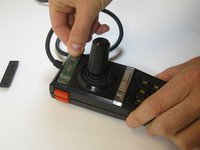
Use a spudger to remove the top frame.
-
Take off the plate.
-
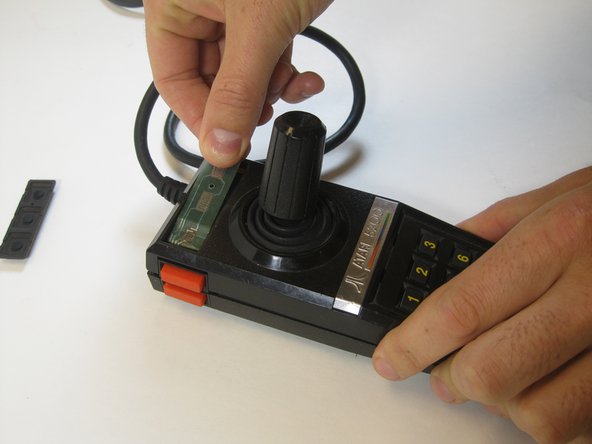
Remove the rubber buttons.
-
-
-
Pull the circuit strip through the new space.
-
Realign the top and bottom of the controller.
-
-
-
-
Return the buttons to the top of the controller.
-
Snap the frame back into place.
-
Screw the screws.
-
-




To reassemble your device, follow these instructions in reverse order.
Cancel: I did not complete this guide.
One other person completed this guide.

Team

USF Tampa, Team 13-1, Staggers Fall 2014 Member of USF Tampa, Team 13-1, Staggers Fall 2014
USFT-STAGGERS-F14S13G1
5 Members
96 Guides authored
