Free Shipping on Domestic Orders $75+

Asus Zenfone Max M2 Screen Replacement

Views: 4.4K

View statistics:

Past 24 Hours:
3
Past 7 Days:
28
Past 30 Days:
109
All Time:
4,361
Comments: 0

No one has left comments on this guide. Will you be first?

Go to guide comments
Completed: 5

5 people have marked this guide "completed." Will you be next?

Favorites: 0

No one has favorited (and subscribed to) this guide. Will you be the first?

Time Required: 50 minutes
Difficulty: Moderate
Action Shots

Be an action hero! This guide needs images that better demonstrate how to perform specific actions.

Confusing Text

Some of this guide's text is confusing, duplicated, or off-topic. Clarify it by editing!

Needs Better Images

Better photos will improve this guide. Help out by taking, editing, or uploading new ones!

Markup Mishap

This guide needs better markups. Help out by correcting or making some markup annotations.

Community-Contributed Guide

An awesome member of our community made this guide. It was not created by iFixit staff.

Asus Zenfone Max M2 Screen Replacement

Introduction

Go to step 1 ↓

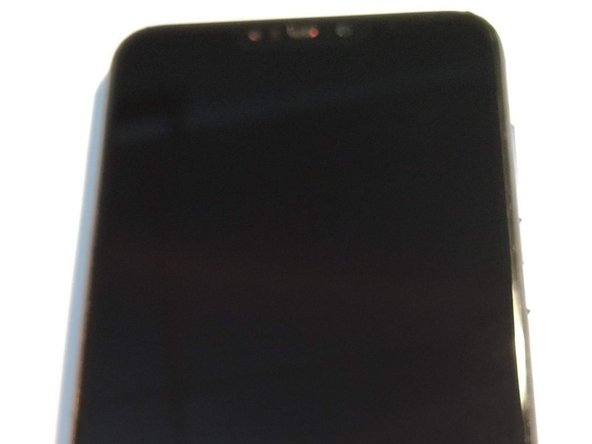
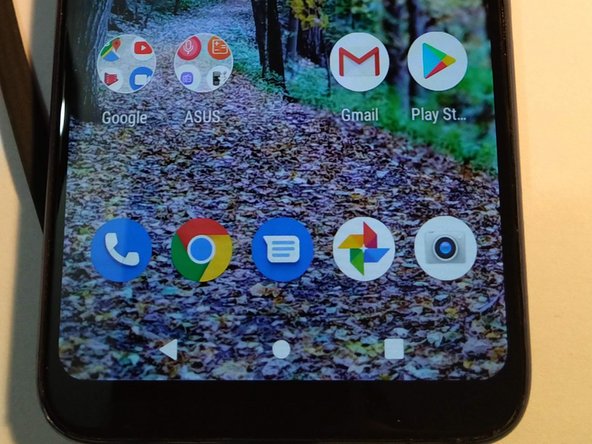
Accidentally dropped your Asus Zenfone Max M2? Experiencing lines on your screen or non-responsive touch? This guide will help!

This guide will walk you through all the necessary steps to remove and replace your Zenfone Max M2’s screen. Before starting, check the tools list and be sure that you have all of them, and obtain a replacement screen.

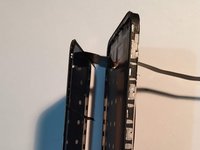
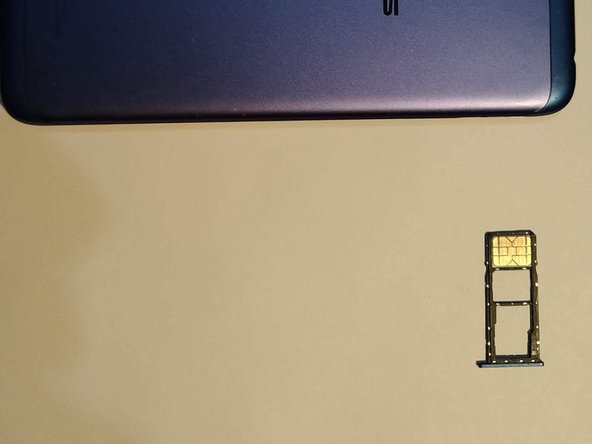
    1. Asus Zenfone Max M2 Screen Replacement, Remove back cover: step 1, image 1 of 3 Asus Zenfone Max M2 Screen Replacement, Remove back cover: step 1, image 2 of 3 Asus Zenfone Max M2 Screen Replacement, Remove back cover: step 1, image 3 of 3
      • Power off the phone before starting the repair.

      • Remove the SIM card tray.

      • Pry open the back cover. Start at the SIM card slot where it's most flexible.

      • Work your way around the back cover using a plastic pick until it detaches from the phone.

      Ask FixBot

      Add Comment

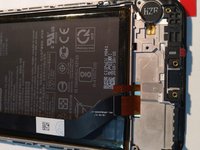
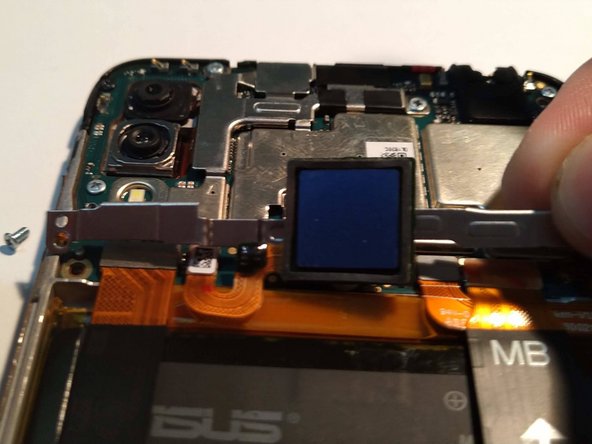
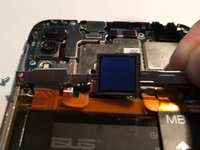
    2. Asus Zenfone Max M2 Screen Replacement, Remove screws for top cross-bracket: step 2, image 1 of 3 Asus Zenfone Max M2 Screen Replacement, Remove screws for top cross-bracket: step 2, image 2 of 3 Asus Zenfone Max M2 Screen Replacement, Remove screws for top cross-bracket: step 2, image 3 of 3
      • Lift up the fingerprint sensor.

      • There is some adhesive tape below the fingerprint scanner.

      • Use your screwdriver to remove the three screws that secure the bracket underneath the fingerprint sensor.

      Ask FixBot

      Add Comment

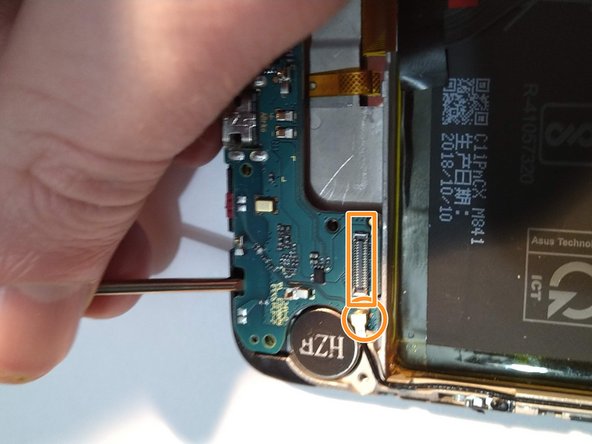
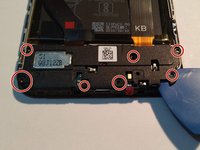
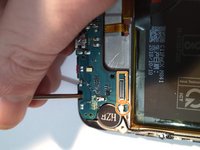
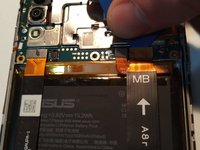
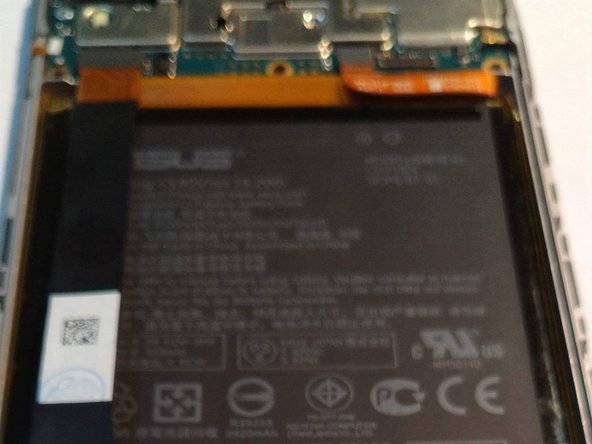
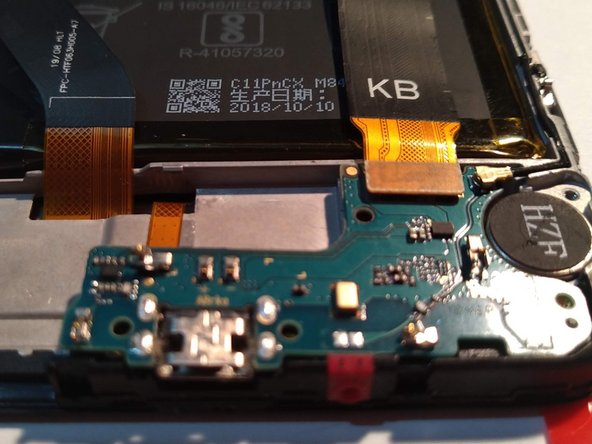
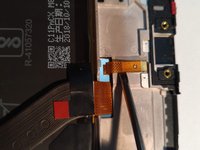
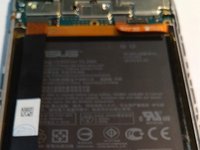
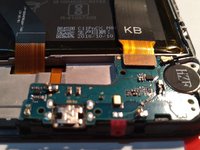
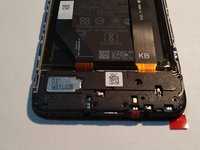
    3. Asus Zenfone Max M2 Screen Replacement, Remove hardware below battery: step 3, image 1 of 3 Asus Zenfone Max M2 Screen Replacement, Remove hardware below battery: step 3, image 2 of 3 Asus Zenfone Max M2 Screen Replacement, Remove hardware below battery: step 3, image 3 of 3
      • Remove the seven screws securing in the speaker plastic and pry it up.

      • Disconnect the antenna cable and the interconnect cable that runs across the battery.

      • Remove the rest of the screws holding in the daughterboard and remove it as shown.

      • Remove the connectors underneath the top bracket.

      Ask FixBot

      Add Comment

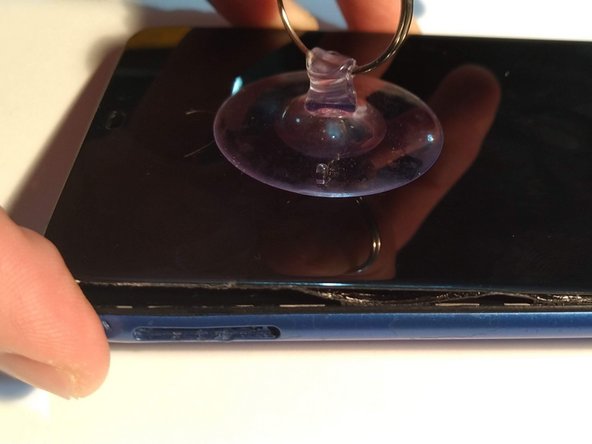
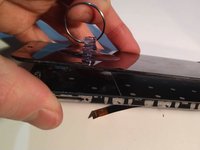
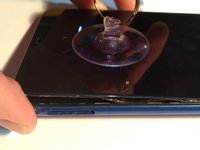
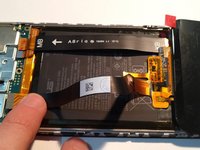
    4. Asus Zenfone Max M2 Screen Replacement, Remove broken screen: step 4, image 1 of 3 Asus Zenfone Max M2 Screen Replacement, Remove broken screen: step 4, image 2 of 3 Asus Zenfone Max M2 Screen Replacement, Remove broken screen: step 4, image 3 of 3
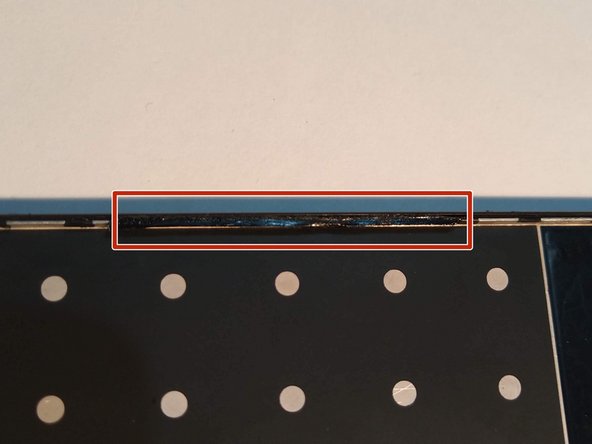
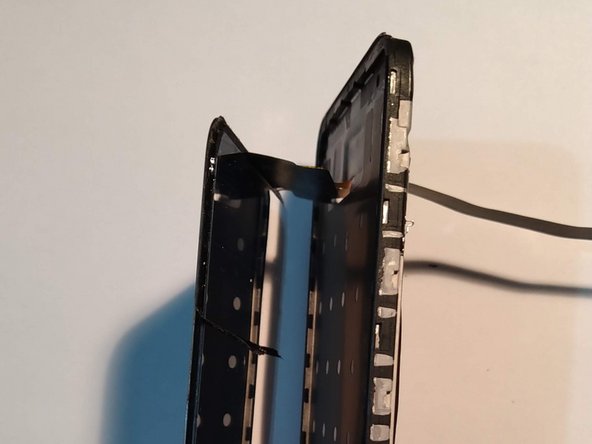
      • Use suction cups to pull back on broken screen.

      • If your screen is heavily cracked, cover it in tape. This allows the suction cup to grip better and will prevent glass shards from falling off.

      • The screen is held in by tape. Be gentle and patient, it can be detached. If needed, you can reinstall the back cover for more leverage.

      • During reassembly, test the new screen before applying adhesive by reconnecting the display cables and powering on your phone. Power your phone off before continuing reassembly.

      Ask FixBot

      Add Comment

    5. Asus Zenfone Max M2 Screen Replacement, Install 3M 9448A tape: step 5, image 1 of 3 Asus Zenfone Max M2 Screen Replacement, Install 3M 9448A tape: step 5, image 2 of 3 Asus Zenfone Max M2 Screen Replacement, Install 3M 9448A tape: step 5, image 3 of 3
      Tool used on this step:
      Tweezers
      $4.99
      Buy
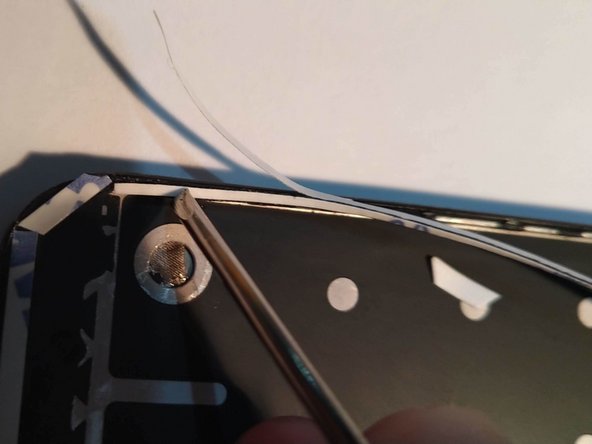
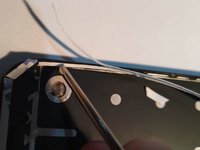
      • Remove any old adhesive residue from the front of the phone and set the old screen aside.

      • You can use a spudger to help scrape it off.

      • Reapply 3M 9448A tape to the lips on the inside edge of the phone. Cover as much surface area as possible.

      • During reassembly, use a pair of tweezers to install the new adhesive.

      • Don't touch the tape with your fingers or the adhesive will lose strength.

      • Remove the front backing and you're ready to install the new screen.

      Ask FixBot

      Add Comment

    6. Asus Zenfone Max M2 Screen Replacement, Attach new screen: step 6, image 1 of 3 Asus Zenfone Max M2 Screen Replacement, Attach new screen: step 6, image 2 of 3 Asus Zenfone Max M2 Screen Replacement, Attach new screen: step 6, image 3 of 3
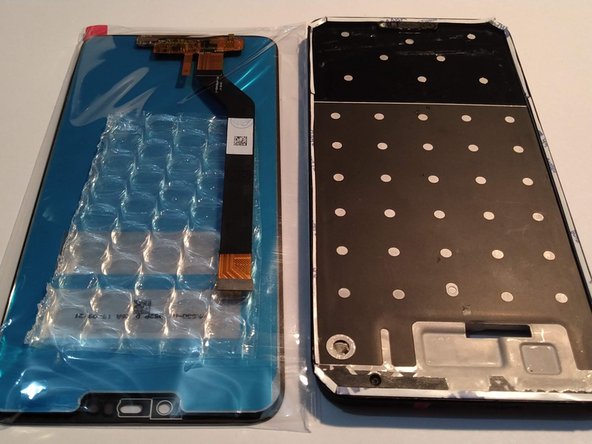
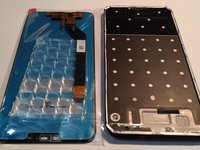
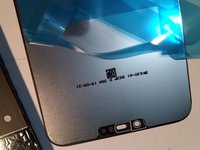
      • Remove all packaging from the new screen.

      • Thread the ribbon cable through the slot in the phone.

      • Carefully line up and apply the new screen to the tape, using light pressure to ensure the screen adheres correctly.

      • Flip the phone over.

      Ask FixBot

      Add Comment

    7. Asus Zenfone Max M2 Screen Replacement, Connect the new screen: step 7, image 1 of 3 Asus Zenfone Max M2 Screen Replacement, Connect the new screen: step 7, image 2 of 3 Asus Zenfone Max M2 Screen Replacement, Connect the new screen: step 7, image 3 of 3
      • Ground the screen to the body of the phone.

      • Re-insert the charging circuit board.

      • Reconnect the ribbon that goes across the battery.

      Ask FixBot

      Add Comment

    8. Asus Zenfone Max M2 Screen Replacement, Reassemble: step 8, image 1 of 3 Asus Zenfone Max M2 Screen Replacement, Reassemble: step 8, image 2 of 3 Asus Zenfone Max M2 Screen Replacement, Reassemble: step 8, image 3 of 3
      • Snap the bottom plastic speaker piece back into place and screw it in.

      • Reinsert the top cross-bracket and fingerprint sensor. Screw it in place.

      • Reinstall the back cover and SIM card tray.

      Ask FixBot

      Add Comment

    9. Asus Zenfone Max M2 Screen Replacement, Enjoy your new screen!: step 9, image 1 of 3 Asus Zenfone Max M2 Screen Replacement, Enjoy your new screen!: step 9, image 2 of 3 Asus Zenfone Max M2 Screen Replacement, Enjoy your new screen!: step 9, image 3 of 3
      • Enjoy the sound of peeling the plastic off your new screen!

      • Congratulations, you're done!

      • Check that all functions of your phone are working correctly and test out your new screen.

      Ask FixBot

      Add Comment

Conclusion

To reassemble your device, follow these instructions in reverse order.

Cancel: I did not complete this guide.

5 other people completed this guide.

jfar

Member since: 05/11/19

385 Reputation

2 Guides authored

0 Guide Comments

Add Comment

View Statistics:

Past 24 Hours: 3

Past 7 Days: 28

Past 30 Days: 109

All Time: 4,361