Introduction
Every 3-5 years the thermal paste on the processor chip needs to be replaced to ensure optimal working conditions
What you need
-
-
-
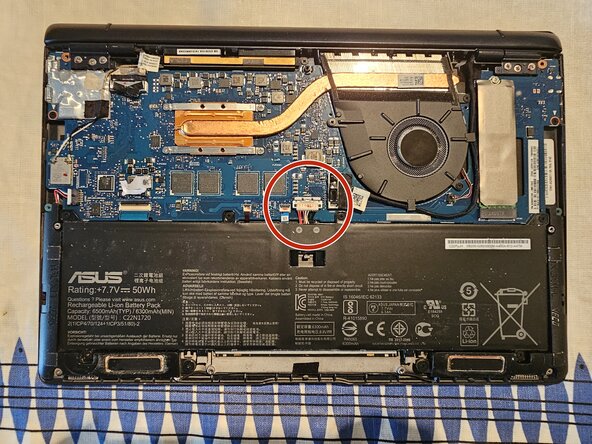
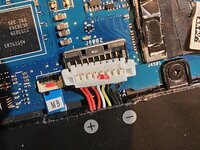
Before proceeding the battery needs to be disconnected.
-
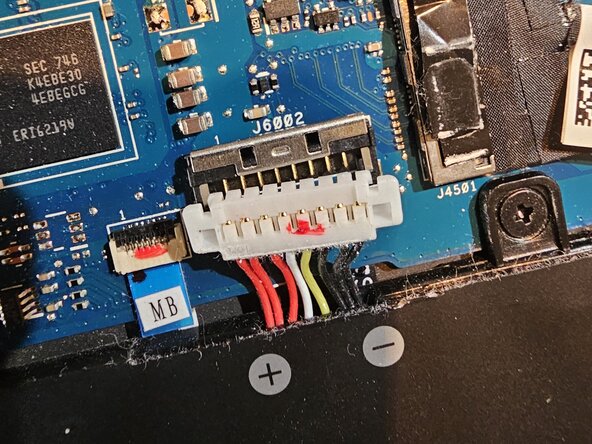
Lift the metal clip on the connector and then lift the plastic connector itself. Use a pointy plastic tool to help.
-
-
-
-
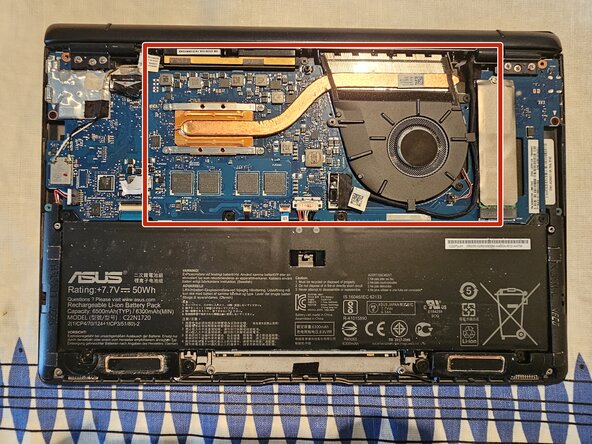
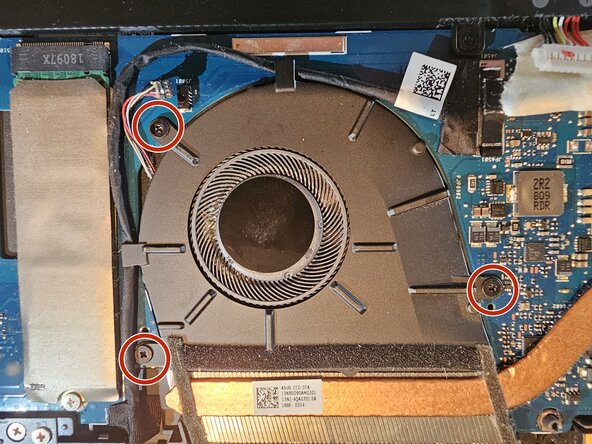
First, unscrew the 3 PH00 screws that hold the heat sink fan and unplug the fans connector with the help of a pointy plastic tool.
-
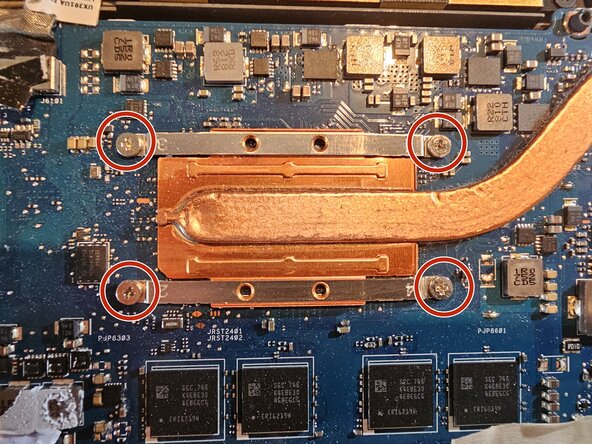
Then, unscrew the 4 PH screws that hold the heat sink on top of the processor chip. They have number next to them indicating the correct screwing/unscrewing procedure. Always screw and unscrew in a "X" pattern and easing the torque little at a time until all the screws are loose.
-
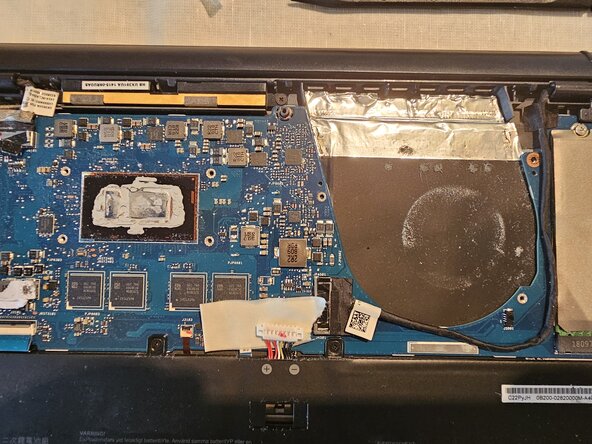
The fan and the fan duct can be cleaned by dust and the processor chip can be seen underneath the heat sink.
-
-
-
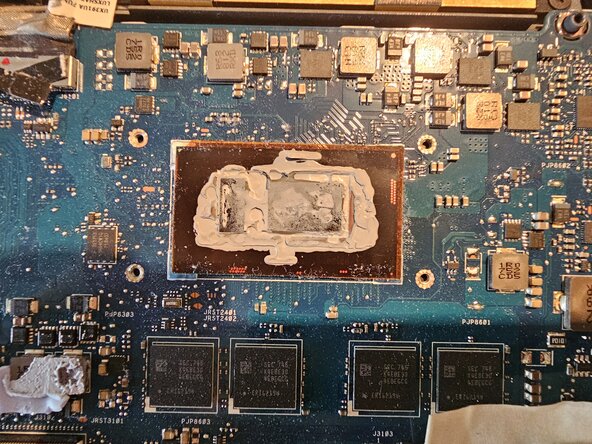
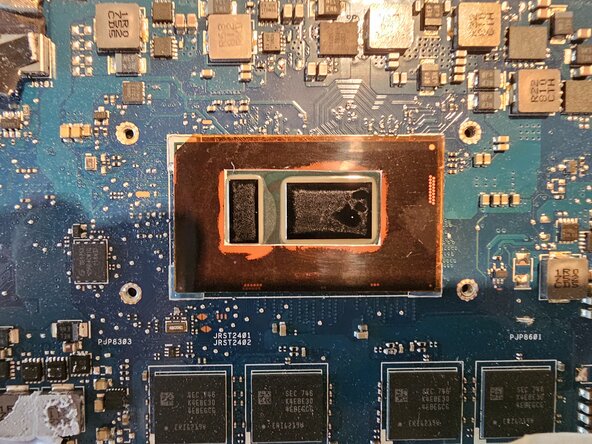
The old thermal paste needs to be cleaned from the processor. Use isopropyl alcool and gently scrub the old paste. All the old paste needs to be removed until the processor is completely free, as in the last picture.
-
In this case, Noctua NT-H2 thermal paste has been used. Apply a small dot of paste on the chips and gently spread with a plastic toll. A thin layer is enough the guarantee thermal conductivity. Too much paste can have a detrimental effect on the performance.
-
-
-
Now the heat sink can be screwed back in (following the number sequence specified), and the fan can be placed back in its housing, screwed back and reconnected.
-
Then the battery can be reconnected, making sure the metal secure is closed on the connector.
-
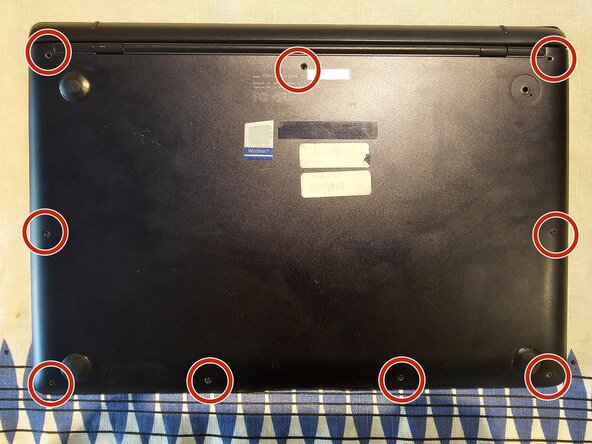
Finally the back cover can be put back on, and the 9 screws can be screwed.
-
 Ask FixBot




Cancel: I did not complete this guide.
One other person completed this guide.

