
Asus Zenbook UX32VD Hard Drive Replacement

Michael Remmel and 3 other contributors
Last updated on Nov 16, 2022
Views: 12K
View statistics:
- Past 24 Hours:
- 4
- Past 7 Days:
- 27
- Past 30 Days:
- 126
- All Time:
- 11,864
Comments: 6
2 comments on steps, 4 guide comments.
Go to guide commentsCompleted: 12 13
12 people have marked this guide "completed." Will you be next?
13 people have marked this guide "completed." Including you — great job!
Favorites: 0 1
No one has favorited (and subscribed to) this guide. Will you be the first?
1 person has favorited (and subscribed to) this guide — and that's you!
Introduction
Go to step 1 ↓Replace or upgrade your hard drive in your laptop to gain more storage space!
What you need
Fix Kit
This kit contains all the parts and tools needed to complete this guide.

Parts


Tools
-
Spudger4.9


-
-
Tool used on this step:T5 Torx Screwdriver$9.99
-
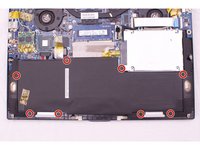
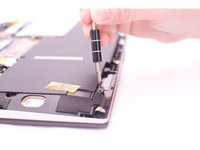
Remove the twelve 3 mm bottom panel screws with a T5 Torx Screwdriver.
 Ask FixBot
-
-
-
Use a plastic opening tool to pry along the perimeter of the bottom panel until it can be easily removed.
-
Remove the bottom panel from the body of the laptop.
-
Set aside the bottom panel.
-
-
-
-
-
-
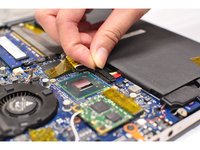
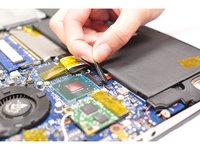
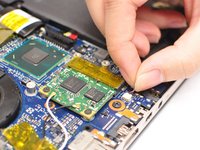
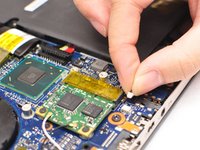
Pry up each side of the flat connectors by hand or with a plastic opening tool.
-
Lift the connector straight up from its socket.
-
-
-
Unplug the two bundled cable connectors on each side of the battery.
-
Pull the cable away from the connector in the same direction as the individual wires are running.
-
-
-
Tool used on this step:Phillips #0 Screwdriver$5.49
-
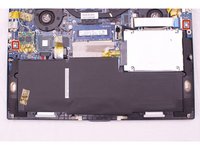
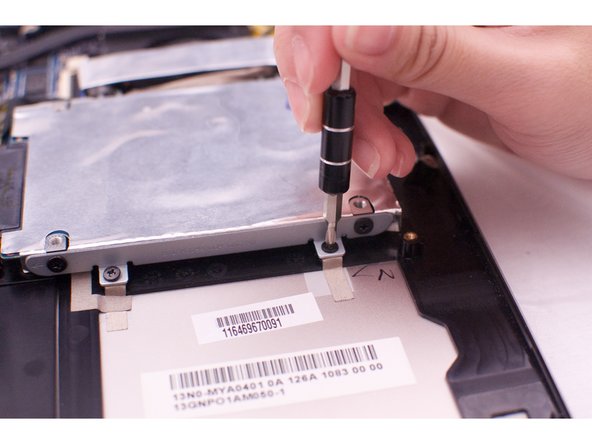
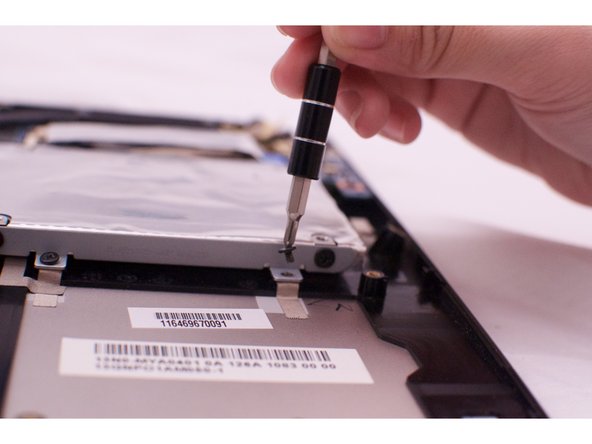
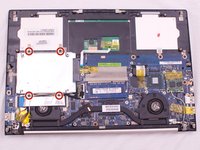
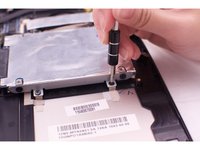
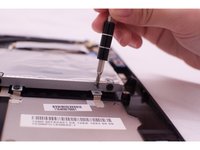
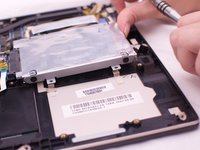
Remove the four 3mm hard drive screws with a Phillips #0 Screwdriver.
-
-
-
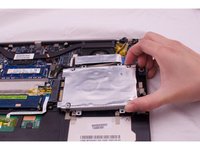
Lift the hard drive slightly and gently pull the hard drive from the socket.
-
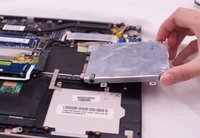
Remove the hard drive completely.
-
-











To reassemble your device, follow these instructions in reverse order.
Cancel: I did not complete this guide.
12 other people completed this guide.

Team

CSU Fullerton, Team 2-2, Bruce Fall 2015 Member of CSU Fullerton, Team 2-2, Bruce Fall 2015
CSUF-BRUCE-F15S2G2
4 Members
72 Guides authored
4 Guide Comments
Excellent! Precise and concise to the point!Thank you!
can someone confirm to me that samsung evo 860 will work or not for this asus please
