Introduction
This guide will show how to replace the daughterboard on the Asus Zenbook UX31A laptop. This daughterboard contains the SD card slot, headphone jack, and USB port. This may be necessary if you are unable to connect external devices to your computer.
The connection card is responsible for allowing the computer to read and communicate with external hardware. If your card is having issues, the ports on the right side of your computer will not connect to external hardware.
Before following this guide, try connecting other cables and devices with the same port. If other cables or devices are able to connect, you may be having an issue with a cable or device that needs to be replaced.
Before you proceed, make sure to power the computer all the way down and disconnect the charging cable. Replacing the connection card will require the removal of the battery and fan.
What you need
-
-
-
Use a T6 screwdriver to remove the ten 6 mm case screws.
-
The two screws adjacent to the device serial number stamps are longer than the others. These two screws run about 11 mm long.
-
Remove the back cover from the laptop.
 Ask FixBot
-
-
-
Use a Phillips #00 screwdriver to remove the three 7 mm screws that secure the battery.
-
-
-
Unplug the bundled battery connector from the motherboard by gently pulling the cable up.
-
-
-
-
-
-
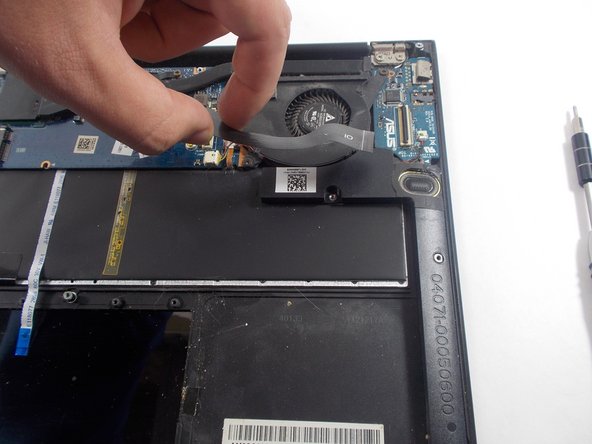
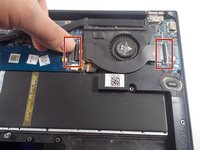
Unclip both ZIF connector tabs by lifting the black tab up and away from the connector.
-
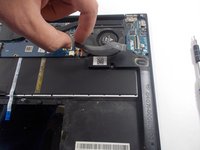
Remove the bridge connector.
-
-
-
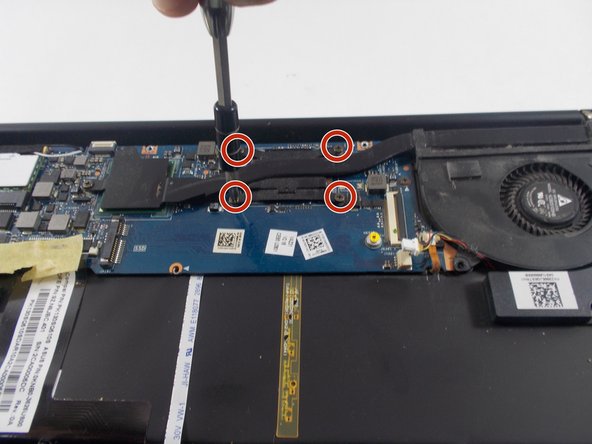
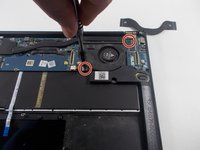
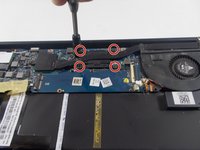
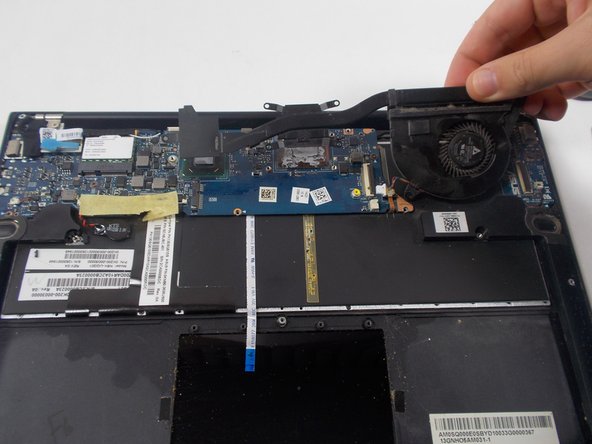
Use a Phillips #00 screwdriver to remove all seven 6 mm screws that secure the fan and heatsink.
-
-
-
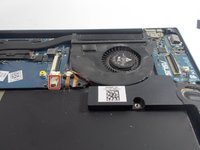
Disconnect the fan connector by pulling on it horizontally until it disconnects.
-
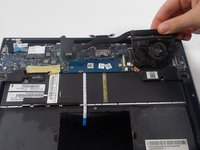
Remove the fan.
-
-
-
-
Tool used on this step:Tweezers$4.99
-
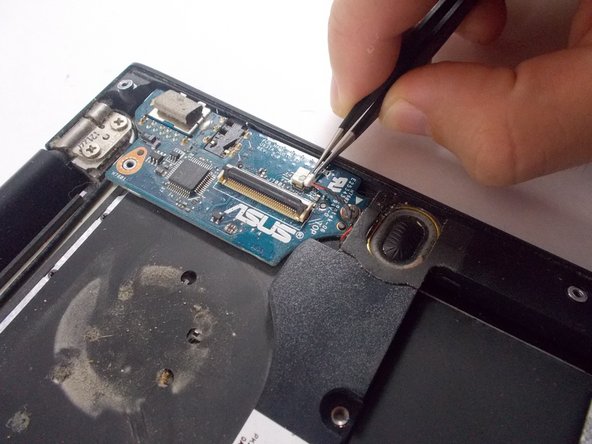
Use tweezers to detach the cable from the board by pulling them gently toward the bottom edge of the board.
-
-
-
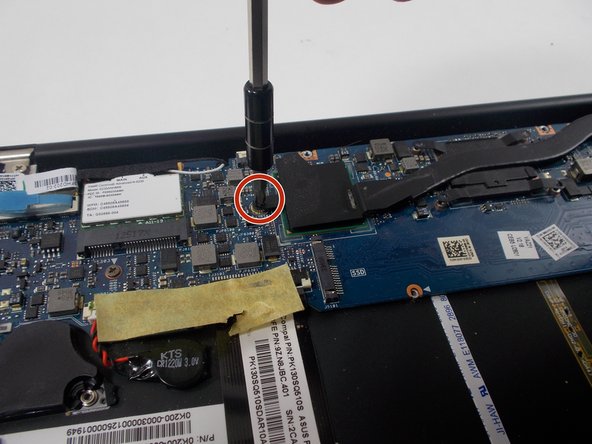
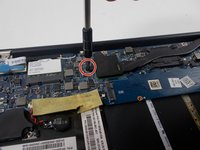
Use a Phillips #00 screwdriver to remove the 6 mm screw that secures the daughterboard.
-
-






To reassemble your device, follow these instructions in reverse order.

Team

UMass Dartmouth, Team 7-1, Sinclaire Spring 2022 Member of UMass Dartmouth, Team 7-1, Sinclaire Spring 2022
UMASSD-SINCLAIRE-S22S7G1
5 Members
96 Guides authored
