
Asus Zenbook UX21e LCD Screen Replacement

Zachary Eslick and 6 other contributors
Last updated on Jun 18, 2018
Views: 2.9K
View statistics:
- Past 24 Hours:
- 1
- Past 7 Days:
- 19
- Past 30 Days:
- 78
- All Time:
- 2,851
Comments: 0
No one has left comments on this guide. Will you be first?
Go to guide commentsCompleted: 1 2
1 person has marked this guide "completed." Will you be next?
2 people have marked this guide "completed." Including you — great job!
Favorites: 0 1
No one has favorited (and subscribed to) this guide. Will you be the first?
1 person has favorited (and subscribed to) this guide — and that's you!
Featured Student Guide
This guide has been the hard work of our awesome students and is found to be exceptionally cool by the iFixit staff.
Introduction
Go to step 1 ↓For the LCD screen, initially, follow the battery replacement guide, then disconnect the LCD connector from the motherboard. Separate the screen by unscrewing the hinges and pulling the screen from the device. From there you must open up the screen by removing a vent, bezel, and rubber o-ring. Finally, you disconnect three cables and unscrew the screen to complete the guide.
What you need
Tools


-
-
-
Using a T4 Torx screwdriver, unscrew the ten screws lining the bottom cover. Then, proceed to remove the bottom cover by sliding it out parallel toward the back of the computer.
-
There are two length of screws. Eight screws are 3mm and two are 5mm. The two 5mm screws always go into the two center holes along the back edge.
 Ask FixBot
-
-
-
Using an iFixit opening tool and your other hand, gently lift the connector up from the tape wrapped around the connector wires and pry the connector from the motherboard.
-
-
-
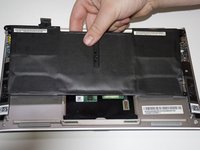
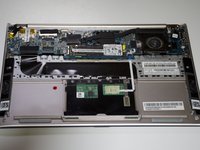
Remove the battery by unscrewing the five 3mm screws using a Phillips #1 screwdriver.
-
-
-
-
-
-
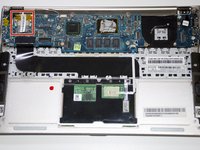
Remove the tape wrapped around the LCD connector by pulling it towards the screen hinges of the computer.
-
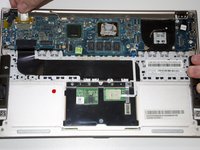
Disconnect the LCD connector by sliding it out of its socket.
-
-
-
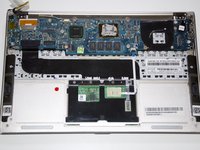
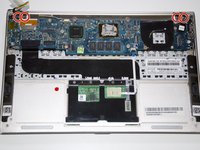
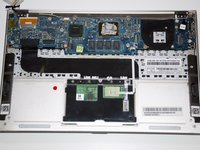
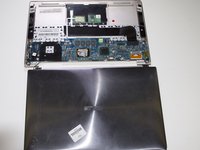
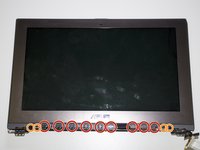
Using a Phillis #1 screwdriver, remove the four 3 mm screws at the screen hinges to allow the screen to pull off of the device.
-
-
-
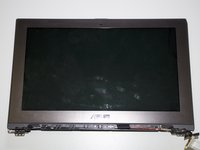
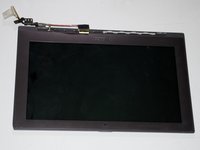
Remove the plastic vent from screen by using an iFixit opening tool to pry the vent from the screen edge.
-
-
-
Remove the nine 3 mm screws along the base of the screen using a Phillips #1 screwdriver.
-
Remove four 5 mm screws along the two internal hinges using a Phillips #1 screwdriver.
-
-
-
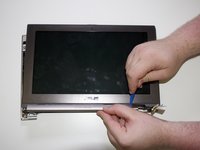
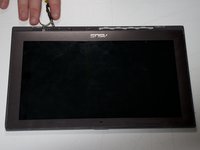
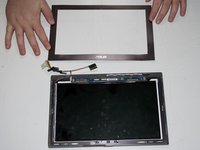
Remove the rubber o-ring (the thin rubber strip that lines the bezel edge) by peeling it off.
-
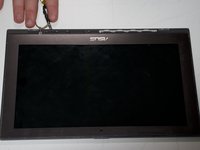
Heat the bezel using any heating tool such as a hair dryer, etc.
-
-
-
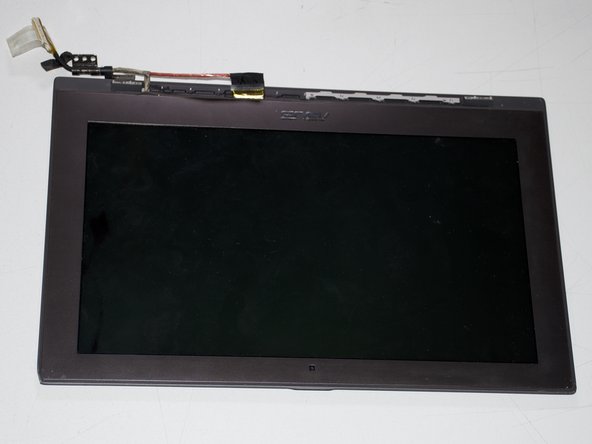
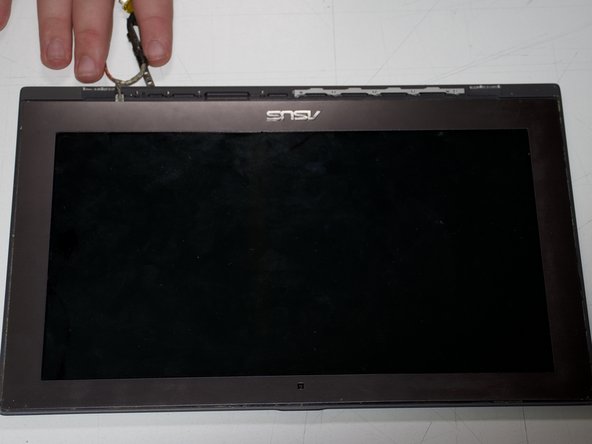
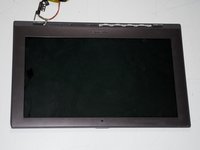
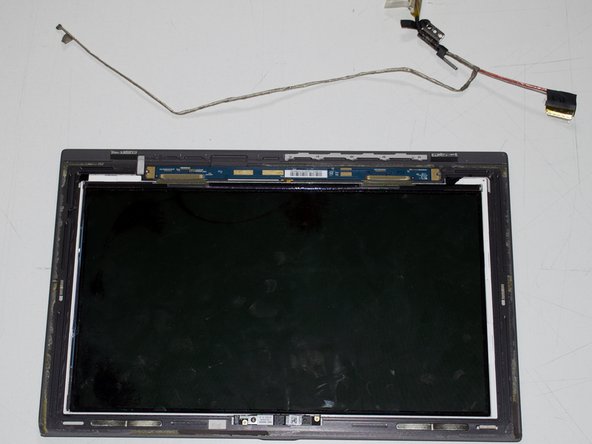
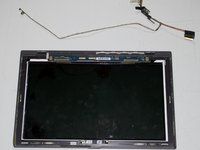
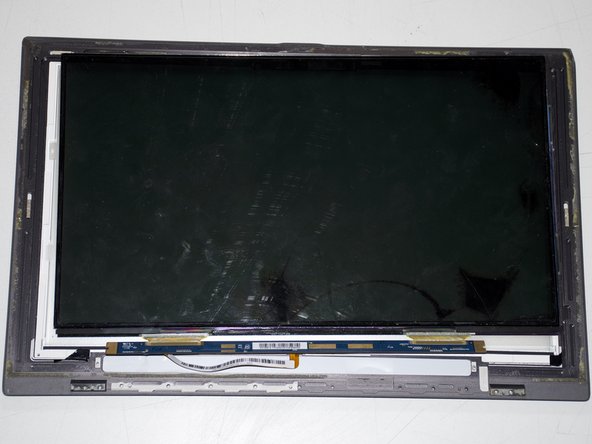
Disconnect the LCD connector from the screen housing by pulling the connector.
-
-
-
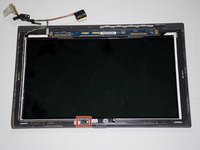
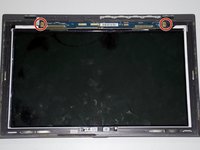
Unscrew the two 2 mmm screws that line the screen control board using a Phillips #1 screwdriver.
-
-
-
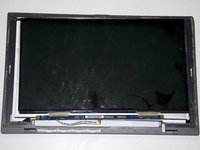
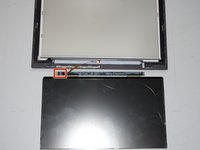
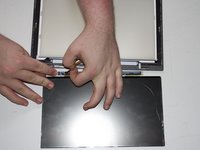
Remove the cable connecting the screen housing to the control board by pulling the cable.
-
-















To reassemble your device, follow these instructions in reverse order.
Cancel: I did not complete this guide.
One other person completed this guide.

Team

Cal Poly, Team S22-G1, Maness Spring 2018 Member of Cal Poly, Team S22-G1, Maness Spring 2018
CPSU-MANESS-S18S22G1
3 Members
60 Guides authored
