Introduction
The motherboard is the central electronic hub for the phone and is used for all of the parts of the phone to communicate with each other. It can be difficult to diagnose a motherboard issue, but if a single component of the phone is not working as intended, it is worth while to make sure the motherboard is not broken in any way.
What you need
-
-
-
Place the iOpener on the side of the phone until the iOpener gets cool (approximately 10-15 minutes).
-
Reheat the iOpener and reapply it to the other side of the phone.
-
-
-
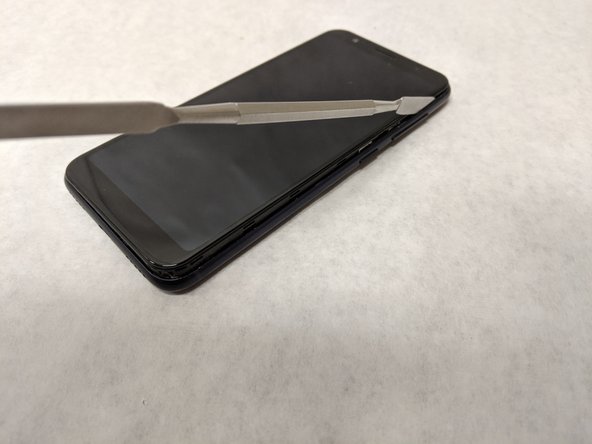
Gently slide the jimmy along the edges of the phone to break the adhesive.
-
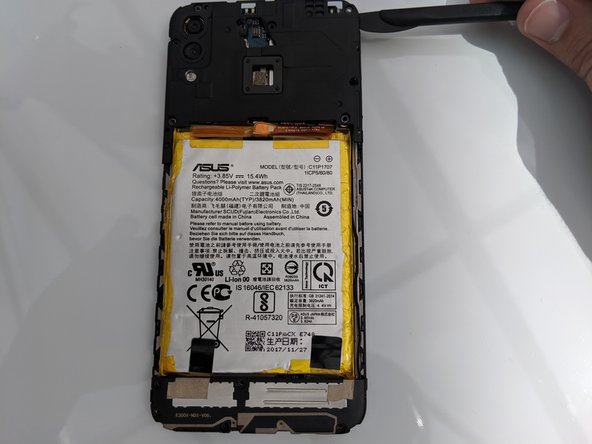
Use opening picks and the opening tool to pry the back cover off.
-
Repeat the heating and prying process until the back cover can be fully removed.
-
-
-
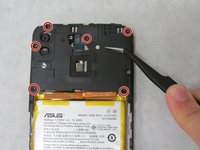
Use the #00 phillips head to take out the six phillips #00 3.175mm screws on the top cover plate.
-
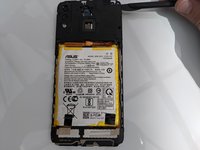
Use the spudger to release the clasps along the edge of the top plate.
-
-
-
-
Disconnect the press fit connector located near the upper right corner of the battery to disengage the battery from the motherboard.
-
-
-
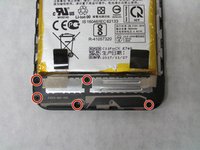
Use the same screwdriver to remove the five phillips #00 3.96mm screws along the bottom plate.
-
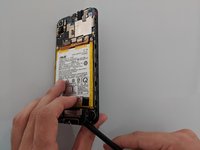
Use the spudger to pry the bottom plate off.
-
-
-
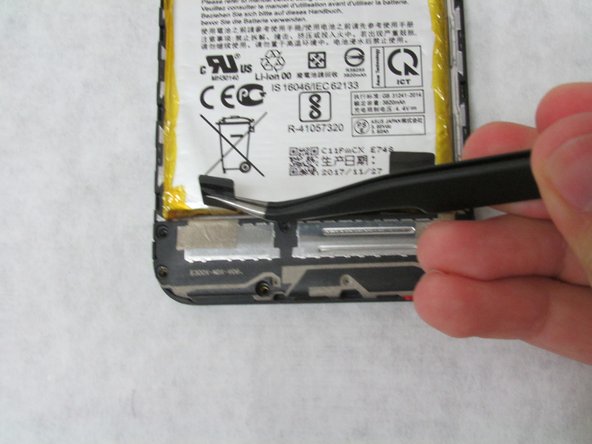
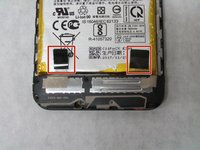
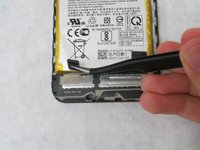
Pull on the two black tabs on the bottom of the battery until the battery is released.
-
Gently pull the battery out of its socket.
-
-
-
Tool used on this step:Tweezers$4.99
-
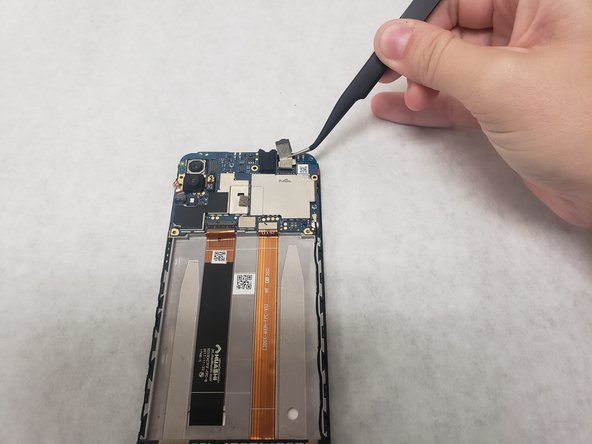
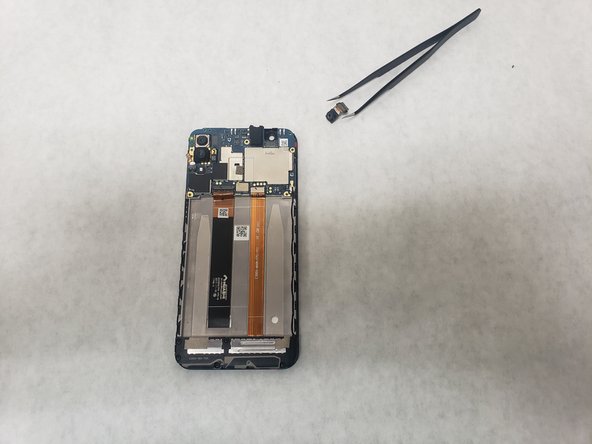
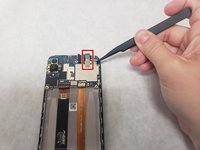
Peel off the silver tape that is to the right of the audio jack about halfway, so it is off of the silver plate.
-
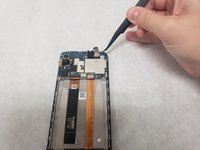
Use the tweezers to disconnect the press fit connector underneath the tape, right above the silver plate.
-
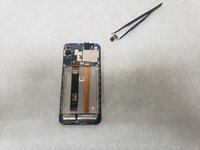
Gently lift up until the camera and the connector is removed.
-
-
-
-
-
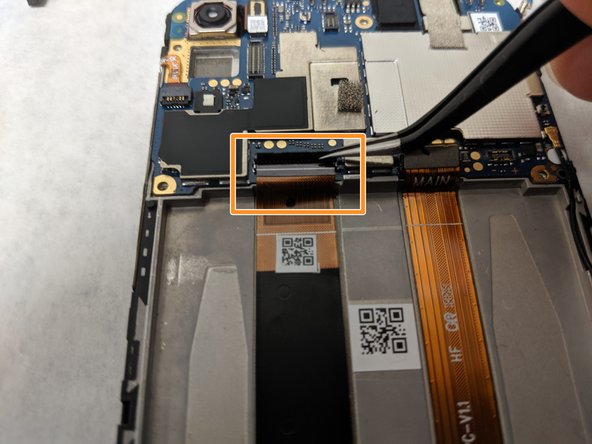
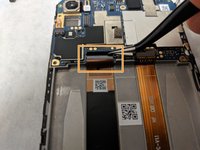
Right above the battery socket, pop up the press fit connector at the end of the orange ribbon cable on the right.
-
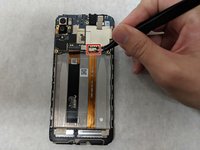
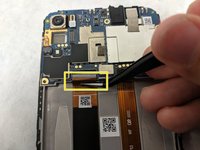
Pry up the tab of the ZIF connector on the left to disengage the locking connector.
-
Gently pull out the ribbon cable going into the opening created by lifting the tab.
-
-
-
Pull the tab that is located to the left of the camera button, adjacent to the volume up button.
-
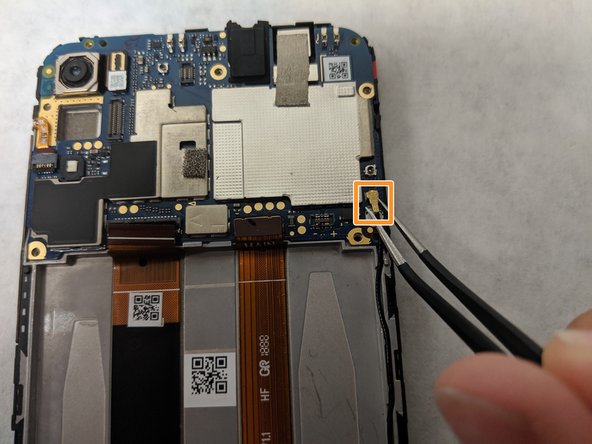
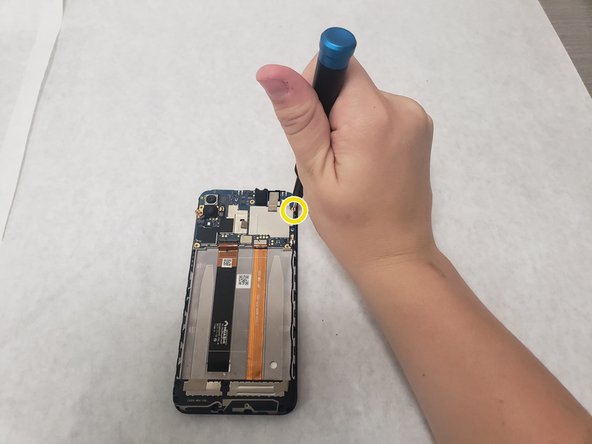
Pull out the gold headed coaxial cable on the bottom right of the motherboard.
-
Use the screwdriver to take out the one Phillips #00 head 3.175mm screw located directly to the right of the silver plate.
-
-
-
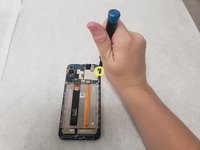
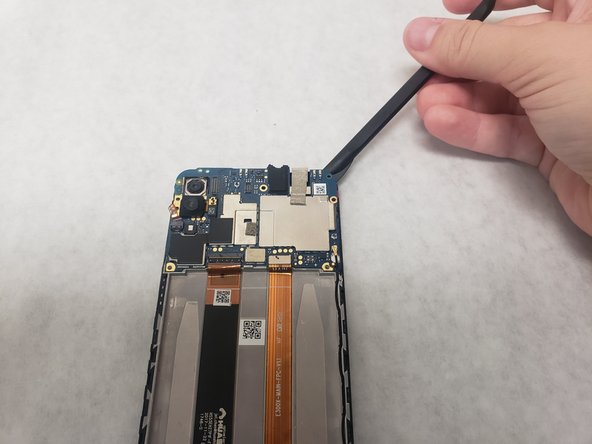
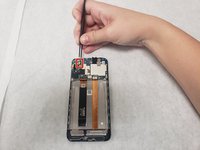
Pry off the tab to the right of the camera.
-
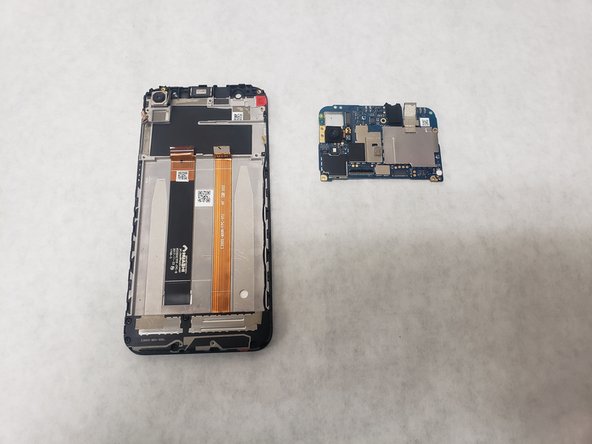
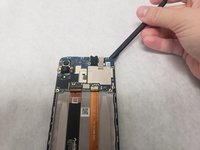
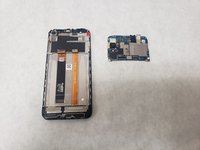
Use the spudger to pry off the motherboard around its edges.
-
-

 Ask FixBot












To reassemble your device, follow these instructions in reverse order.
Cancel: I did not complete this guide.
One other person completed this guide.

Team

Embry-Riddle Aeronautical University, Team S3-G27, Watkins Summer 2019 Member of Embry-Riddle Aeronautical University, Team S3-G27, Watkins Summer 2019
ERAU-WATKINS-SU19S3G27
4 Members
84 Guides authored
