Free Shipping on Domestic Orders $75+

Asus ZenFone 2 Laser ZE550KL Display Replacement

What you need

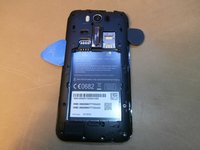
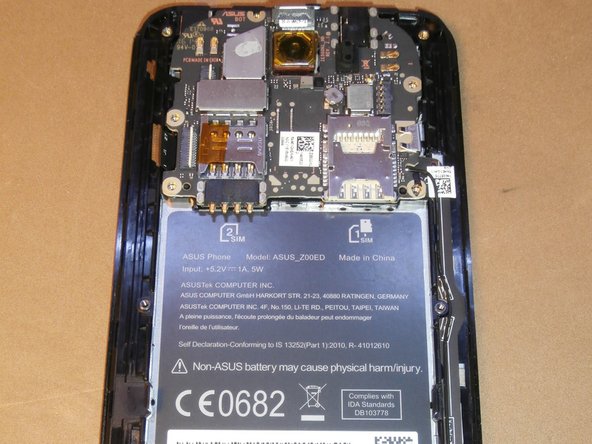
    1. Asus ZenFone 2 Laser ZE550KL Display Replacement, SIM and battery removal: step 1, image 1 of 1
      • Remove the back cover.

      • Disconnect the battery.

      • Remove the SIM card and the micro SD card.

      Ask FixBot

      Add Comment

    2. Asus ZenFone 2 Laser ZE550KL Display Replacement, Remove the screws: step 2, image 1 of 1
      • Unscrew the 15 screws

      Ask FixBot

      Add Comment

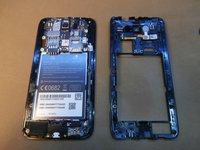
    3. Asus ZenFone 2 Laser ZE550KL Display Replacement, Internal back cover: step 3, image 1 of 2 Asus ZenFone 2 Laser ZE550KL Display Replacement, Internal back cover: step 3, image 2 of 2
      • Remove the plastic back with opening picks making sure not to break the clips that hold it in place

      Ask FixBot

      Add Comment

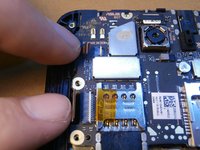
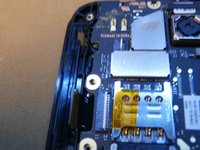
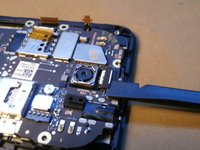
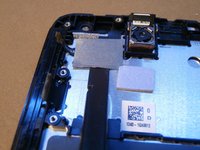
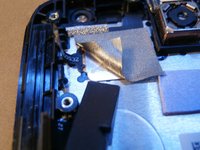
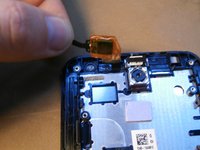
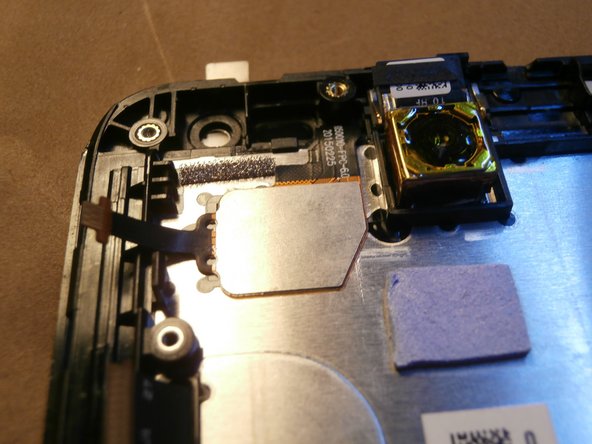
    4. Asus ZenFone 2 Laser ZE550KL Display Replacement, Flat cable display: step 4, image 1 of 3 Asus ZenFone 2 Laser ZE550KL Display Replacement, Flat cable display: step 4, image 2 of 3 Asus ZenFone 2 Laser ZE550KL Display Replacement, Flat cable display: step 4, image 3 of 3
      • Disconnect the two flat cables by lifting the white bracket

      • Unplug the camera

      Ask FixBot

      Add Comment

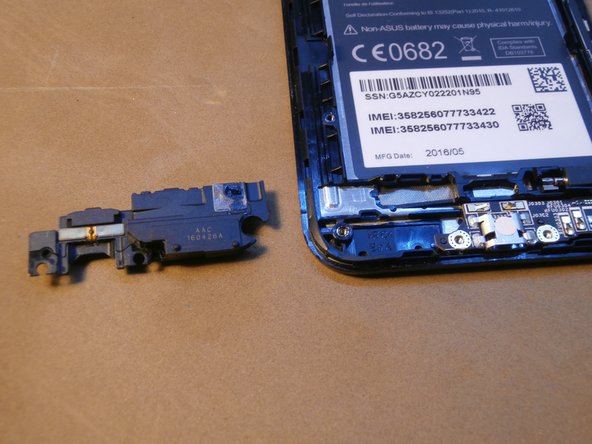
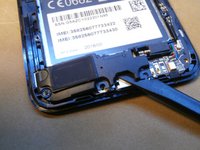
    5. Asus ZenFone 2 Laser ZE550KL Display Replacement, Rear speaker: step 5, image 1 of 2 Asus ZenFone 2 Laser ZE550KL Display Replacement, Rear speaker: step 5, image 2 of 2
      • With the help from a spudger, remove the rear speaker

      Ask FixBot

      Add Comment

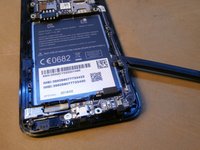
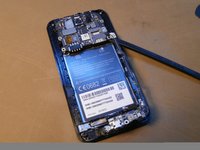
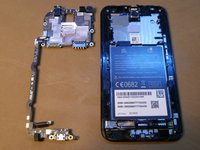
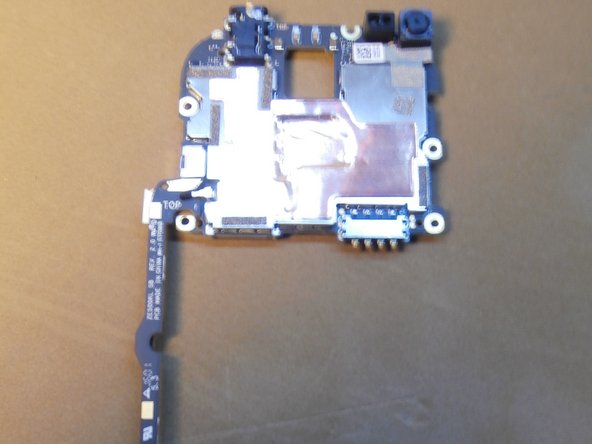
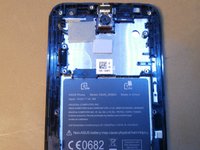
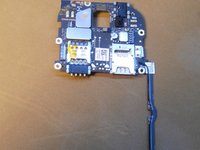
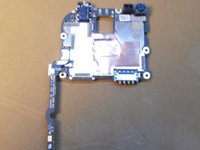
    6. Asus ZenFone 2 Laser ZE550KL Display Replacement, Motherboard: step 6, image 1 of 3 Asus ZenFone 2 Laser ZE550KL Display Replacement, Motherboard: step 6, image 2 of 3 Asus ZenFone 2 Laser ZE550KL Display Replacement, Motherboard: step 6, image 3 of 3
      • Starting from the bottom lift the motherboard

      Ask FixBot

      Add Comment

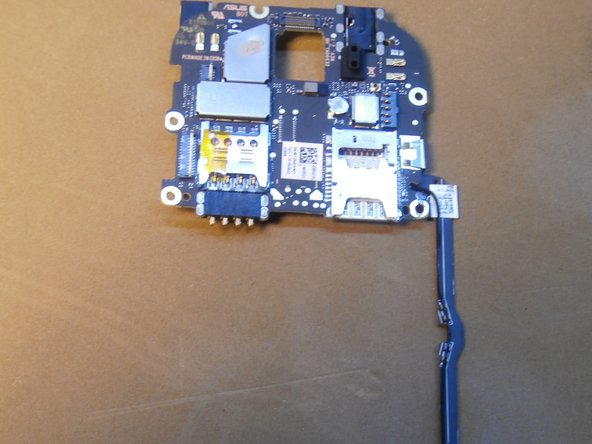
    7. Asus ZenFone 2 Laser ZE550KL Display Replacement, Frame Assembly: step 7, image 1 of 3 Asus ZenFone 2 Laser ZE550KL Display Replacement, Frame Assembly: step 7, image 2 of 3 Asus ZenFone 2 Laser ZE550KL Display Replacement, Frame Assembly: step 7, image 3 of 3
      • Mother board.

      Ask FixBot

      Add Comment

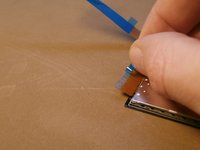
    8. Asus ZenFone 2 Laser ZE550KL Display Replacement, Touchscreen driver: step 8, image 1 of 3 Asus ZenFone 2 Laser ZE550KL Display Replacement, Touchscreen driver: step 8, image 2 of 3 Asus ZenFone 2 Laser ZE550KL Display Replacement, Touchscreen driver: step 8, image 3 of 3
      • Disconnect the touchscreen driver to remove the screen

      Ask FixBot

      Add Comment

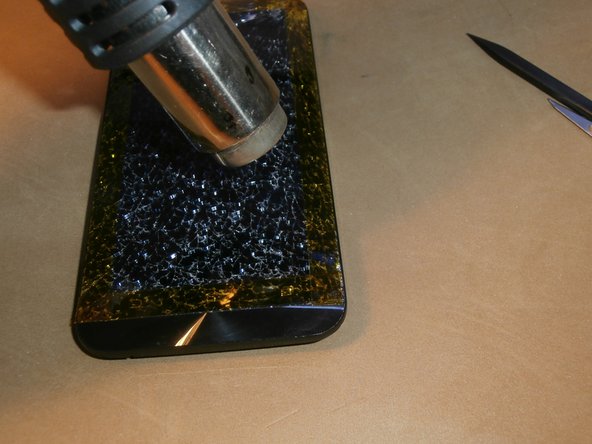
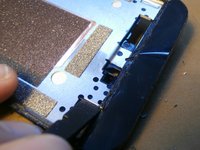
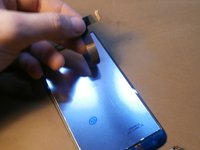
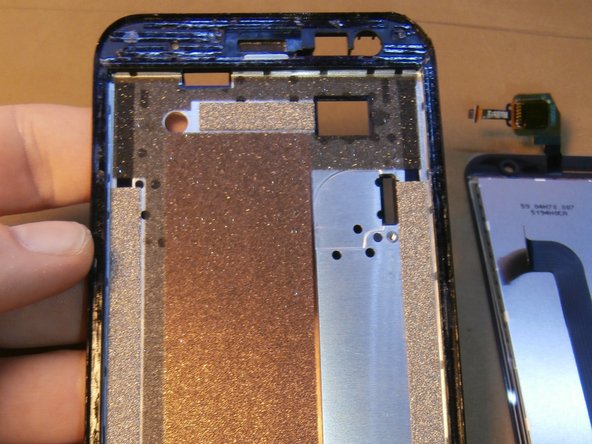
    9. Asus ZenFone 2 Laser ZE550KL Display Replacement, Screen removal: step 9, image 1 of 3 Asus ZenFone 2 Laser ZE550KL Display Replacement, Screen removal: step 9, image 2 of 3 Asus ZenFone 2 Laser ZE550KL Display Replacement, Screen removal: step 9, image 3 of 3
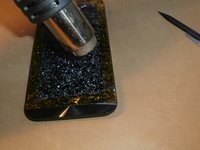
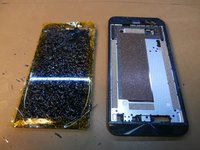
      • With the help of a hair dryer, heat gun or an iOpener remove the screen from the phone's frame

      Ask FixBot

      Add Comment

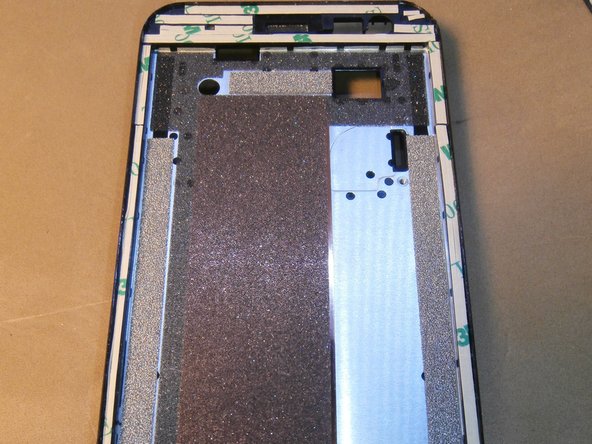
    10. Asus ZenFone 2 Laser ZE550KL Display Replacement, Preparation of the new screen: step 10, image 1 of 3 Asus ZenFone 2 Laser ZE550KL Display Replacement, Preparation of the new screen: step 10, image 2 of 3 Asus ZenFone 2 Laser ZE550KL Display Replacement, Preparation of the new screen: step 10, image 3 of 3
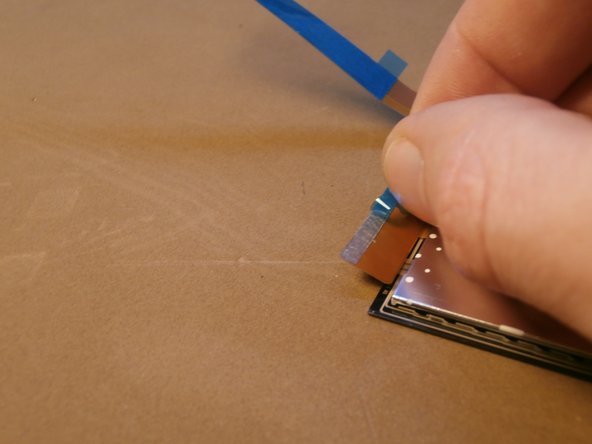
      • Remove glue residues on the perimeter of the frame

      • Re-adhere the display

      Ask FixBot

      Add Comment

    11. Asus ZenFone 2 Laser ZE550KL Display Replacement, Screen adhesive: step 11, image 1 of 3 Asus ZenFone 2 Laser ZE550KL Display Replacement, Screen adhesive: step 11, image 2 of 3 Asus ZenFone 2 Laser ZE550KL Display Replacement, Screen adhesive: step 11, image 3 of 3
      • apply the double-sided adhesive to the frame

      Ask FixBot

      Add Comment

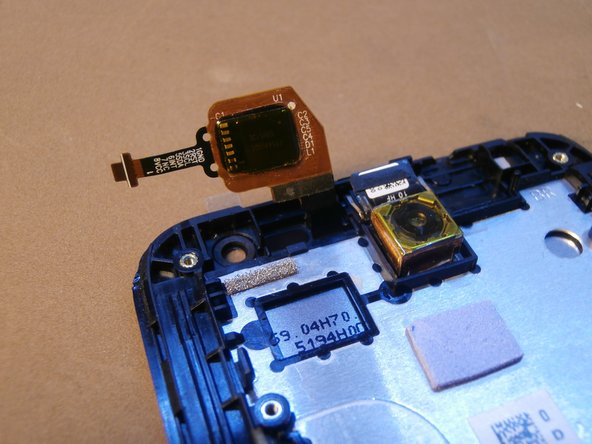
    12. Asus ZenFone 2 Laser ZE550KL Display Replacement, New screen: step 12, image 1 of 3 Asus ZenFone 2 Laser ZE550KL Display Replacement, New screen: step 12, image 2 of 3 Asus ZenFone 2 Laser ZE550KL Display Replacement, New screen: step 12, image 3 of 3
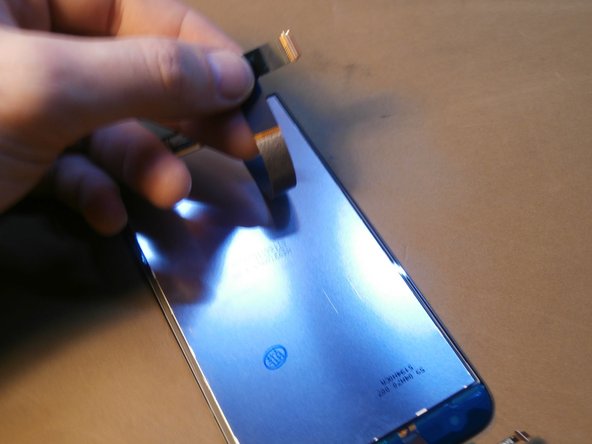
      • Replace or reposition the dust gasket of the front camera before installing the new screen

      • Insert the new screen into position by passing the flat into the specific grooves

      Ask FixBot

      Add Comment

    13. Asus ZenFone 2 Laser ZE550KL Display Replacement, Reassembly: step 13, image 1 of 3 Asus ZenFone 2 Laser ZE550KL Display Replacement, Reassembly: step 13, image 2 of 3 Asus ZenFone 2 Laser ZE550KL Display Replacement, Reassembly: step 13, image 3 of 3
      • Refit the logic board

      Ask FixBot

      Add Comment

Conclusion

To reassemble your device, follow these instructions in reverse order.

Cancel: I did not complete this guide.

3 other people completed this guide.

Special thanks to these translators:

it en

100%

These translators are helping us fix the world! Want to contribute?
Start translating ›

gwsLabs

Member since: 12/23/16

457 Reputation

2 Guides authored

1 Guide Comment

Just had my cracked LCD replaced. Everything was working fine before the replacement but after that, a third of a centimeter and all the subkeys (Back, Home, Recent keys) we rented working. The tech tried to checkout the fitting but it still didn't work. Had to install an assistive key app to be able to use the phone. He told me to go back on Thursday to replace the LCD with a different one cuz this last unit they had might be defective. Could it be a screen seating problem or an issue related to glue remnants or excess adhesive?

CJ Ogasawara - Reply Share
Add Comment

View Statistics:

Past 24 Hours: 0

Past 7 Days: 3

Past 30 Days: 33

All Time: 5,577