Free Shipping on Domestic Orders $75+

Asus ZenBook UX330U CPU Fan Replacement

Views: 4.8K

View statistics:

Past 24 Hours:
3
Past 7 Days:
25
Past 30 Days:
113
All Time:
4,755
Comments: 12

12 comments on steps.

Completed: 5

5 people have marked this guide "completed." Will you be next?

Favorites: 0

No one has favorited (and subscribed to) this guide. Will you be the first?

Time Required: 15 minutes
Difficulty: Moderate
Asus ZenBook UX330U CPU Fan Replacement

Introduction

Go to step 1 ↓

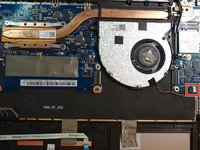
If your Asus ZenBook UX330U or UX330UA has issues cooling down your CPU or the fan has stopped working, you may need to replace your CPU fan. Before using this guide, look at the troubleshooting page located here for possible fixes that do not require any disassembly. This guide can be used to remove the CPU fan for the ASUS ZenBook UX330U or UX330UA.

Before beginning any device disassembly, please power off and unplug your device.

What you need

Tools

    1. Asus ZenBook UX330U CPU Fan Replacement, Battery: step 1, image 1 of 3 Asus ZenBook UX330U CPU Fan Replacement, Battery: step 1, image 2 of 3 Asus ZenBook UX330U CPU Fan Replacement, Battery: step 1, image 3 of 3
      • Before starting any device dissasembly, please put on the anti-static bracelet provided by iFixit. Make sure the metal part of the bracelet is touching your skin.

      • Remove the alligator clip at the end of the bracelet by simply pulling it off, to reveal the bullet connector.

      • Insert the bullet connector into the ground port of an outlet.

      • Make sure to keep the bracelet on at all times while disassembling your device, to prevent ESD to the components.

      Ask FixBot

      Add Comment

    2. Asus ZenBook UX330U CPU Fan Replacement: step 2, image 1 of 2 Asus ZenBook UX330U CPU Fan Replacement: step 2, image 2 of 2
      • Power off the device and make sure it is physically unplugged before starting any disassembly procedures.

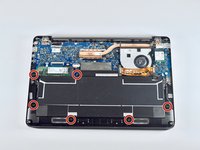
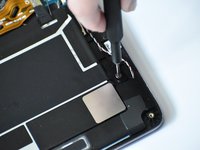
      • Remove the eight 3.1 mm screws using the T5 Torx screwdriver.

      • Remove the longer 5.1 mm screw using the T5 Torx screwdriver.

      Ask FixBot

      Add Comment

    3. Asus ZenBook UX330U CPU Fan Replacement: step 3, image 1 of 3 Asus ZenBook UX330U CPU Fan Replacement: step 3, image 2 of 3 Asus ZenBook UX330U CPU Fan Replacement: step 3, image 3 of 3
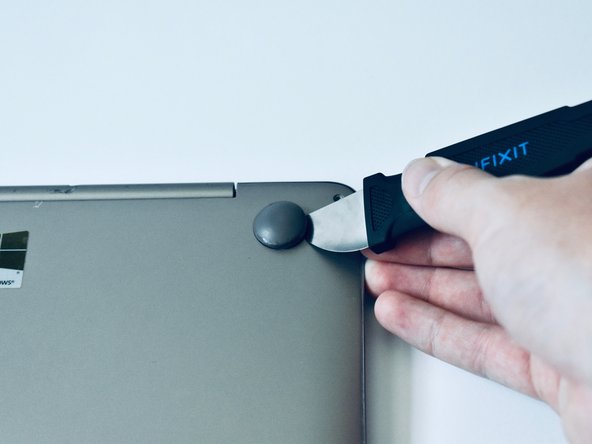
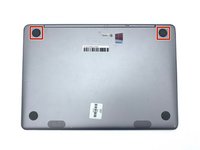
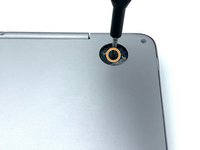
      • Use a Jimmy or a spudger to pry off the two rubber feet that are closest to the hinge.

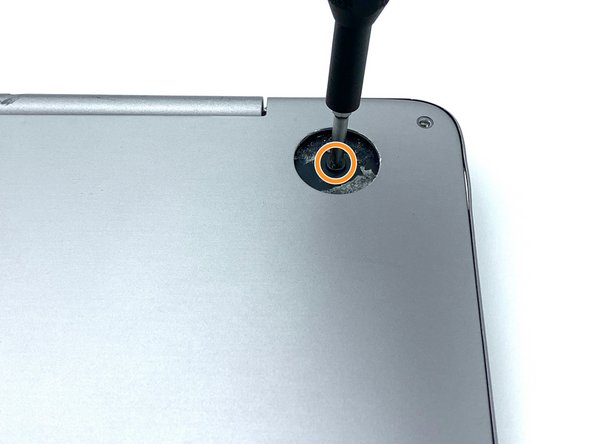
      • Unscrew the two 5.6mm screws that were underneath the rubber feet using the Philips #0 screwdriver bit.

      • The rubber feet may be difficult to remove. Do not hesitate to use more force to remove the feet, if necessary.

      Ask FixBot

      Add Comment

    4. Asus ZenBook UX330U CPU Fan Replacement: step 4, image 1 of 2 Asus ZenBook UX330U CPU Fan Replacement: step 4, image 2 of 2
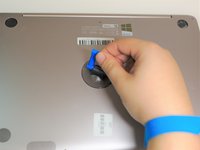
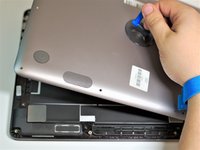
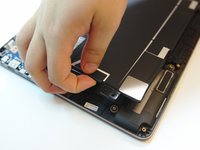
      • Press the suction handle on the center of the back cover, and gently lift up.

      • You may need to wiggle the back cover as you lift it in order to take it off easily.

      Ask FixBot

      Add Comment

    5. Asus ZenBook UX330U CPU Fan Replacement: step 5, image 1 of 2 Asus ZenBook UX330U CPU Fan Replacement: step 5, image 2 of 2
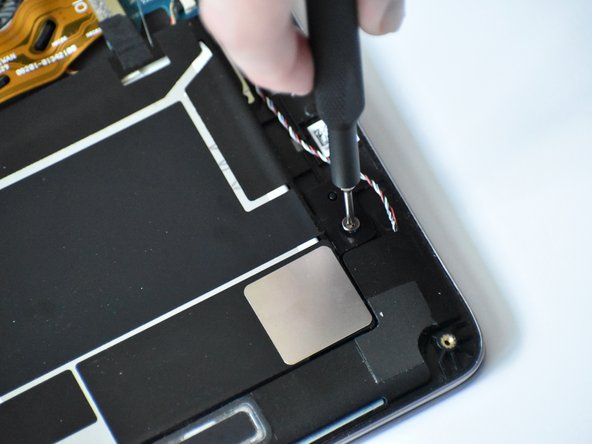
      • Unscrew the six 3.7mm screws using the Philips #0 screwdriver bit.

      • Be extra cautious when handling the battery. If the battery looks swollen or damaged, consult this guide.

      Ask FixBot

      Add Comment

    6. Asus ZenBook UX330U CPU Fan Replacement: step 6, image 1 of 3 Asus ZenBook UX330U CPU Fan Replacement: step 6, image 2 of 3 Asus ZenBook UX330U CPU Fan Replacement: step 6, image 3 of 3
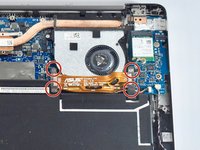
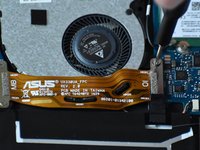
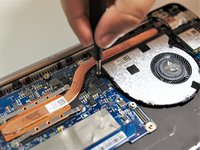
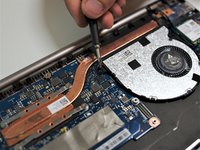
      • Remove the four 2.8mm screws from the motherboard ribbon connector using the Philips #0 screwdriver bit.

      • You may have to pull back the black tape located on the bottom right motherboard connector screw. This tape is not necessary for the functionality of the device and can be discarded if necessary.

      Ask FixBot

      Add Comment

    7. Asus ZenBook UX330U CPU Fan Replacement: step 7, image 1 of 3 Asus ZenBook UX330U CPU Fan Replacement: step 7, image 2 of 3 Asus ZenBook UX330U CPU Fan Replacement: step 7, image 3 of 3
      Tool used on this step:
      Tweezers
      $4.99
      Buy
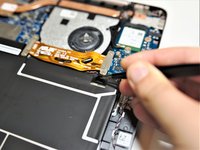
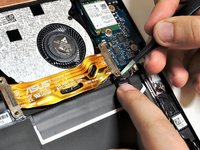
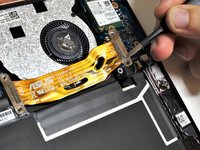
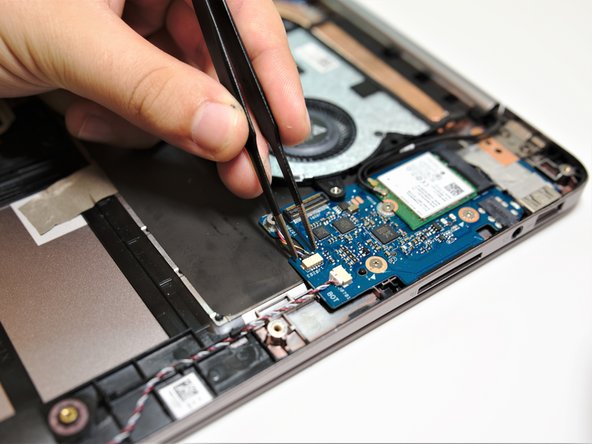
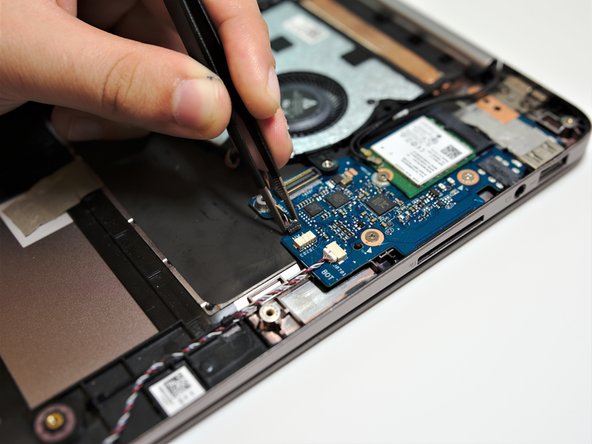
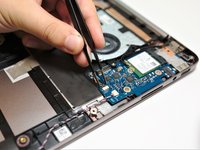
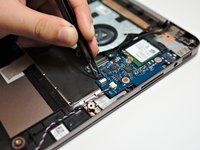
      • Remove the motherboard ribbon connector by pulling up on the metal ends with the blunt nose tweezers.

      • You may have to hold down the black tape in order to be able to lift up the connector.

      • To reconnect the motherboard ribbon, simply press the ends of the ribbon on top of the connector. This should require minimal force.

      Ask FixBot

      Add Comment

    8. Asus ZenBook UX330U CPU Fan Replacement: step 8, image 1 of 3 Asus ZenBook UX330U CPU Fan Replacement: step 8, image 2 of 3 Asus ZenBook UX330U CPU Fan Replacement: step 8, image 3 of 3
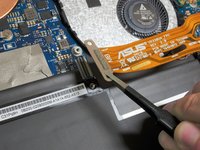
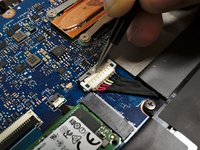
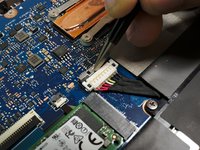
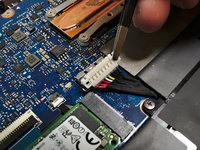
      • Pull back the silver battery connector lock with the blunt nose tweezers. This should slide back and should require minimal force.

      • Lift the battery connector vertically using the blunt nose tweezers to remove it from the socket.

      Ask FixBot

      Add Comment

    9. Asus ZenBook UX330U CPU Fan Replacement: step 9, image 1 of 2 Asus ZenBook UX330U CPU Fan Replacement: step 9, image 2 of 2
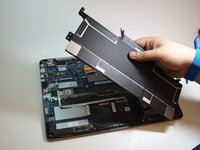
      • Gently lift the battery out of the chassis of the device.

      • Make sure that you do not bend the battery.

      Ask FixBot

      Add Comment

    1. Asus ZenBook UX330U CPU Fan Replacement, CPU Fan: step 10, image 1 of 3 Asus ZenBook UX330U CPU Fan Replacement, CPU Fan: step 10, image 2 of 3 Asus ZenBook UX330U CPU Fan Replacement, CPU Fan: step 10, image 3 of 3
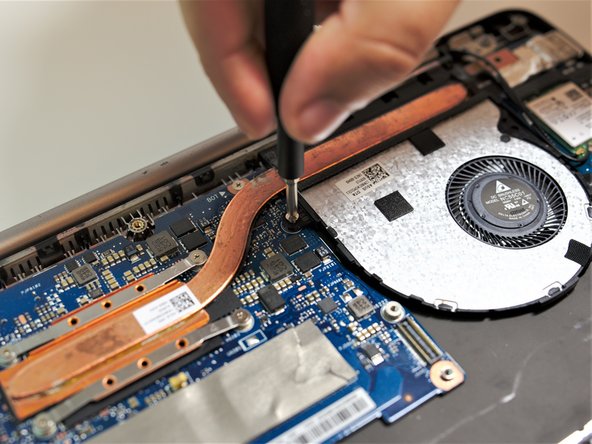
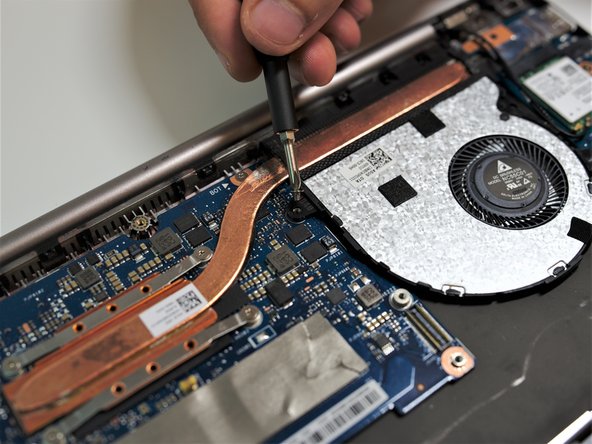
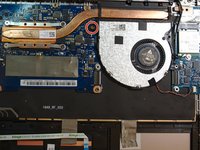
      • Use the Philips #0 screwdriver bit to remove the 2.7 mm screw holding the fan.

      Ask FixBot

      Add Comment

    2. Asus ZenBook UX330U CPU Fan Replacement: step 11, image 1 of 3 Asus ZenBook UX330U CPU Fan Replacement: step 11, image 2 of 3 Asus ZenBook UX330U CPU Fan Replacement: step 11, image 3 of 3
      Tool used on this step:
      Tweezers
      $4.99
      Buy
      • Use the blunt nose tweezers to pull out the fan connector from the connector slot labeled 'FAN' on the right-hand mother board.

      • Hold the fan connector by the plastic connector piece, not the wires themselves.

      Ask FixBot

      Add Comment

    3. Asus ZenBook UX330U CPU Fan Replacement: step 12, image 1 of 1
      • Pull the fan out of place.

      Ask FixBot

      Add Comment

Conclusion

To reassemble your device, follow these instructions in reverse order.

Cancel: I did not complete this guide.

5 other people completed this guide.

0 Guide Comments

Add Comment

View Statistics:

Past 24 Hours: 3

Past 7 Days: 25

Past 30 Days: 113

All Time: 4,755