
Asus Z54C-JS31 Motherboard Replacement

Mark DeSimone and one other contributor
Last updated on Dec 21, 2017
Views: 1K
View statistics:
- Past 24 Hours:
- 1
- Past 7 Days:
- 18
- Past 30 Days:
- 92
- All Time:
- 1,006
Comments: 0
No one has left comments on this guide. Will you be first?
Go to guide commentsCompleted: 0 1
No one has marked this guide "completed." Will you be the first?
1 person has marked this guide "completed." It's you — great job!
Favorites: 0 1
No one has favorited (and subscribed to) this guide. Will you be the first?
1 person has favorited (and subscribed to) this guide — and that's you!
Featured Student Guide
This guide has been the hard work of our awesome students and is found to be exceptionally cool by the iFixit staff.
Introduction
Go to step 1 ↓The motherboard connects all the hardware components of the laptop so that they can communicate with each other.
What you need
Tools


-
-
-
Turn the laptop upside down so that the underside is facing up and locate the two switches that are on each side of the battery.
-
Slide the switch on the top right corner to the right.
-
Slide and hold the switch on the top left corner to the left and carefully remove the battery.
 Ask FixBot
-
-
-
-
-
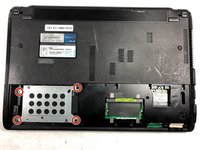
Use a Phillips #000 screwdriver to remove the two 9mm screws from the HDD/RAM cover panel.
-
-
-
Slide the back panel off by placing a hand on each corner and pulling the panel towards you.
-
-
-
-
-
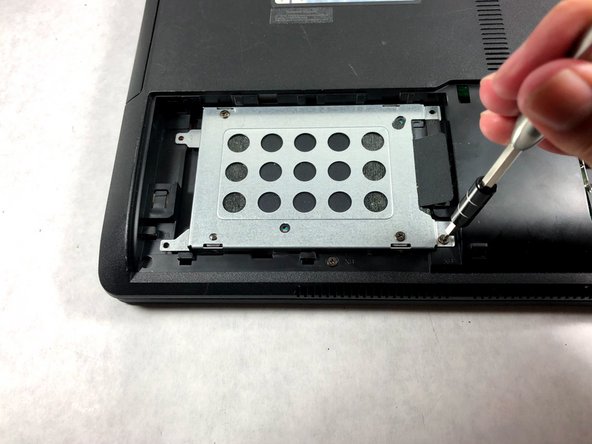
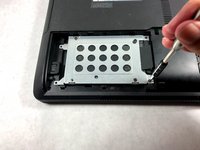
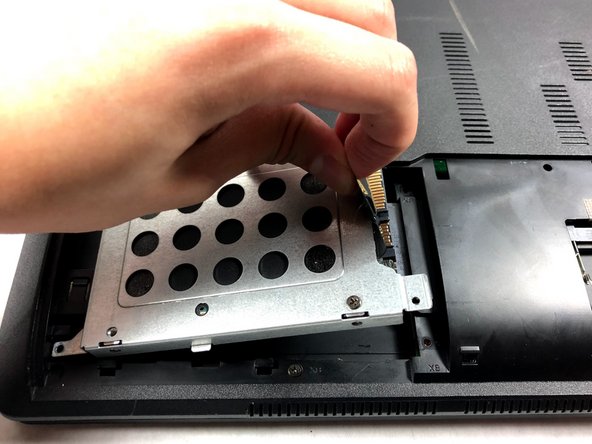
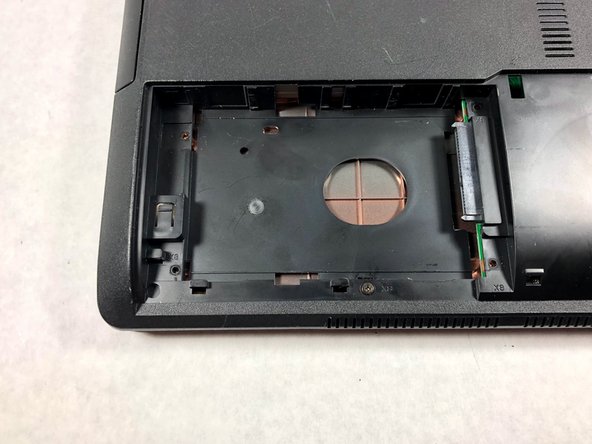
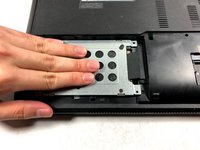
Slide the hard drive to the left to disconnect it.
-
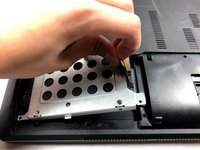
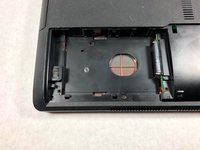
Then pull on the black tab to lift the hard drive out of the laptop.
-
-
-
-
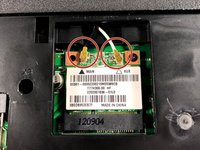
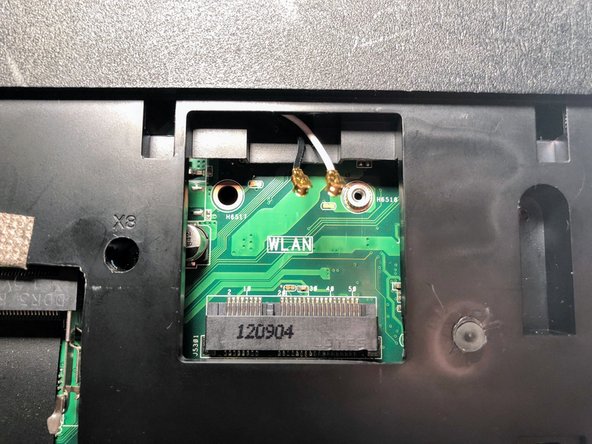
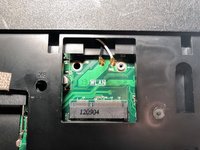
Disconnect both the black and white coaxial connectors from the WiFi card by pulling up on the gold colored piece.
-
-
-
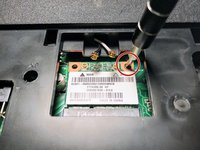
Remove the 3mm screw from the top right corner of the WiFi card using a Phillips #0 screwdriver.
-
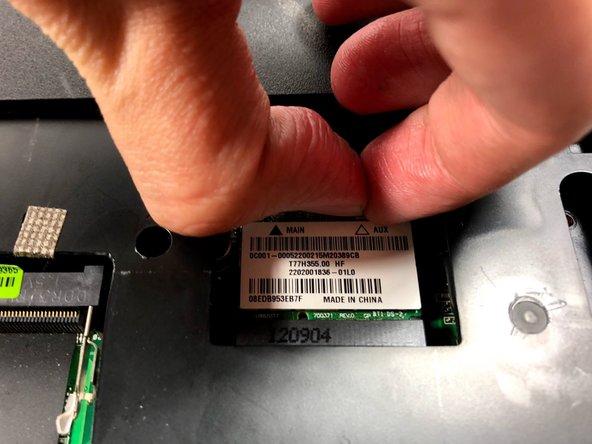
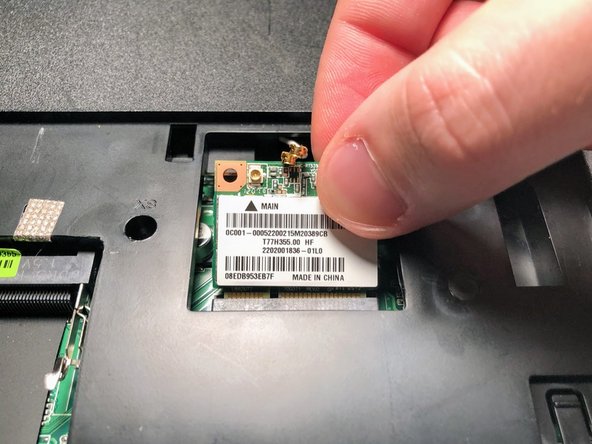
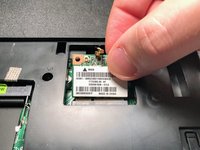
The WiFi card will pop up. Grasp it and pull it out of its slot.
-
-
-
-
-
Turn the laptop to its normal position and open the display to show the keyboard.
-
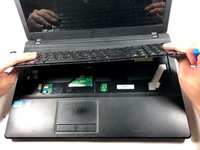
Gently push back the five tabs holding the keyboard down using the plastic opening tool.
-
-
-
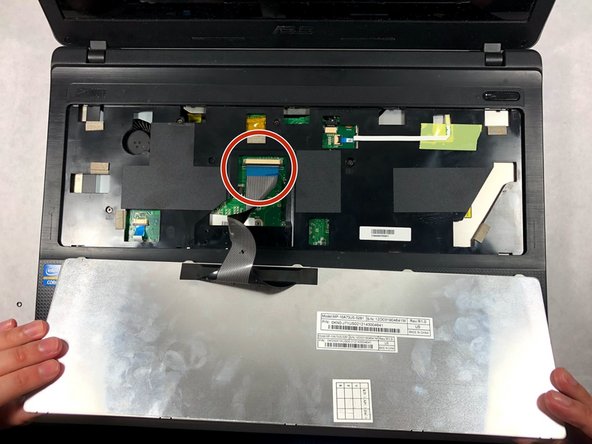
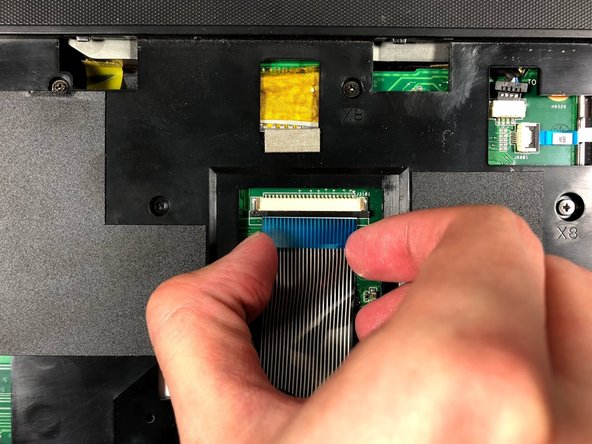
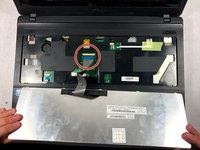
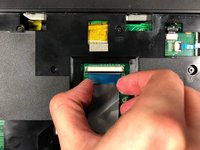
Once the keyboard is free, disconnect the ribbon cable from the zero insertion force (ZIF) connector by flipping up the locking flap and pulling the cable out.
-
-
-
-
-
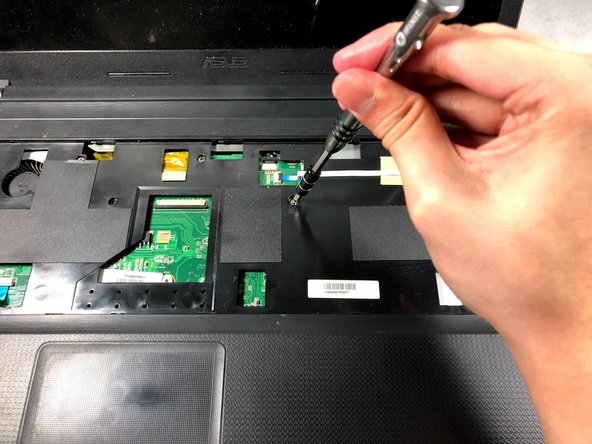
Remove the 3mm screw with a Phillips #000 screwdriver.
-
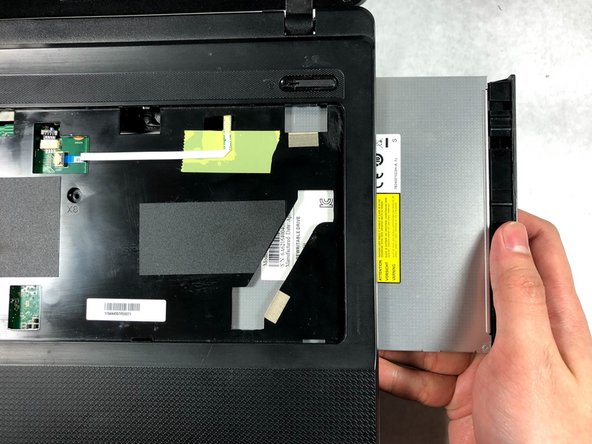
Slide out the optical disc drive by pulling it away from the laptop.
-
-
-
-
-
-
Turn the laptop over so that the back side is facing up.
-
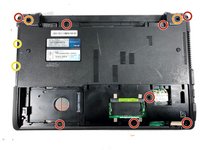
Remove eight 9mm screws from the back of the laptop.
-
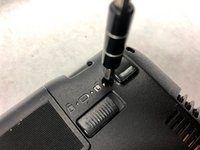
Remove two 6mm screws near the battery.
-
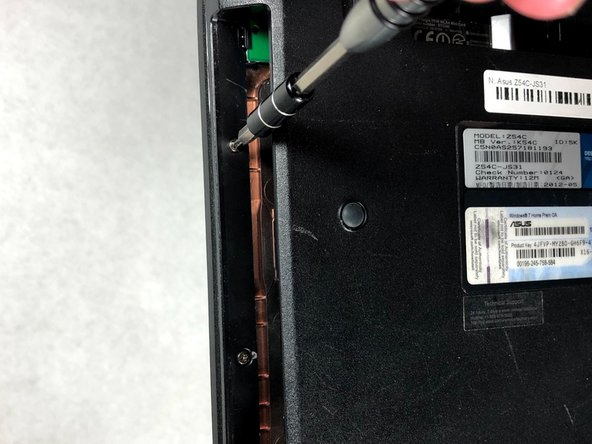
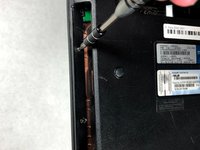
Remove two 3mm screws from the optical drive slot.
-
-
-
Disconnect the two ribbons cables from the zero insertion force connectors by flipping up the small locking flap and pulling them gently out of the connectors.
-
-
-
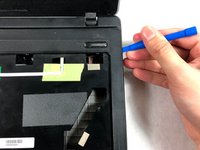
Use the plastic opening tool to pop off the plastic layer by sticking it in between the two parts and sliding it around the whole laptop.
-
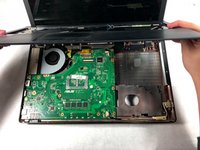
Lift off the top plastic layer.
-
-
-
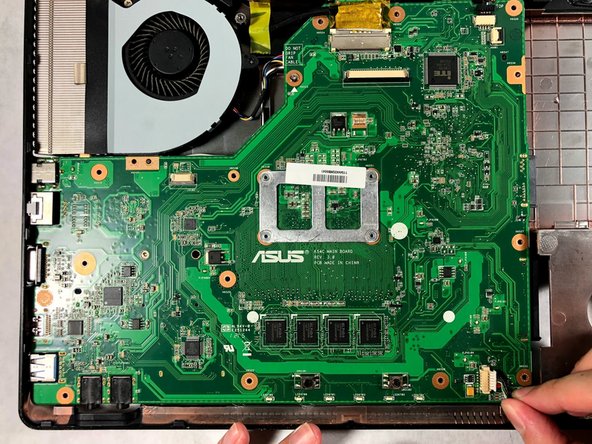
Disconnect the two ribbon cables from the no-fuss ribbon cable connectors attached to the motherboard by pulling the cable straight out of the connector.
-
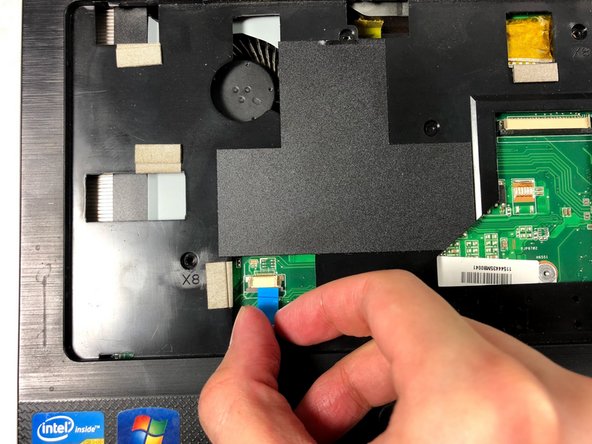
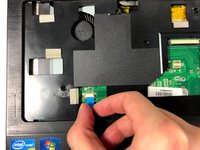
Disconnect the ribbon cable from the zero insertion force connector by flipping up the locking flap and pulling the cable out.
-
-
-
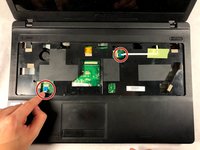
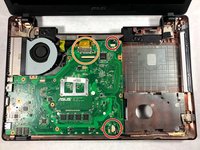
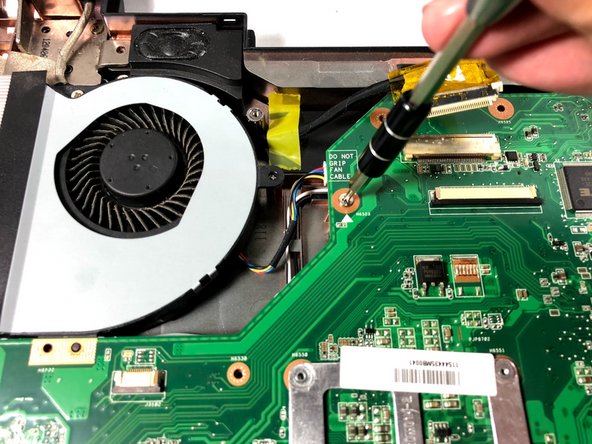
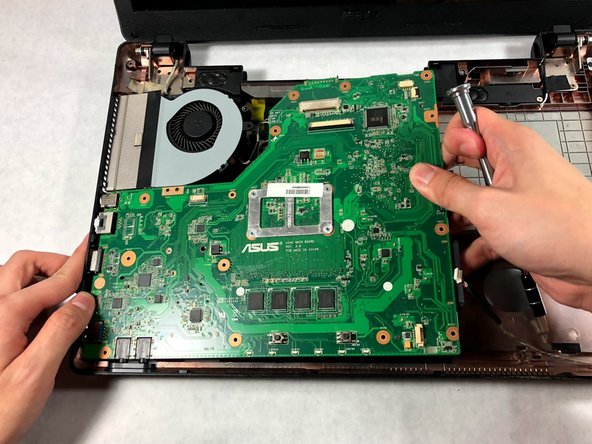
Remove the two 5mm screws holding the motherboard and fan in place.
-
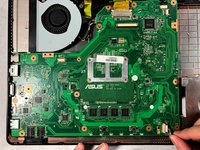
Lift out the motherboard and fan.
-
-















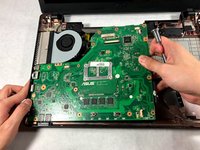
To reassemble your device, follow these instructions in reverse order.

Team

UMass Dartmouth, Team S3-G1, Bailey Fall 2017 Member of UMass Dartmouth, Team S3-G1, Bailey Fall 2017
UMASSD-BAILEY-F17S3G1
2 Members
96 Guides authored
