
Asus Z54C-JS31 Hard Drive Replacement

Mark DeSimone and one other contributor
Last updated on Dec 21, 2017
Views: 452
View statistics:
- Past 24 Hours:
- 3
- Past 7 Days:
- 20
- Past 30 Days:
- 89
- All Time:
- 452
Comments: 0
No one has left comments on this guide. Will you be first?
Go to guide commentsCompleted: 0 1
No one has marked this guide "completed." Will you be the first?
1 person has marked this guide "completed." It's you — great job!
Favorites: 0 1
No one has favorited (and subscribed to) this guide. Will you be the first?
1 person has favorited (and subscribed to) this guide — and that's you!
Introduction
Go to step 1 ↓The hard drive is important for storing the computer's data and may need to be replaced or upgraded to increase the amount of storage space.
What you need
Tools

-
-
-
Turn the laptop upside down so that the underside is facing up and locate the two switches that are on each side of the battery.
-
Slide the switch on the top right corner to the right.
-
Slide and hold the switch on the top left corner to the left and carefully remove the battery.
 Ask FixBot
-
-
-
-
-
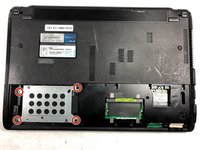
Use a Phillips #000 screwdriver to remove the two 9mm screws from the HDD/RAM cover panel.
-
-
-
-
Slide the back panel off by placing a hand on each corner and pulling the panel towards you.
-
-
-
-
-
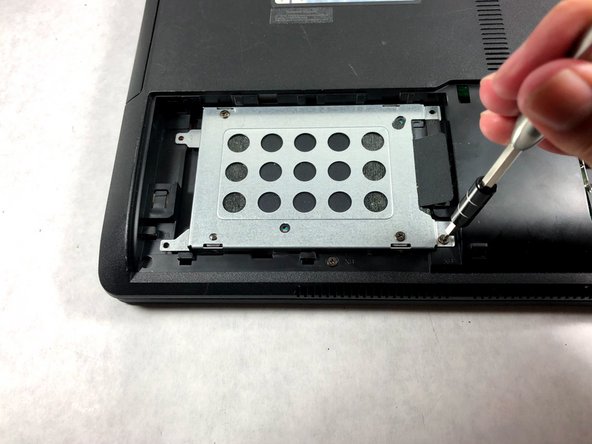
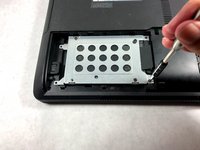
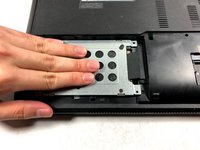
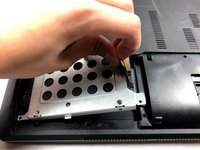
Slide the hard drive to the left to disconnect it.
-
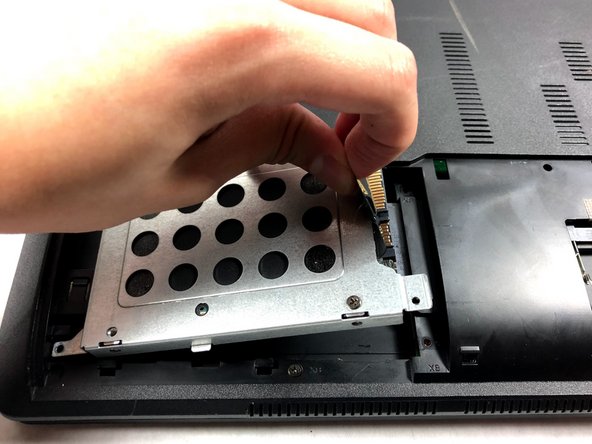
Then pull on the black tab to lift the hard drive out of the laptop.
-



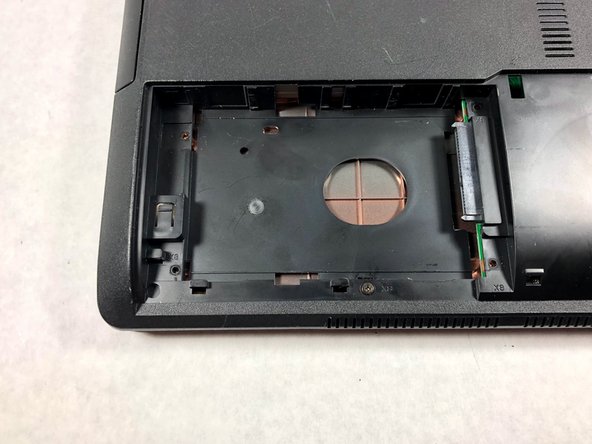
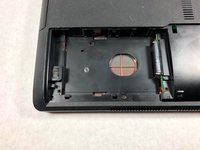
To reassemble your device, follow these instructions in reverse order.

Team

UMass Dartmouth, Team S3-G1, Bailey Fall 2017 Member of UMass Dartmouth, Team S3-G1, Bailey Fall 2017
UMASSD-BAILEY-F17S3G1
2 Members
96 Guides authored
