
Asus X55C Cooling / FAN System Replacement

Last updated on Jan 8, 2015
Views: 3.8K
View statistics:
- Past 24 Hours:
- 3
- Past 7 Days:
- 23
- Past 30 Days:
- 103
- All Time:
- 3,836
Comments: 0
No one has left comments on this guide. Will you be first?
Go to guide commentsCompleted: 1 2
1 person has marked this guide "completed." Will you be next?
2 people have marked this guide "completed." Including you — great job!
Favorites: 1 2
1 person has favorited (and subscribed to) this guide. Will you be next?
2 people have favorited (and subscribed to) this guide — including you!
Community-Contributed Guide
An awesome member of our community made this guide. It was not created by iFixit staff.
Introduction
Go to step 1 ↓How to disassemble the laptop and replace the cooling / fan system.
_______________ Video manual: _______________
What you need
Fix Kit
This kit contains all the parts and tools needed to complete this guide.

Parts

Tools


Video Overview
-
-
-
The Keyboard is held by 5x locking clips.
-
Pick up a little the one side of the Keyboard and start opening the clips one by one.
-
Disconnect the Keyboard flex cable from the mother board and remove the KB.
-
-
-
-
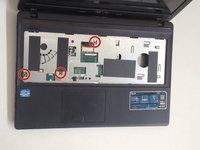
Remove 3x Philips screws.
-
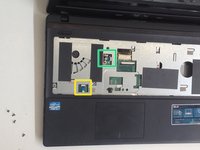
Disconnect the two small flex cables:
-
Power On button flex cable
-
Touch pad flex cable
-
-
-
-
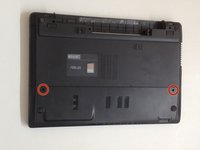
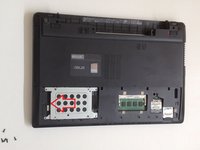
Unscrew the two Philips screws and remove the HDD / RAM Cover.
-
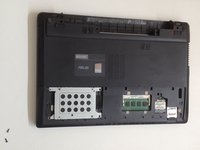
Remove three screws securing the hard drive caddy (hard drive assembly).
-
Slide the hard drive assembly to the left to disconnect it from the motherboard.
-
-
-
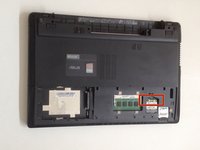
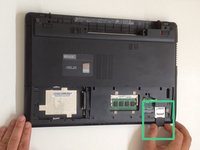
Disconnect the two coaxial antenna cables from the Wi-Fi card.
-
Remove any Memory or Dummy card.
-
-
-
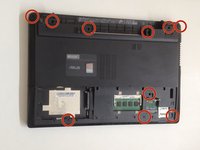
The bottom cover is held by 10x Phillips screws. Remove them.
-
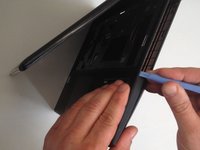
With a plastic tool separate the Upper cover and remove it.
-
-
-
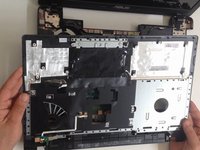
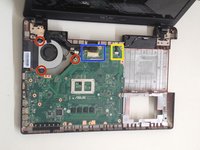
Disconnect:
-
The Microphone cable
-
The LCD Display flex cable
-
Remove 3x Pillips screws.
-
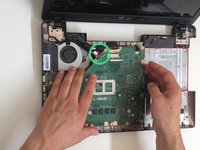
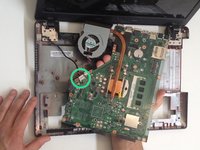
Lift the board first from the right edge.
-
There is another one cable, from the DC connector, connected to the underside of main board. We should spun the the board to disconnect the DC connector cable.
-
-
-
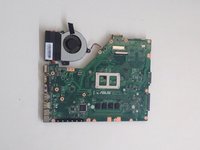
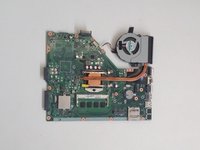
ASUS X55C iCore with 4GB no board RAM motherboard, model: 60-N0OMB1100
-
-
-
-
-
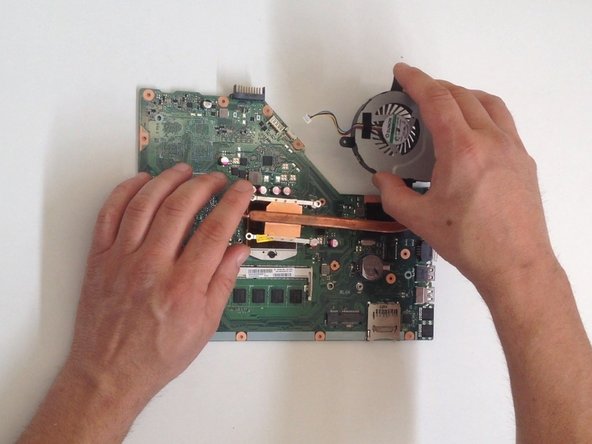
Disconnect the Fan cable from the Motherboard.
-
Remove the screws (4x Phillips screws) that hold the cooling system to the Motherboard
-
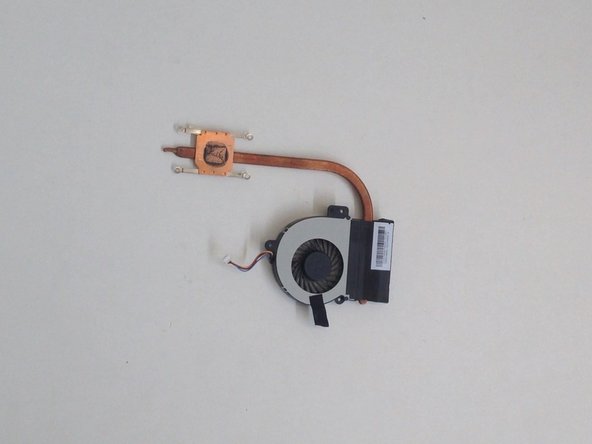
CPU Cooling System - Cooling Heatsink and Fan.
-
-

 Ask FixBot















To reassemble your device, follow these instructions in reverse order.
Cancel: I did not complete this guide.
One other person completed this guide.


