Introduction
If you are having issues with your AsusX553MA-BPD07051 not reading disks or giving a CD drive, make sure that the CD that you are entering is not scratched or damaged. If you have ensured that the CD is not the problem, the optical drive is most likely the problem with the laptop. For further troubleshooting assistance, use this page. When replacing your optical drive, use this guide for step by step instructions. Ensure that the laptop has been powered off and the battery has been removed to avoid any potential hazards.
What you need
-
-
-
Use a Phillips #0 screwdriver (PH0 bit) to remove the four 5.0 mm screws that are securing the bottom of the laptop.
-
Use a Phillips #0 screwdriver (PH0 bit) to remove the six 11.0 mm screws that are securing the bottom of the laptop.
 Ask FixBot
-
-
-
Lift the edges of the keyboard using the plastic iFixit opening tool and raise the keyboard slightly to see the inside of the laptop.
-
-
-
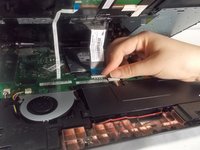
Lift back the clip on the ribbon tape, and pull the tape out in order to remove the keyboard from the laptop.
-
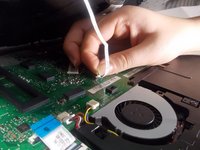
Remove both pieces of the ribbon tape connecting the keyboard to the motherboard.
-
-
-
-
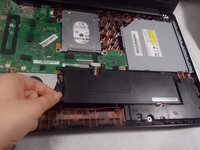
Remove the bundled cable connector attaching the battery to the motherboard with the plastic iFixit opening tool.
-
-
-
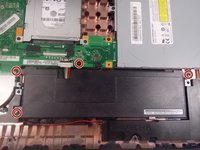
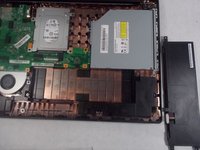
Use Phillips #0 screwdriver (PH0 bit) to remove the four 6.0 mm screws attaching the battery to the laptop.
-
-
-
-
-
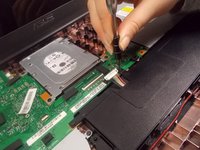
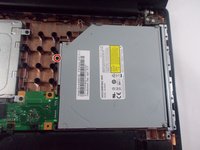
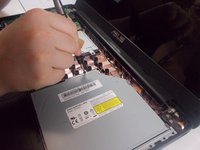
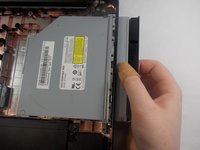
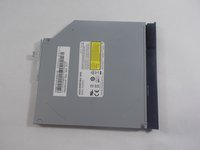
Use a Phillips #0 screwdriver (PH0 bit) to remove the one 6.0 mm screw holding in the optical drive.
-
-










To reassemble your device, follow these instructions in reverse order.

Team

UMass Dartmouth, Team S1-G4, Botvin Fall 2019 Member of UMass Dartmouth, Team S1-G4, Botvin Fall 2019
UMASSD-BOTVIN-F19S1G4
3 Members
60 Guides authored
